
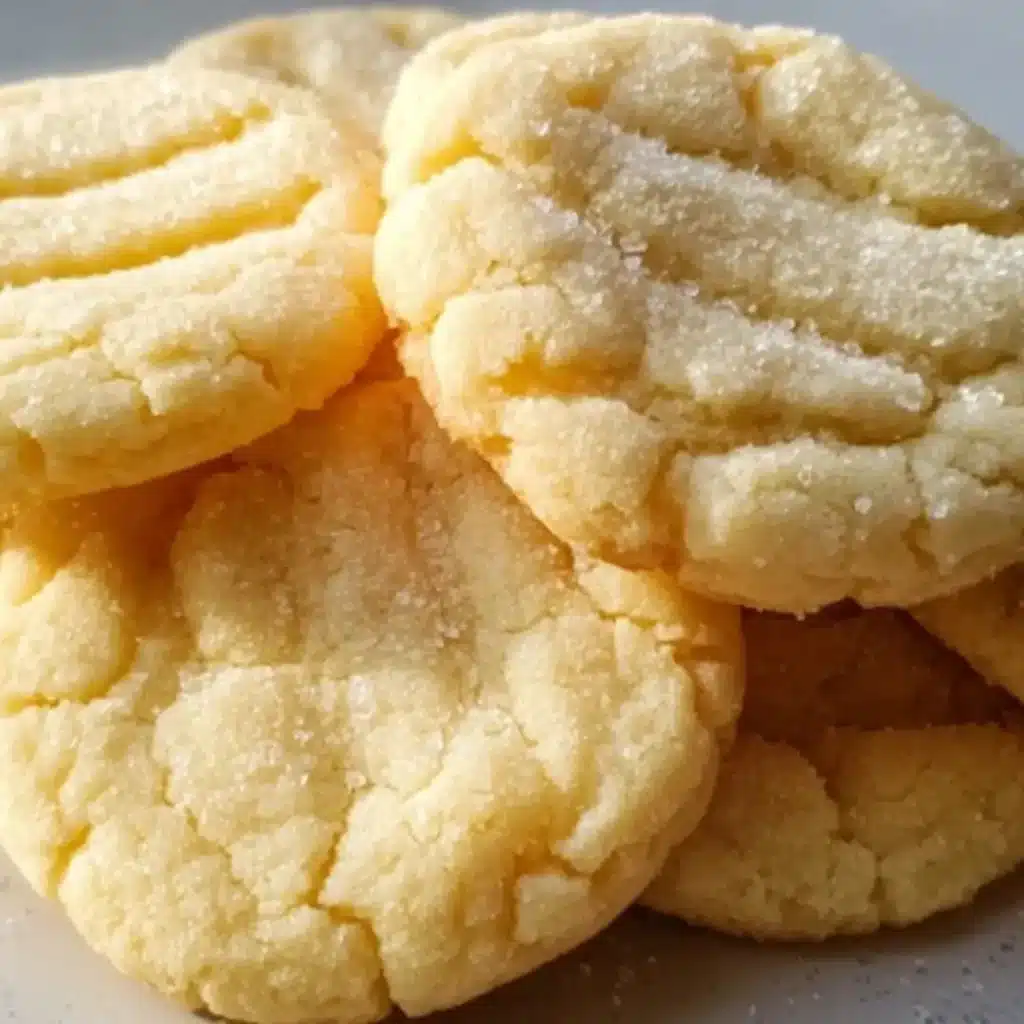
This classic Chicago Public School Butter Cookies recipe is a ticket straight back to childhood lunch lines, but with a grown-up twist of buttery perfection! These cookies are unbelievably simple to make, yet they deliver a rich, melt-in-your-mouth flavor that is purely comforting. With a tender, slightly crisp edge and that soft, signature thumbprint center, they’re the ultimate easy-to-bake treat that proves the best things in life are often the simplest. Trust me, you’re going to love bringing this sweet piece of history into your own kitchen.
Why You’ll Love This Recipe
- Pure Nostalgia: If you grew up in the Chicago area, this is the buttery, tender cookie you remember from school lunches. It’s a game-changer for bringing back those sweet memories!
- Simple & Straightforward: This recipe uses just five basic pantry ingredients—you likely have everything you need right now! No fancy tools or techniques required, making it perfect for bakers of all levels.
- Melt-in-Your-Mouth Texture: They are the definition of a classic butter cookie: rich, tender, and just crisp enough on the edges, making them impossible to eat just one.
- Infinitely Customizable: That signature indentation is just begging for a little drizzle of icing, a dollop of jam, or a sprinkle of sanding sugar once they’ve cooled.
Ingredients

All you need for this classic Chicago Public School Butter Cookie Recipe is a handful of staples and a few minutes of prep! Seriously, it’s that easy. But first, gather up these essential ingredients:
- Unsalted Butter: This is the star of the show! Make sure it’s softened (but not melted!) to properly cream with the sugar, which is key to that light, tender cookie texture.
- Granulated Sugar: Provides the perfect sweetness and works with the butter to create an airy base when creamed.
- All-Purpose Flour: The necessary structure for the cookie. Be sure to measure it correctly (using the spoon-and-level method!) to avoid a tough cookie.
- Salt: Just a touch to balance out the sweetness and intensify all those wonderful buttery flavors. Don’t skip it!
- Pure Vanilla Extract: Essential for that warm, classic bakery-quality aroma and depth of flavor.
Note: The specific ingredient measurements and quantities you’ll need are provided right underneath the article in the recipe card!
How to Make the Chicago Public School Butter Cookies
This process is simple and fun! Let’s get baking and bring those sweet memories back to life.
Step 1: Prep Your Space and Cream the Butter
First things first: set your oven to 350∘F (175∘C). Line a baking sheet with parchment paper—this is my personal favorite step for easy cleanup and preventing sticking! In a large mixing bowl, take your softened butter and sugar, and cream them together with your mixer. You’re looking for a beautiful, light, and fluffy texture, which usually takes about 2 to 3 minutes.
Step 2: Add Flavoring
Once your butter and sugar are perfectly fluffy, pour in your pure vanilla extract. Mix it just until it’s fully combined. That’s the secret scent of delicious baking right there!
Step 3: Mix the Dry Ingredients
Now, gently add your flour and salt to the bowl. Mix everything on low speed until the dough just comes together and forms a soft, smooth ball. Crucial Tip: Stop mixing as soon as the flour disappears! Overmixing can develop the gluten and give you a tough cookie, and we are going for tender and buttery here.
Step 4: Scoop, Roll, and Shape
Scoop out about 1 tablespoon of dough for each cookie—a small cookie scoop makes this super fast! Roll each scoop into a smooth ball and place them about 2 inches apart on your prepared baking sheet. To get that truly authentic CPS look, flatten each ball slightly with your palm, and then gently press the center with your thumb or a fork to create that signature, charming indentation.
Step 5: Bake to Perfection
Slide those beauties into your preheated oven and bake for 12 to 14 minutes. Keep a close eye on them! You want the edges to be just lightly golden, but the centers should still look pale and soft. That’s the key to their tender texture.
Step 6: Cool and Savor
Let the cookies cool right on the baking sheet for about 5 minutes—this helps them set up and prevents them from breaking. Then, move them over to a wire rack to cool completely. Grab a glass of milk or your favorite afternoon coffee, and enjoy that warm, nostalgic bite!
Pro Tips for Making the Recipe
- Don’t Overmix the Flour: I know I said it before, but it bears repeating! Overmixing the flour is the number one enemy of a tender butter cookie. Mix only until the last streak of flour disappears.
- Use Room Temperature Butter: Your butter needs to be softened, not melted or cold. If it’s too cold, it won’t cream properly; if it’s too warm, the cookies will spread too much. Press it—if your finger leaves an indentation easily, it’s ready!
- Chill if Necessary: If your kitchen is super warm or the dough seems sticky and hard to handle, pop the dough balls in the fridge for 10-15 minutes before baking. This helps them hold their shape!
- Get Creative with the Indentation: While the classic is a simple thumbprint, you can press the center with the back of a measuring teaspoon or even use a fancy cookie stamper to leave a fun design!
How to Serve
These butter cookies are just perfect as they are, but here are a few ways to elevate that nostalgic treat!
- The Classic Pairing: Enjoy them warm or at room temperature alongside an ice-cold glass of milk. Pure childhood joy!
- Dipping Delight: They are fantastic for dipping into a hot cup of coffee, tea, or even a cozy mug of hot cocoa.
- Add a Topping: Right after they come out of the oven, press a small piece of a chocolate kiss or sprinkle them with colorful sanding sugar. Once cooled, you can fill the indentation with raspberry jam or a simple glaze.
- Ice Cream Sandwich Fun: Go wild and use two cookies to sandwich a scoop of vanilla ice cream. Trust me on this one.
Make Ahead and Storage
Storing Leftovers
Once fully cooled, store your butter cookies in an airtight container at room temperature for up to 5 days. They stay wonderfully fresh and buttery!
Freezing
You can freeze the baked cookies for up to 3 months. Layer them in a freezer-safe container with parchment paper between layers. Thaw them overnight at room temperature before serving. Alternatively, you can freeze the unbaked dough balls and bake them straight from frozen, adding a couple of minutes to the baking time.
Reheating
They taste best at room temperature, but if you want to recapture that freshly baked feel, pop them into a 300∘F (150∘C) oven for about 3-5 minutes.
FAQs
1. Why did my butter cookies spread too much and flatten while baking?
This is usually a result of the butter being too warm or the flour being measured incorrectly (too little flour). Make sure your butter is only softened and not greasy or melted. If the dough feels overly sticky after mixing, try chilling the dough balls for 15 minutes before baking. Also, remember to use the spoon-and-level method when measuring your flour!
2. Can I use a different kind of extract besides vanilla?
Absolutely! The beauty of a simple butter cookie is its versatility. You could substitute half a teaspoon of almond extract for some of the vanilla to get a richer, nutty flavor. Lemon or orange zest mixed into the dough would also provide a lovely, bright flavor profile!
3. What can I fill the center indentation with?
Oh, the possibilities are endless! The classic version is often left plain, but to jazz them up, you can drop a dollop of your favorite jam (raspberry or apricot are divine!), a small piece of maraschino cherry, or even a simple powder sugar glaze into the indentation once the cookies are completely cool.
4. Can I make this dough ahead of time?
Yes, you can! You can wrap the un-scooped dough tightly in plastic wrap and store it in the refrigerator for up to 3 days. Before baking, let the dough sit at room temperature for about 30 minutes to soften slightly, then scoop, shape, and bake as directed. It’s perfect for prepping on a weeknight and baking over the weekend!