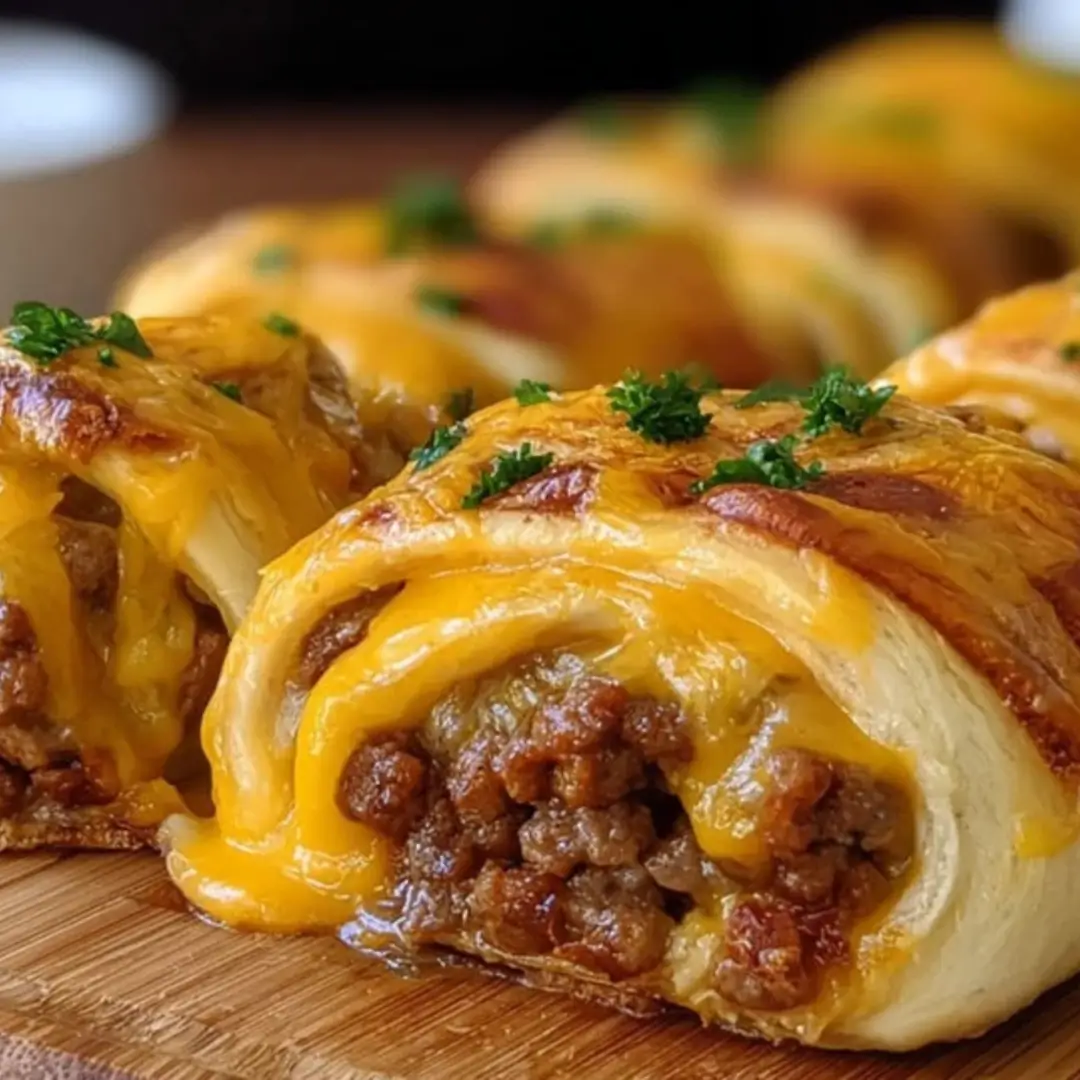
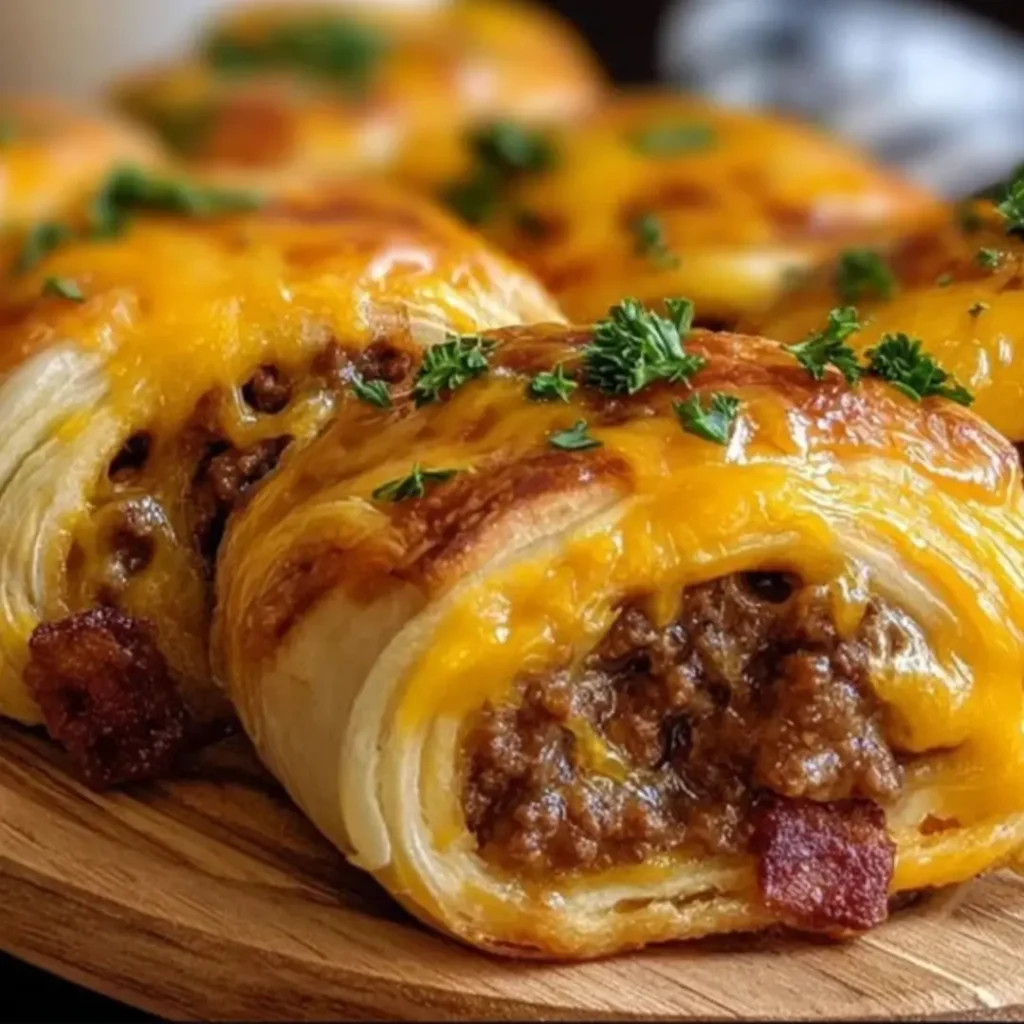
These Garlic Butter Cheeseburger Rollups take everything you love about a juicy cheeseburger and wrap it up in flaky, buttery perfection. It’s an absolute game-changer for weeknight dinners, game days, or when you just need a fun, savory bite of comfort food! Ready in under 40 minutes, these golden-brown swirls are packed with seasoned beef and two kinds of melted cheese, all brushed with a craveable garlic butter finish. Trust me, these are going to disappear fast!
Why You’ll Love This Recipe
- Ultimate Comfort Food: It captures the savory flavor of a classic cheeseburger but in a fun, irresistible, pinwheel shape.
- A Weeknight Lifesaver: With a prep time of just 15 minutes, this recipe is a speedy superstar, making busy evenings deliciously easy.
- Seriously Fun to Eat: These rollups are portable, dippable, and perfect for grabbing on the go—kids and adults alike absolutely adore them!
- Garlic Butter Glaze: That final brush of garlic butter is what elevates these from “good” to “oh-my-gosh-I-need-another-one.”
Ingredients

Alright, let’s gather up our ingredients! Don’t worry about the exact amounts right now; we just need to get our flavor-makers lined up.
- Ground Beef: The hearty, savory backbone of our cheeseburger filling. Use a lean blend for the best texture in the rollups.
- Small Onion: Finely chopped, this adds a subtle sweetness and a critical aromatic base to the beef mixture.
- Garlic: We’re mincing fresh cloves right into the filling to boost that savory punch. You know I love my garlic!
- Worcestershire Sauce: This is a secret weapon that adds a deep, umami richness, giving the beef that classic “burger” taste.
- Salt and Black Pepper: Our essential seasoning duo to make all the flavors pop.
- Paprika: Adds a hint of color and a warm, mild pepperiness to the meat.
- Ketchup: Brings a touch of tangy sweetness that’s key to that traditional cheeseburger flavor profile.
- Shredded Cheddar Cheese: Melts beautifully and provides that sharp, classic cheeseburger tang.
- Mozzarella Cheese: We’re using this for its amazing stretch and creamy texture, making every bite gooey and perfect.
- Refrigerated Pizza Dough or Crescent Roll Sheet: This is our crust! It’s the easiest way to get that flaky, golden-brown wrap without any fuss.
- Butter: Melted down, this is the base for our flavorful brush.
- Garlic Powder: A concentrated hit of flavor for our finishing glaze. It gets toasted as it bakes, making it extra fragrant.
- Fresh Parsley (optional): Chopped up, this adds a pop of fresh green color and a bright, herbaceous finish.
Psst! Don’t stress about the measurements. The ingredients with the precise quantities you need will be right under this article in the recipe card!
How to Make the Garlic Butter Cheeseburger Rollups
This recipe is simple, but the results are absolutely show-stopping. Let’s get rolling!
Step 1: Prep and Brown the Beef
First things first, get your oven preheating to $375^{\circ} \text{F}$ ($190^{\circ} \text{C}$) and line a baking sheet with parchment paper. In a skillet over medium heat, toss in your ground beef and chopped onion. Cook until the beef is fully browned and the onion is soft. Then, make sure to drain off any extra fat—we want flavor, not grease!
Step 2: Season the Filling
Now for the magic! Reduce the heat slightly and add your minced garlic, Worcestershire sauce, ketchup, salt, pepper, and paprika. Give everything a good stir and let it bubble for about two minutes so all those delicious flavors can marry together. Take it off the heat and let the mixture cool just slightly while you get the dough ready.
Step 3: Roll out the Dough and Layer
Time for the dough! Roll out your pizza dough or crescent roll sheet onto a clean surface, aiming for a nice rectangle shape. Spread the beef mixture evenly over the dough, but remember to leave a small border around the edges. This helps everything stay inside when you roll it up! Next, sprinkle both the cheddar and mozzarella cheeses over the meat mixture.
Step 4: Slice and Place the Rollups
Carefully start rolling the dough up from one of the long sides to form a tight log. Pinch the seam gently to seal everything in place. Use a sharp knife to slice the log into pieces about 1 to $1.5 \text{ inches}$ thick. Lay these beautiful pinwheels cut-side up on your prepared baking sheet.
Step 5: Glaze and Bake
In a small bowl, mix your melted butter with the garlic powder. Use a pastry brush to coat the tops of all the rollups generously with this dreamy garlic butter—this is the golden ticket! Pop them into the oven for 15–18 minutes, or until the dough is puffy, golden brown, and the cheese is bubbling like crazy.
Step 6: Garnish and Serve
Take them out of the oven, sprinkle them with a little fresh parsley (if you’re feeling fancy), and serve them warm with a bowl of ketchup, ranch, or any of your favorite dipping sauces. Get ready for applause!
Pro Tips for Making the Recipe
- The Beef Must Be Cool: Make sure your beef mixture has cooled slightly before spreading it on the dough. If it’s too hot, it can start to melt the cheese or even make the dough tear when you try to roll it.
- Draining is Key: Don’t skip draining the fat from the ground beef! Excess grease will make the rollups soggy and heavy instead of light and flaky.
- Use Floss to Slice: For perfectly clean, non-squished rollups, try using a piece of unflavored dental floss instead of a knife! Slide it under the log, cross the ends over the top, and pull to cut.
- Cheese Combo is Mandatory: The combination of sharp cheddar for flavor and mozzarella for stretch and creaminess is key. Don’t swap out both cheeses for just one kind!
How to Serve
These rollups are fantastic on their own, but here are a few fun ways to serve them for a complete meal or party snack:
- Dipping Dreams: Serve them with a flight of sauces! Classic ketchup and mustard are a must, but also try ranch dressing, a smoky BBQ sauce, or a zesty “secret sauce” (mayo, ketchup, and relish).
- Side Salad Pairing: Cut the richness with a light and refreshing side, like a simple green salad with a tangy vinaigrette.
- Fries/Chips Alternative: Pair them with some baked sweet potato fries or a bowl of crunchy kettle chips for that ultimate burger-and-fries feeling!
Make Ahead and Storage
Storing Leftovers
If you happen to have any leftovers (a big if!), store them in an airtight container in the refrigerator for up to 3 days.
Freezing
You can freeze these rollups, either baked or unbaked.
- Baked: Place cooled rollups in a single layer on a sheet pan to flash freeze, then transfer to a freezer-safe bag or container for up to 3 months.
- Unbaked: Roll and slice the dough, place on a parchment-lined pan, and freeze. Once solid, wrap them tightly. When ready to bake, place them directly on the baking sheet and add a few extra minutes to the cooking time.
Reheating
The best way to reheat these rollups is in a toaster oven or a regular oven at $300^{\circ} \text{F}$ ($150^{\circ} \text{C}$) for about 5–10 minutes. This helps the dough crisp back up and prevents them from getting soggy. The microwave works in a pinch, but they won’t be as flaky.
FAQs
- Can I use ground turkey or chicken instead of ground beef?Absolutely! You can easily swap the ground beef for ground turkey or ground chicken. If you do this, make sure to add a little extra olive oil to the pan when browning the meat, as poultry tends to be much leaner and you don’t want the filling to taste dry. You might also want to add a pinch more salt and pepper to ensure the flavor stays just as bold and savory.
- What is the best type of dough to use for this recipe?A sheet of refrigerated pizza dough works really well because it gives you a nice, chewy crust that stands up to the filling. However, crescent roll dough (rolled out into a sheet and seams pinched) is another fantastic option, and it results in an even flakier, buttery rollup. It truly comes down to your personal preference for texture!
- How can I add some heat or spice to the filling?If you’re looking to turn up the heat, you have a few simple options! Try mixing in a pinch of cayenne pepper or a dash of your favorite hot sauce along with the ketchup and seasonings. For a milder, fruitier heat, you could even mix in a tablespoon of finely chopped canned jalapeños before rolling.
- Can I prepare the filling ahead of time to save time?Yes, this is a brilliant time-saver! You can cook and season the ground beef and onion mixture up to two days in advance. Just store it in an airtight container in the refrigerator. When you’re ready to make the rollups, simply let the filling come to room temperature for about 15 minutes before spreading it on the dough, and then proceed with the recipe as written.