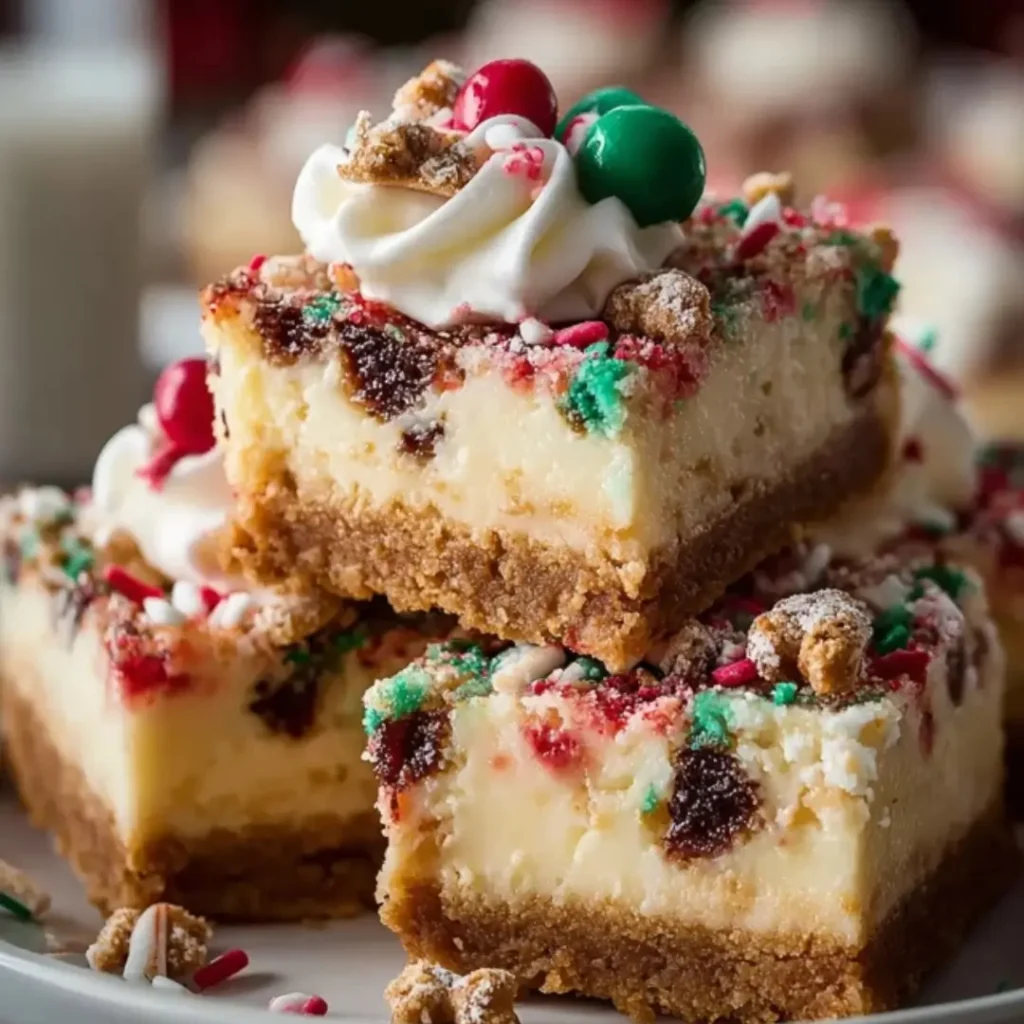
Get ready to win the holidays with these Christmas Cookie Cheesecake Bars! These beauties are the ultimate festive treat, combining a crunchy chocolate crust with a creamy, dreamy cheesecake filling that’s literally bursting with holiday cheer. Whether you’re heading to a cookie swap or just want something sweet to snack on while wrapping gifts, these bars are a total game-changer. They’re colorful, decadent, and—best of all—so much easier to make than a traditional cheesecake!
Why You’ll Love This Recipe
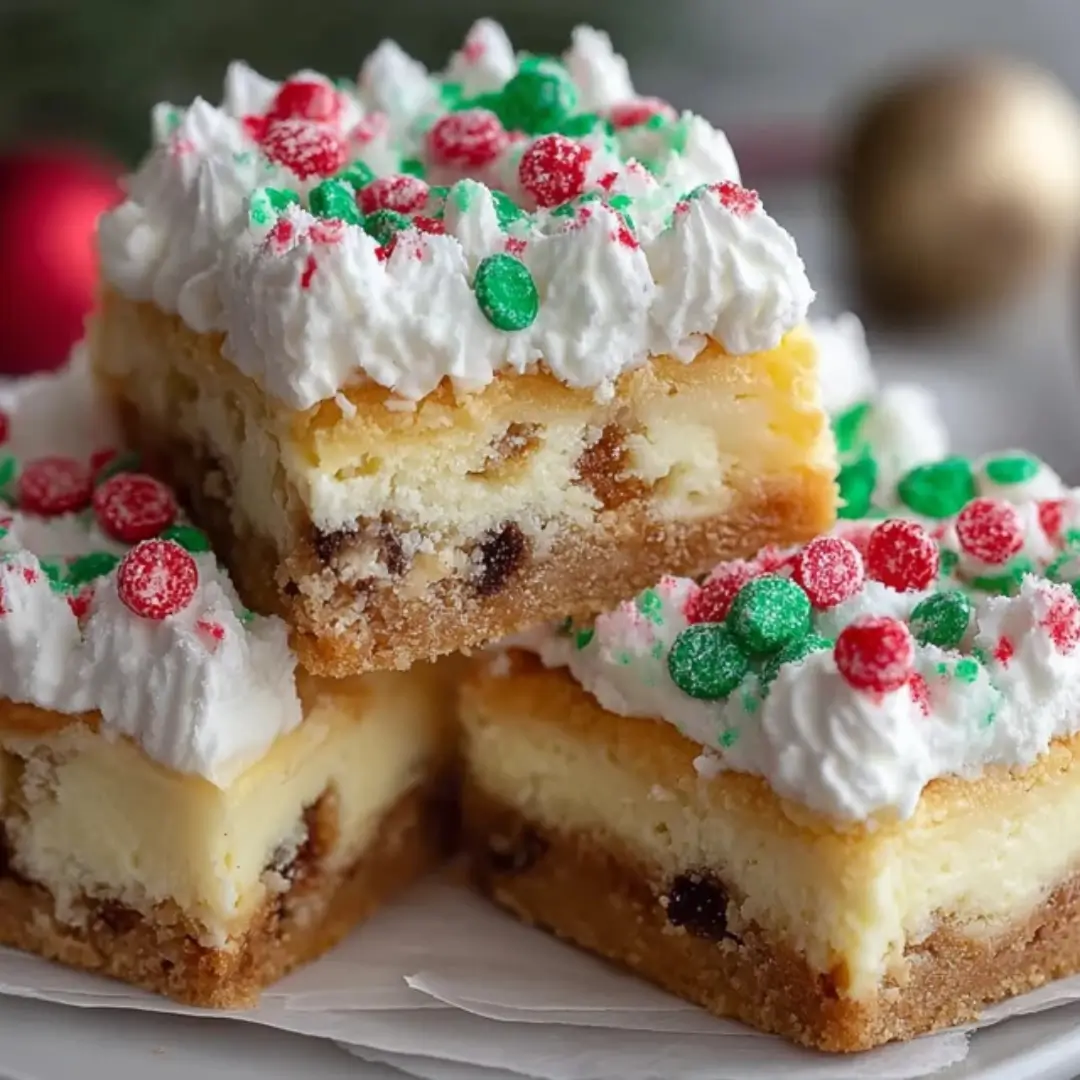
- Holiday Magic in Every Bite: The combination of red and green sprinkles with three types of chocolate makes these look and taste like a Christmas party.
- The Easiest Cheesecake Ever: No water baths or stressful cracking here! Baking these as bars is totally foolproof and stress-free.
- Crowd-Pleaser Extraordinaire: Trust me, you’re going to love how these disappear the second you set them out on a dessert table.
- Perfect Make-Ahead: These actually taste better after a chill in the fridge, making them the perfect “do-ahead” dessert for your busy holiday schedule.
Ingredients
All you need are a few pantry staples and a generous dose of holiday spirit to get these bars in the oven! Here is what we’re working with:
- Chocolate Sandwich Cookie Crumbs: This creates that rich, dark, and crunchy base that balances the sweet filling perfectly.
- Unsalted Butter: This holds our crust together and adds that buttery richness we all love.
- Cream Cheese: Make sure it’s softened to room temperature! This is the key to a silky, lump-free filling.
- Granulated Sugar: Just enough to sweeten the tang of the cream cheese.
- Large Eggs: These give our cheesecake bars their structure and that classic “melt-in-your-mouth” texture.
- Vanilla Extract: A splash of high-quality vanilla makes all the other flavors pop.
- Sour Cream: My secret weapon! It adds a subtle tang and makes the cheesecake extra creamy.
- Red and Green Holiday Sprinkles: Because it wouldn’t be a Christmas treat without that festive pop of color!
- Mini Chocolate Chips: These distribute perfectly throughout the batter so you get a little chocolate in every single bite.
- White Chocolate Chips: Adds a lovely creamy sweetness and looks like little snowballs tucked inside.
Note: The full list of ingredients with exact measurements is located right under this article in the recipe card!
How to Make the Recipe
Step 1: Prep and Crust
Preheat your oven to 325°F (165°C) and line a 9×13-inch baking pan with parchment paper—leave a little overhang on the sides so you can lift the bars out easily later! In a bowl, mix your cookie crumbs with the melted butter until it looks like wet sand. Press that mixture firmly into the bottom of the pan to create a solid base.
Step 2: Par-Bake the Base
Pop the crust into the oven for 10 minutes. This little “pre-bake” ensures the crust stays nice and crunchy under that creamy filling. Once done, let it cool for a few minutes while you whip up the magic.
Step 3: Cream the Filling
In a large bowl, beat your softened cream cheese and sugar together until it’s perfectly smooth and creamy. You don’t want any lumps here, so take your time!
Step 4: Add the Eggs and Liquids
Add your eggs one at a time, mixing well after each one. Then, blend in your vanilla and sour cream until everything is fully incorporated and looking luscious.
Step 5: The Festive Fold-In
Gently fold in those holiday sprinkles, mini chocolate chips, and white chocolate chips. This is where the personality comes in! Pour the mixture over your cooled crust and spread it out into one even, beautiful layer.
Step 6: Bake to Perfection
Bake for 35–40 minutes. You’re looking for the edges to be set, but the center should still have a slight, playful jiggle.
Step 7: Cool and Chill
This is the hardest part: waiting! Let them cool completely at room temperature, then tuck them into the fridge for at least 2 hours (or overnight). Slice into bars and get ready for the compliments!
Pro Tips for Making the Recipe
- Room Temp is Everything: Seriously, make sure your cream cheese, eggs, and sour cream are at room temperature. It makes the difference between a grainy cheesecake and a silky-smooth one!
- Don’t Overbeat the Eggs: Once the eggs are in, mix just until combined. Over-mixing can trap air and cause the bars to puff up and then sink.
- The Clean Cut: For those perfectly sharp, professional-looking squares, wipe your knife clean with a warm, damp cloth between every single cut.
- Customize the Sprinkles: You can totally swap the holiday sprinkles for any season—hearts for Valentine’s Day or pastels for Easter!
How to Serve
These bars are a star all on their own, but if you want to go the extra mile, try these ideas:
- The “A La Mode” Way: Serve a bar warm with a scoop of vanilla bean ice cream.
- Festive Platter: Arrange them on a platter with candy canes and fresh sprigs of mint for a beautiful holiday display.
- Hot Cocoa Companion: These are the ultimate pairing for a big mug of hot chocolate or a steaming cup of coffee.
Make Ahead and Storage
Storing Leftovers
Keep your cheesecake bars in an airtight container in the refrigerator. They will stay fresh and delicious for up to 5 days!
Freezing
These bars freeze beautifully! Wrap individual squares in plastic wrap and then place them in a freezer-safe bag. They’ll stay good for up to 3 months. Just thaw them in the fridge overnight before serving.
Reheating
Cheesecake is best served chilled! However, if you prefer them at room temperature, let them sit out on the counter for about 20–30 minutes before enjoying.
FAQs
1. Can I use a different type of cookie for the crust? Absolutely! While the chocolate sandwich cookies are classic, you could easily use graham crackers, gingersnaps for a spicy holiday twist, or even golden Oreos. Just follow the same butter-to-crumb ratio!
2. Why did my cheesecake bars crack on top? Usually, cracks happen from over-baking or cooling too quickly. Don’t worry if it happens, though—that’s what extra sprinkles or a little whipped cream are for! The taste will still be 10/10.
3. Do I really need to chill them for 2 hours? Yes, trust me on this one! The chilling time allows the cheesecake to fully set and develops the flavors. If you cut them too early, they might be a bit too soft and messy.
4. Can I use full-sized chocolate chips instead of mini? You can, but the mini chips are a real game-changer here because they distribute so evenly. Full-sized chips tend to sink to the bottom, but they’ll still taste delicious either way!
Christmas Cookie Cheesecake Bars
Ingredients
Equipment
Method
- Preheat oven to 325°F (165°C) and line a 9×13-inch pan with parchment paper.
- Mix cookie crumbs with melted butter until evenly combined.
- Press the mixture firmly into the bottom of the prepared pan to form the crust.
- Bake crust for 10 minutes, then remove and cool slightly.
- Beat cream cheese and sugar until smooth and creamy.
- Add eggs one at a time, mixing well after each addition.
- Mix in vanilla extract and sour cream until fully incorporated.
- Gently fold in sprinkles, mini chocolate chips, and white chocolate chips.
- Pour cheesecake mixture over crust and spread evenly.
- Bake for 35–40 minutes until the center is set with a slight jiggle.
- Cool completely, then refrigerate for at least 2 hours before slicing.