Today I’m bringing you a truly luscious, shareable dessert that is absolutely a game-changer for your next gathering: the incredible Apple Slab Pie! This isn’t your grandma’s fussy round pie (though we love those, too). This sheet-pan version takes all the warm, cozy flavors of a classic apple pie—spiced, tender fruit cradled in a buttery, flaky crust—and transforms it into an easy-to-slice, crowd-pleasing dessert. It’s perfect for everything from fall holidays to a casual Sunday afternoon treat, making classic apple pie effortless. Trust me, the aroma alone while this is baking will make your whole house feel like a giant, warm hug.
Why You’ll Love This Recipe
- Crowd-Pleasing Comfort: This is the easiest way to serve pie to a crowd! Baking it in a slab pan means every slice is uniform, easy to cut, and perfect for a potluck or big family dinner.
- The Perfect Texture: You get the ideal ratio of flaky crust to spiced apple filling in every single square. No more fighting over the corner pieces!
- Simple & Straightforward: Using refrigerated pie crusts (or your favorite homemade recipe!) makes this dessert surprisingly simple. You’ll be slicing and serving in about an hour, and everyone will think you spent all day on it.
- Irresistible Glaze: That final drizzle of a sweet vanilla glaze on top is the non-negotiable finish that elevates this humble pie from simple to sensational!
Ingredients
All you need for this Apple Slab Pie are simple, cozy ingredients, and a few minutes of prep time! But first, gather up these must-haves:
- Refrigerated Pie Crusts (or homemade): The easy, foundational layer for this amazing dessert. It gives you that buttery, flaky perfection without all the fuss.
- Medium Apples (Granny Smith or Honeycrisp): The star of the show! Using a firm, slightly tart apple like Granny Smith or a sweeter option like Honeycrisp gives the best balance of flavor and texture that won’t turn to mush in the oven.
- Granulated Sugar & Brown Sugar: This dynamic duo provides sweetness and depth. The brown sugar adds a lovely molasses note that makes the apples taste richer and toastier.
- All-Purpose Flour: This is key! It acts as a thickener, soaking up the lovely juices the apples release so your filling is perfectly gooey, not watery.
- Cinnamon & Nutmeg: The signature warming spices of fall baking. They infuse the apples with that cozy, nostalgic flavor we all crave.
- Lemon Juice: Don’t skip this! It brightens the flavor of the apples and helps prevent them from browning during prep.
- Vanilla Extract: Adds a subtle layer of complexity and aroma to the filling—a little secret weapon for deep flavor.
- Butter (cut into small cubes): Dotting the top of the filling with butter creates steam and richness, ensuring the apples cook down perfectly and the filling is extra luscious.
- Egg (beaten): This is for brushing the top crust. It creates an incredible, professional-looking shine and helps the crust turn that beautiful, deep golden-brown color.
- Coarse Sugar (optional): Sprinkling this on top adds a beautiful sparkle and a delightful crunch to the finished crust.
- For the Glaze (Powdered Sugar, Milk, Vanilla Extract): This simple mixture is the final touch of pure sweetness that makes this pie truly irresistible.
Note: The exact measurements for these ingredients, along with the full recipe instructions, are available right under this article in the recipe card!
How to Make the Apple Slab Pie
Get ready to bake, friend! This process is so straightforward, you’ll wonder why you haven’t made a slab pie sooner.
Step 1: Prep and Preheat the Oven
Preheat your oven to a cozy 400°F (200°C). Lightly grease your 10×15-inch baking pan or line it with parchment paper for the easiest cleanup. This ensures your crust comes out perfect and doesn’t stick!
Step 2: Lay the Bottom Crust
Gently unroll one of your pie crusts and fit it into the bottom of your prepared pan, pressing it gently up the sides. Don’t worry if you have to patch any small tears—it’s all going to be covered up!
Step 3: Mix the Apple Filling
In your largest bowl, toss together all those incredible sliced apples, both sugars, the flour, cinnamon, nutmeg, lemon juice, and vanilla extract. Give it a good, loving toss until all those apple slices are perfectly coated in the spice mixture.
Step 4: Assemble the Pie
Spread the apple mixture evenly over the bottom crust. Now, scatter those small cubes of butter over the top of the apples. That butter is going to melt down and make the filling absolutely divine!
Step 5: Seal and Vent the Top
Unroll the second pie crust and place it right on top of the filling. Trim any excess crust hanging over the sides and then carefully pinch, fold, or crimp the edges of the top and bottom crusts together to create a nice seal. Finally, use a small knife to cut a few little slits in the top crust—this lets the steam escape and prevents a soggy pie.
Step 6: Bake Until Golden
Brush the top crust generously with the beaten egg wash and, if you’re feeling fancy, sprinkle it with the coarse sugar. Pop it in the preheated oven for 35–40 minutes, or until the crust is a gorgeous golden brown and the filling is enthusiastically bubbling away.
Step 7: Cool and Glaze
Let the pie cool for at least 30 minutes. While it’s cooling, whisk together your simple glaze ingredients (powdered sugar, milk, and vanilla) until it’s smooth and perfectly drizzly. Drizzle that sweet goodness all over the cooled pie before slicing it into lovely squares.
Pro Tips for Making the Apple Slab Pie
- Don’t Skimp on the Flour: The flour is the secret weapon for a perfectly set filling. Make sure your apples are well-coated to avoid a soupy result!
- Tent if Necessary: If you notice your edges are browning too quickly before the center is done, simply loosely cover the edges of the pie with strips of aluminum foil to shield them until the rest of the pie catches up.
- Let It Rest! You must let the pie cool for at least 30 minutes before slicing. This allows the filling to finish setting up, giving you neat, beautiful squares instead of a messy pile of warm apples.
- The Perfect Apple Mix: I love using a mix of tart Granny Smiths and sweet Honeycrisps. The complexity of flavors is absolutely worth it!
How to Serve
This pie is designed to be the ultimate party dessert—simple to slice and serve!
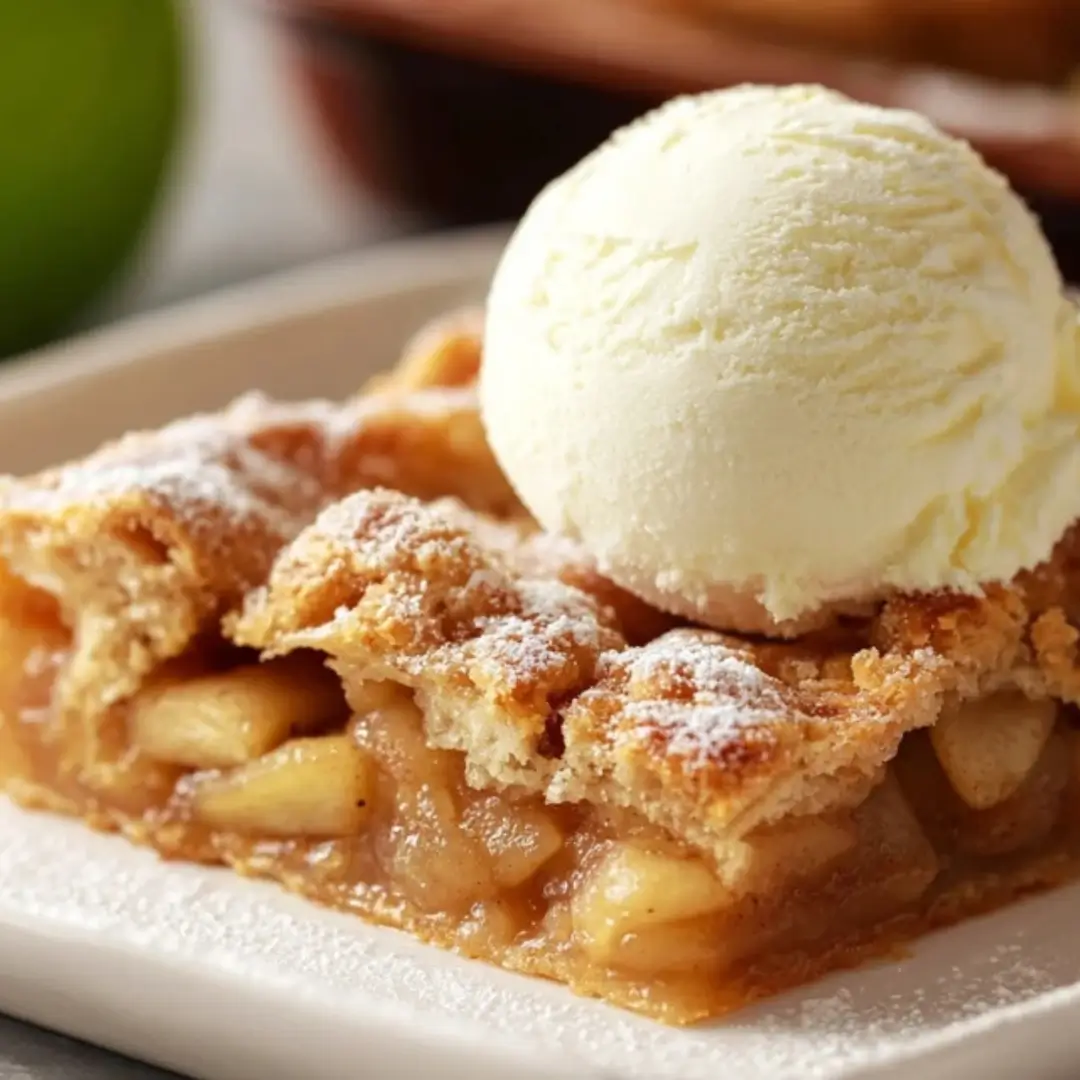
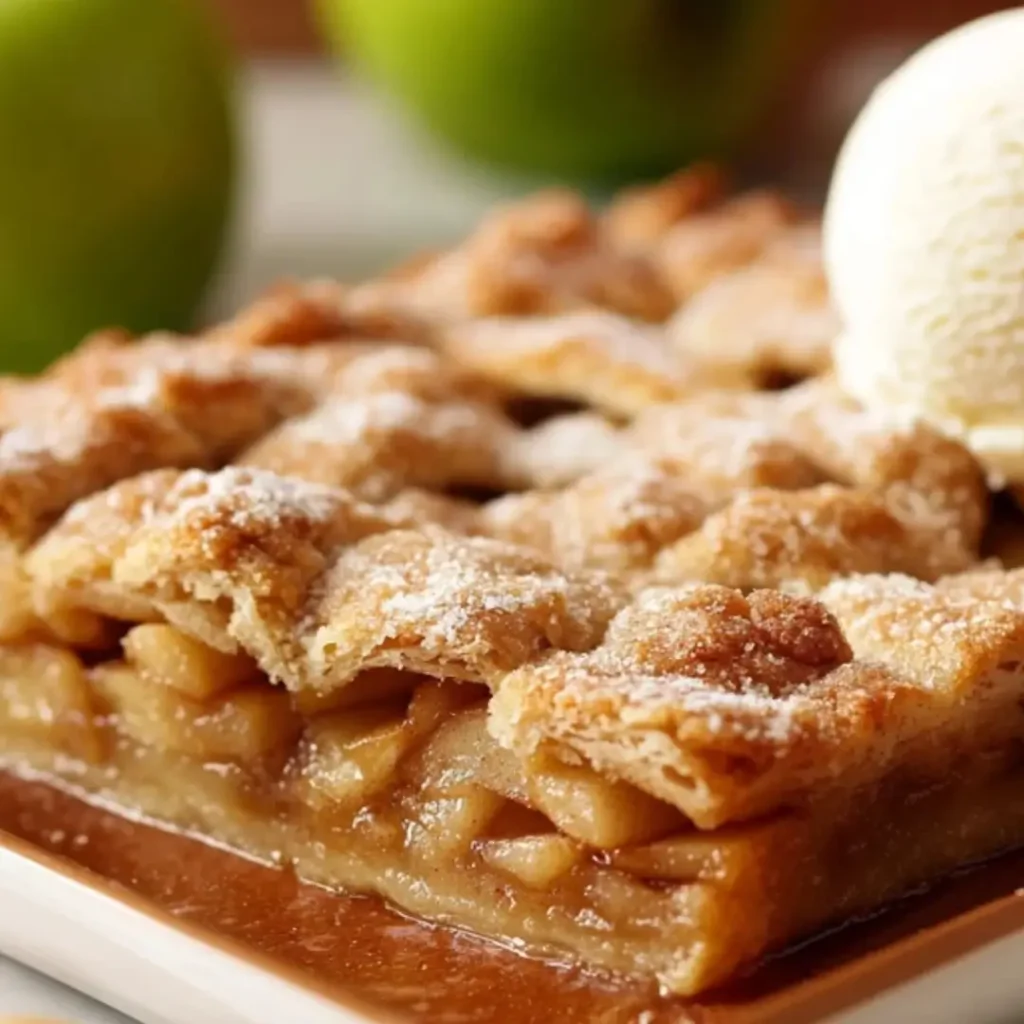
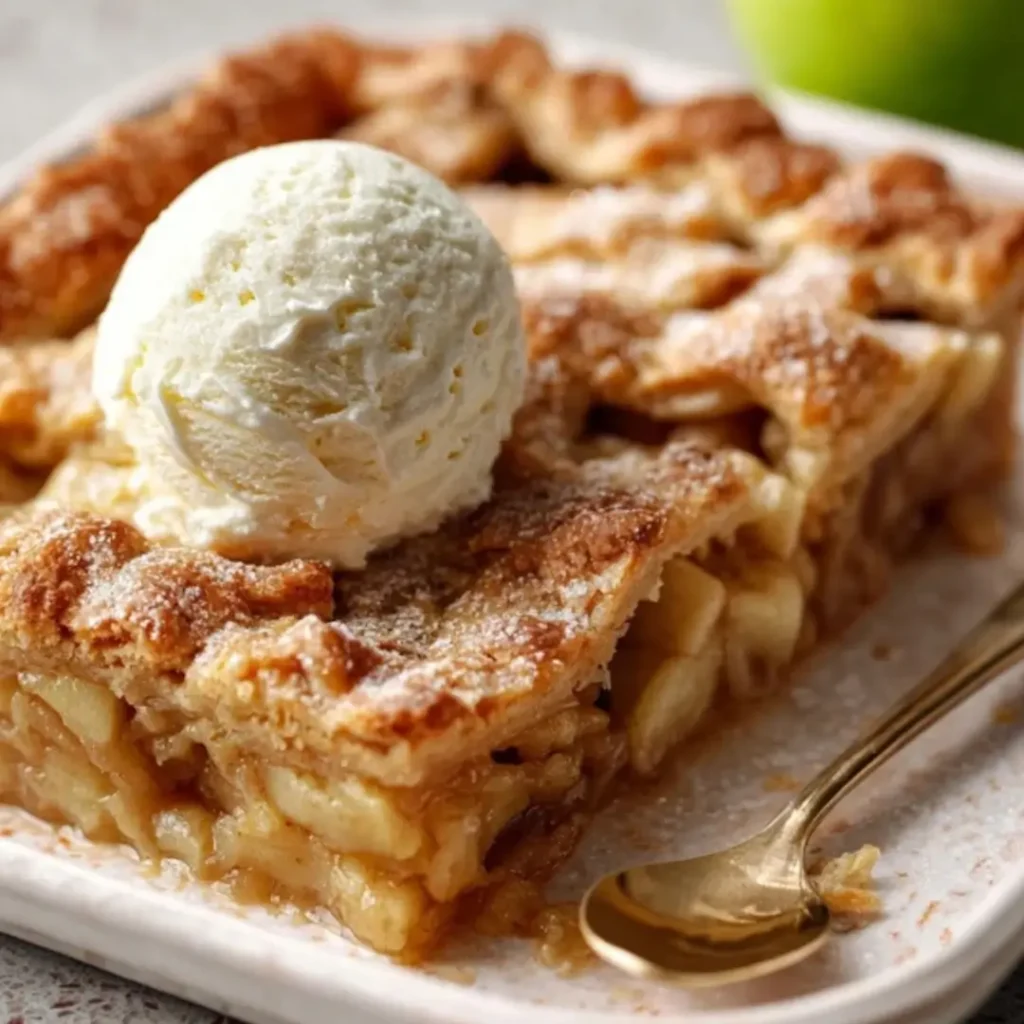
- Classic Comfort: Serve the squares slightly warm with a generous scoop of vanilla bean ice cream or a dollop of fresh whipped cream.
- Perfect Pairings: A cup of strong, hot coffee or a warm mug of spiced apple cider is the ideal cozy drink to go alongside this dessert.
- Slab Style: Since it’s baked in a rectangular pan, it’s already portioned! Slice it into 10–12 neat squares and serve directly from the pan—it doesn’t get easier than that.
Make Ahead and Storage
Storing Leftovers
Any leftover pie squares can be stored in an airtight container at room temperature for up to 3 days (if your kitchen isn’t too warm) or in the refrigerator for up to 4 days.
Freezing
You can freeze leftover slices! Place them on a baking sheet to freeze, and once solid, transfer them to a freezer-safe container or bag. It keeps well for up to 2 months.
Reheating
If you want to recapture that “fresh-baked” warmth, simply place the leftover slices on a baking sheet and reheat them in a preheated oven at 350°F (175°C) for about 10–15 minutes, or until warmed through. You can also give it a quick zap in the microwave for a faster result.
FAQs
1. Can I use a different type of apple for this recipe?
Absolutely! While the classic choice is a firm, slightly tart apple like Granny Smith (it holds its shape best), you can use almost any firm baking apple. Honeycrisp, Fuji, or Braeburn are all excellent options. You can even mix two or three different types for a more complex flavor profile—just be sure to avoid very soft, mushy apples!
2. I don’t have a 10×15-inch pan. Can I use a standard 9×13-inch baking dish?
You can, but you’ll have extra filling, and the resulting pie will be much thicker, similar to a deep-dish casserole. If you use a 9×13-inch pan, you will likely need to increase your baking time by about 10–15 minutes, and you should tightly cover the top with foil for the first 25 minutes to prevent the crust from burning before the thick filling is cooked through.
3. What can I use instead of the egg wash?
If you don’t want to use the beaten egg, you have a couple of easy alternatives! Brushing the crust with a little bit of milk or heavy cream will still help it brown and give it a softer crust. Alternatively, brushing it with melted butter will add richness and a lovely golden color.
4. Can I skip the glaze on the top?
You certainly can, but why would you want to?! Kidding aside, the pie is delicious on its own with the coarse sugar crust. The glaze simply adds that final layer of sweetness and a beautiful presentation. If you’re not a fan of powdered sugar glaze, you could dust the cooled pie with a light sprinkle of powdered sugar instead for a similar finished look.