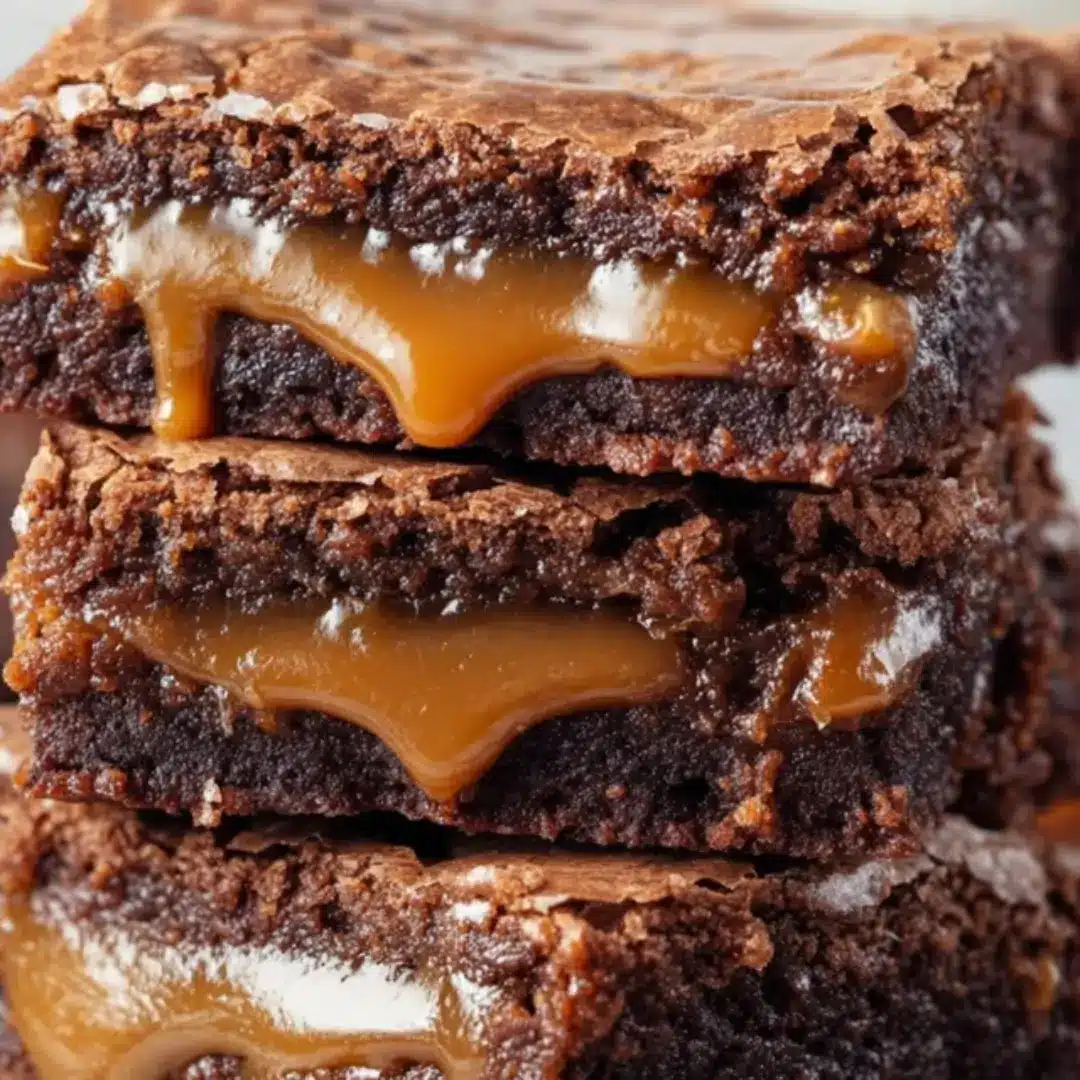
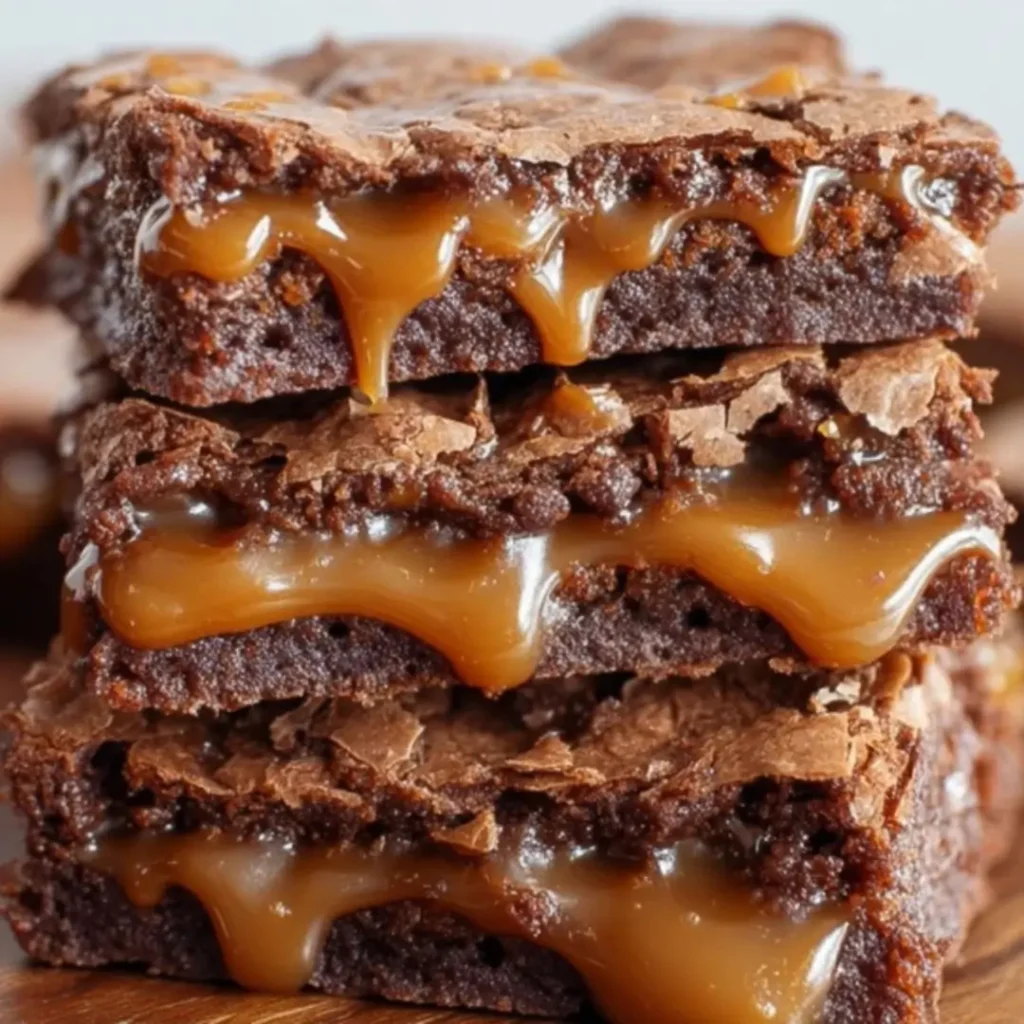
Today I’m bringing you a dessert that is so absolutely decadent, so wonderfully rich, and so perfectly balanced between fudgy chocolate and salty-sweet caramel that it will absolutely change your life. Trust me, these Caramel Brownies are the ultimate chocolate fix! They take the classic, beloved brownie and tuck a secret layer of smooth, luscious caramel inside. The result? A perfectly textured, ultra-chocolaty square with a ribbon of irresistible gooeyness in every single bite. This is the one you’ll be making again and again.
Why You’ll Love This Recipe
- A Fudgy Dream: This recipe delivers that perfect, dense, ultra-fudgy texture that everyone craves in a homemade brownie—no cakey disappointments here!
- The Ultimate Surprise: The hidden, soft layer of melted caramel baked inside transforms a standard treat into a truly next-level, gourmet indulgence.
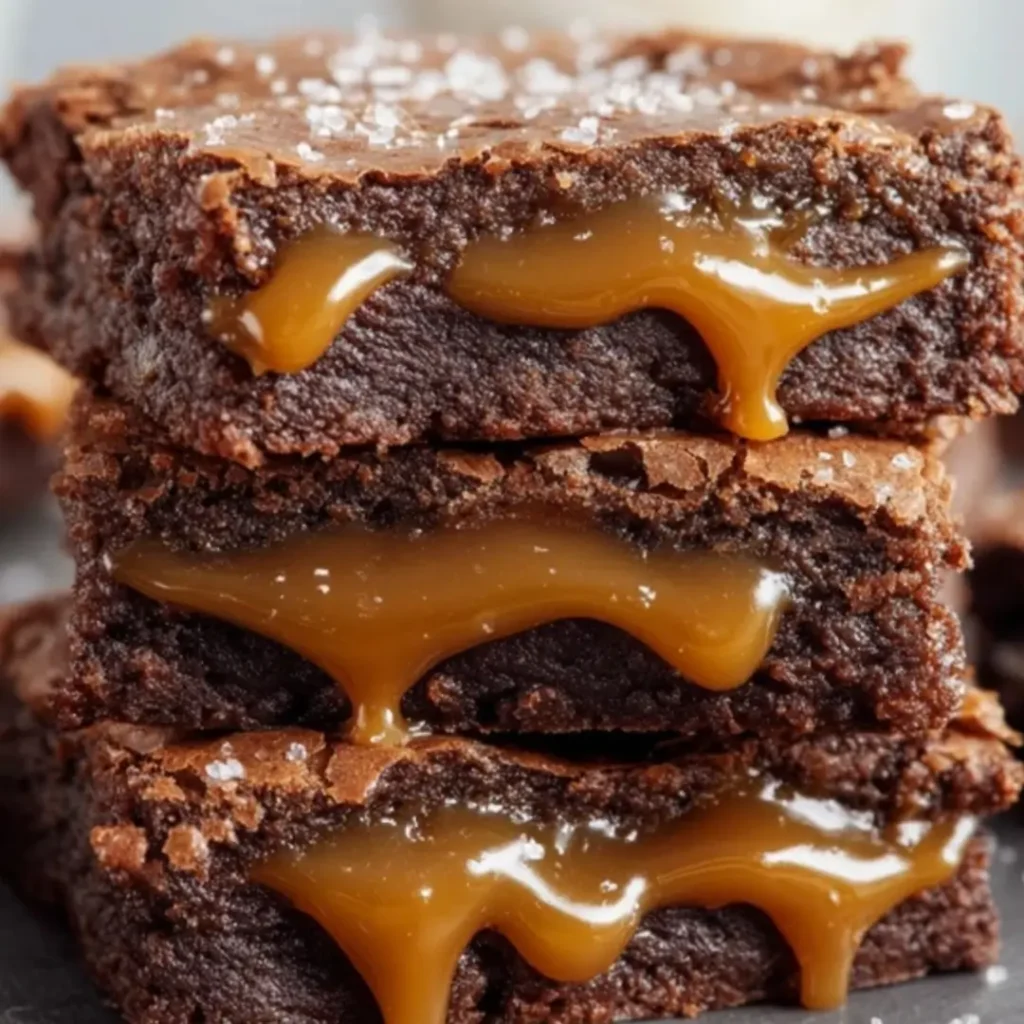
- Salty-Sweet Perfection: A sprinkle of sea salt flakes on top cuts through the richness of the chocolate and caramel, creating a balanced flavor profile that is completely addictive.1
- Simple Layering Magic: Even though it looks complicated, the layering technique is super straightforward and easy to master, guaranteeing stunning results every time.
Ingredients
All you need for this Caramel Brownies Recipe is about an hour of your time and a few pantry staples! These key ingredients work together to give you that incredible fudgy flavor and texture.
- Unsalted Butter: The fat base that delivers richness and that signature chewy texture we all love.
- Granulated Sugar: Sweetens the brownies, of course, but also helps create that crackly, glossy top layer.
- Large Eggs: Our binders! They add richness and moisture, helping the brownies set up perfectly fudgy.
- Vanilla Extract: A non-negotiable flavor booster—it deepens the taste of the chocolate and makes everything taste more complex.2
- All-Purpose Flour: Just enough to bind the ingredients without making the brownies tough or cakey.
- Unsweetened Cocoa Powder: The main event! Use a high-quality cocoa here; it’s what gives the brownies their intense, dark, chocolaty flavor.
- Salt: Essential for balancing the sweetness and making the chocolate taste more chocolaty. Don’t skip it!
- Baking Powder: Provides a little lift to prevent the brownies from becoming overly dense, ensuring they aren’t rock-hard.
- Semi-Sweet Chocolate Chips: Stirring these into the batter adds little pockets of melted chocolate for an extra gooey texture.
- Soft Caramel Candies (or Caramel Bits): This is your gooey center! These melt down easily to create that liquid ribbon of buttery caramel.
- Heavy Cream or Milk: A splash of liquid helps thin the melted caramel, making it perfectly smooth and pourable for easy spreading.
- Sea Salt Flakes (Optional): This finishing touch provides a gourmet look and a pop of flaky salt that is truly heaven with the sweet caramel.3
A note on measurements: You can find the exact ingredient amounts right underneath this article in the full recipe card.
How to Make the Caramel Brownies
Making these layered beauties is easier than you think! Follow these steps, and you’ll have a spectacular pan of gooey goodness in under an hour.
Step 1: Prep and Melt the Base
Preheat your oven to a cozy $350^\circ\text{F}$ ($175^\circ\text{C}$). The first key to easy clean-up and perfect bars is lining a $9\times13\text{-inch}$ baking pan with parchment paper and lightly greasing it. Next, melt the butter in a saucepan over medium heat, then take it off the stove and whisk in your sugar until it’s silky smooth.
Step 2: Build the Batter
Add the eggs one at a time, making sure to whisk well after each one—this builds structure and richness! Finish the wet ingredients by stirring in the vanilla extract. In a separate bowl, whisk together the flour, cocoa powder, baking powder, and salt. Gently fold the dry ingredients into the wet mixture until just combined. Over-mixing is the enemy of fudgy brownies!
Step 3: Layer the Chocolate
Stir in your semi-sweet chocolate chips for that extra fudgy factor. Pour about half of the brownie batter into your prepared pan and spread it out evenly. Pop this first layer into the oven for 15 minutes. It’ll be partially set and ready for its caramel surprise!
Step 4: Prepare and Pour the Caramel
While the bottom layer is baking, melt your soft caramel candies (or bits) with the heavy cream in a small saucepan over low heat. Stir constantly until it’s completely smooth and pourable. Once the bottom layer is out of the oven, pour the glorious, melted caramel right over it, spreading it edge-to-edge.
Step 5: Finish the Bake
Carefully spoon the remaining brownie batter over the caramel layer. I like to drop small spoonfuls all over the surface, then gently spread them together to cover the caramel. Bake for another 20–25 minutes. You want the center to look set but still have a slight wiggle to it—that’s your sign it’s going to be perfectly fudgy.
Step 6: Cool, Garnish, and Slice
This is the hardest part, but you must let the brownies cool completely before you slice them! This locks in the fudgy texture and prevents the caramel from oozing everywhere. Once cooled, lift them out using the parchment paper, sprinkle with those gorgeous sea salt flakes, and slice into squares. Prepare for applause!
Pro Tips for Making the Recipe
- Parchment Paper is Your Best Friend: Using parchment paper with an overhang makes lifting the entire batch of brownies out of the pan a breeze once they’ve cooled.
- Don’t Overbake: Seriously! The difference between a fudgy brownie and a cakey brownie is just a couple of minutes. When you pull them out, the edges should look set, but the center should still look slightly soft and maybe even a little underdone. They will continue to set as they cool.
- The Right Spread: When spreading the top layer of batter over the caramel, use an offset spatula and be gentle. If you try to aggressively spread it, you’ll mix the chocolate into the caramel. Just cover the caramel without disturbing it much.
- Cool Completely: For the cleanest, most perfect squares, let the brownies cool at room temperature for at least 2 hours, or even better, chill them in the fridge before slicing.
How to Serve
These brownies are incredible all on their own, but if you want to elevate them to a full-blown dessert experience, try these pairings:
- The Classic Scoop: Serve warm with a generous scoop of vanilla bean ice cream and an extra drizzle of caramel sauce.
- Coffee Shop Style: Pair with a hot mug of strong, black coffee or a cozy salted caramel latte.
- For the Holidays: Dust the tops with a little powdered sugar or serve alongside a bowl of fresh raspberries for a contrasting tartness.
Make Ahead and Storage
Storing Leftovers
Keep your leftover Caramel Brownies in an airtight container at room temperature for up to 4 days. If it’s warm in your kitchen, you can store them in the refrigerator, but let them come to room temp for about 30 minutes before serving for the best texture.
Freezing
These freeze beautifully! Once completely cooled, slice the brownies, then place them in a single layer in a freezer-safe, airtight container separated by layers of parchment paper. They will keep for up to 3 months.
Reheating
To reheat, simply thaw frozen brownies overnight in the refrigerator, or microwave a single serving for about 15–20 seconds until the caramel layer is warm and gooey again.
FAQs
1. My caramel layer seems too thick to pour. What should I do?
If your caramel is too thick, simply add an extra tablespoon of heavy cream or milk to the saucepan and stir over low heat until it reaches a smooth, pourable consistency. The goal is a caramel that flows easily without being watery. You can also buy soft caramel bits, which are specifically designed to melt easily for baking and might give you a smoother result!
2. Can I use a different size pan for this recipe?
Yes, you can, but you’ll need to adjust the baking time. If you use an $8\times8\text{-inch}$ pan, the brownies will be much thicker, so you will need to increase the initial baking time by about 5 minutes, and the second baking time by 5–10 minutes. Always check the center—it should be set but not hard. For a $9\times9\text{-inch}$ pan, the times will be similar to the original recipe, but check for doneness a couple of minutes earlier.
3. What is the best way to get clean slices?
The absolute secret to perfect, clean slices is chilling! Once the brownies have cooled to room temperature, place the pan in the refrigerator for at least 30 minutes (or up to an hour). Use a large, sharp knife, running it under hot water and wiping it clean between every single cut. The chilled, firm caramel won’t stick to the knife, giving you picture-perfect squares.
4. I don’t have semi-sweet chocolate chips. Can I use milk chocolate or dark chocolate instead?
You absolutely can! The great thing about this recipe is its versatility. Milk chocolate chips will give you a sweeter, creamier overall brownie, while dark chocolate chips will intensify the rich, bitter contrast to the sweet caramel. Just use a 1:1 substitution. It all depends on your personal preference for the final level of sweetness in the dessert.