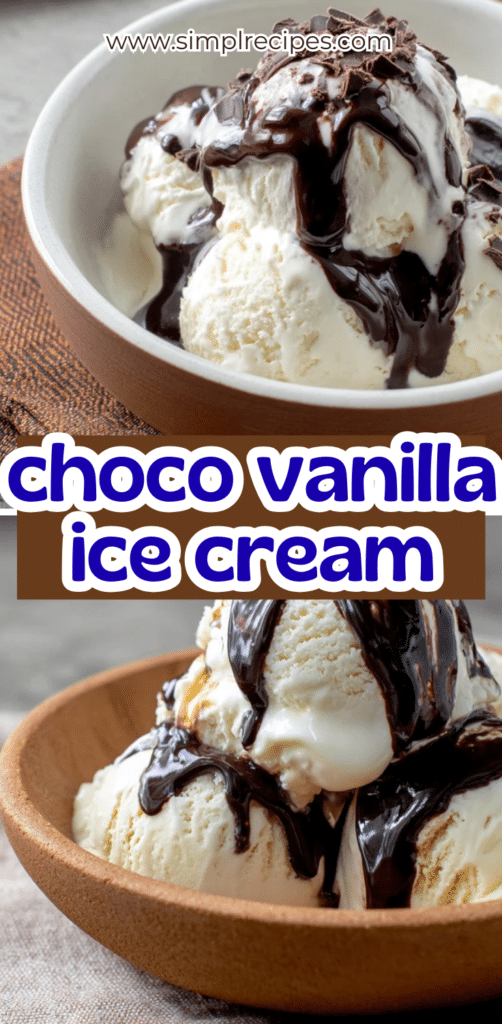
Oh, sweet friends, isn’t there something truly magical about a scoop of homemade ice cream? Especially when it’s a delightful classic like this creamy choco vanilla ice cream, swirling together two beloved flavors in perfect harmony. The way the rich cocoa dances with the sweet, fragrant vanilla is just pure bliss, a taste of childhood summers and simple joys.
I remember countless afternoons in my grandmother’s kitchen, the scent of vanilla always lingering in the air. We’d experiment with different dessert ideas, and she’d always say, “Sara, the simplest ingredients often create the most extraordinary treats.” This recipe truly embodies that spirit, reminding me of those precious moments.
This wonderful recipe is not only incredibly easy to bake, making it perfect for a relaxed weekend project, but it’s also a fantastic family-friendly dessert that brings smiles to every face. My top tip for any aspiring baker? Always trust your instincts and enjoy every step of the process – that’s where the true magic happens!
What You Need to Make This Recipe
Crafting this delightful dessert means gathering just a few wholesome ingredients that transform into pure magic. At the heart of our luscious choco vanilla ice cream are rich heavy cream, full-bodied whole milk, and the fragrant embrace of a vanilla bean for that authentic, comforting flavor, perfectly balanced with the deep notes of unsweetened cocoa. You’ll find the complete list of ingredients and precise measurements in the recipe card below, ready to guide your sweet adventure.
How to Make choco vanilla ice cream
Creating this heavenly choco vanilla ice cream is a delightful journey that begins with carefully preparing two distinct bases. First, we’ll whisk up the velvety vanilla ice cream base, infusing it with that classic, comforting aroma. Next, we’ll craft the rich chocolate swirl, a deep and decadent contrast. Finally, these two exquisite flavors are churned together and artfully assembled, creating those beautiful, enticing swirls that make every spoonful a treat.
Classic Choco Vanilla Swirl Ice Cream
Ingredients
Equipment
Method
- In a large saucepan, combine 1 cup of heavy cream, whole milk, 3/4 cup granulated sugar, and 1/4 teaspoon salt. If using a vanilla bean, add the scraped seeds and the pod to the mixture. Heat over medium heat, stirring occasionally, until the sugar is dissolved and the mixture is hot but not boiling (around 175°F / 80°C).
- In a separate medium bowl, whisk the egg yolks until light yellow. Slowly drizzle about half of the hot cream mixture into the egg yolks, whisking constantly to temper them.
- Pour the tempered egg yolk mixture back into the saucepan with the remaining cream mixture. Continue to cook over medium-low heat, stirring constantly with a spatula, until the mixture thickens enough to coat the back of a spoon (about 175-180°F / 80-82°C). Do not boil.
- Remove the saucepan from heat. If using a vanilla bean pod, remove it. Stir in the remaining 1 cup of cold heavy cream and 2 tsp vanilla extract (if not already added as vanilla bean). Strain the custard through a fine-mesh sieve into a clean bowl to remove any cooked egg bits or vanilla bean remnants. Place the bowl in an ice bath or refrigerate for at least 4 hours, or preferably overnight, until thoroughly chilled (below 40°F / 4°C).
- While the base chills, prepare the chocolate swirl. In a small saucepan, whisk together cocoa powder, 1/2 cup granulated sugar, and 1/4 teaspoon salt. Gradually whisk in 1/2 cup whole milk until smooth.
- Heat the chocolate mixture over medium-low heat, stirring constantly, until it comes to a gentle simmer and thickens slightly (about 3-5 minutes). Remove from heat, stir in the unsalted butter and 1 teaspoon vanilla extract until melted and smooth. Let it cool completely to room temperature, then refrigerate until chilled.
- Once the vanilla ice cream base is fully chilled, pour it into your ice cream maker and churn according to the manufacturer’s instructions, usually 20-25 minutes, until it reaches a soft-serve consistency.
- In an airtight freezer-safe container, spoon about a third of the churned vanilla ice cream. Drizzle generously with about a quarter of the chilled chocolate swirl. Repeat layers, gently swirling with a knife or spoon after each chocolate addition, but do not fully mix. Finish with a final drizzle of chocolate on top.
- Cover the container tightly and freeze for at least 4-6 hours, or until firm, before serving.
Notes
Pro Tips for Making This choco vanilla ice cream
After years of tinkering and tasting, I’ve gathered a few little secrets that ensure your choco vanilla ice cream turns out absolutely perfect every time. These are the tricks I rely on to get that dreamily smooth texture and balanced flavor.
My Secret Trick: I always infuse my milk and cream with the vanilla bean for a good 30 minutes (or even longer!) before heating, allowing the vanilla’s aromatic oils to truly bloom and deepen the flavor of the vanilla base. It makes all the difference!
For the richest, most intense chocolate swirl, I love to bloom the cocoa powder with a little hot milk or water first. This simple step truly enhances the chocolate’s depth, making it incredibly fudgy and vibrant.
When it comes to churning, don’t rush it. Ensure your ice cream maker bowl is thoroughly chilled—preferably overnight. This helps the mixture freeze quickly and evenly, preventing large ice crystals and resulting in a wonderfully smooth, creamy texture.
After churning, resist the urge to dig in immediately! Transfer your swirled ice cream to an airtight container and let it firm up in the freezer for at least 4-6 hours. This “curing” process allows the flavors to meld beautifully and the texture to reach its ideal scoopable consistency.
Fun Variations for choco vanilla ice cream
One of the greatest joys of homemade desserts is the freedom to play and personalize, and this choco vanilla ice cream is a fantastic canvas for your creativity! I love to see how my friends and family put their own spin on classics.
Swirl in Some Extra Goodness
My sister always asks me to swirl in a touch of raspberry jam or a homemade salted caramel sauce right at the end of churning. The tartness of raspberry or the richness of caramel creates an extra layer of flavor that complements the choco vanilla perfectly.
Add a Crunchy Element
For those who love a bit of texture, consider folding in some crushed chocolate sandwich cookies, mini chocolate chips, or even toasted chopped nuts like pecans or walnuts during the last few minutes of churning. A friend loves when I add chopped pretzels for a sweet and salty twist!
Spice It Up
If you’re feeling adventurous, a tiny pinch of cayenne pepper in the chocolate swirl can add a subtle, warming kick that beautifully highlights the cocoa. Or, a splash of coffee liqueur can deepen the chocolate flavor for a more grown-up treat.
What to Serve With choco vanilla ice cream
This creamy choco vanilla ice cream is absolutely divine on its own, but it truly shines when paired with a few thoughtful accompaniments. It’s all about creating that perfect moment of indulgence, just like my mom always taught me.
I love serving a generous scoop alongside a warm, fudgy brownie or a slice of apple pie. The contrast between the cold, creamy ice cream and a warm, baked treat is simply heavenly.
For a simpler, yet equally delightful pairing, fresh berries like strawberries or raspberries add a lovely tang and freshness that cuts through the richness of the ice cream. A light dusting of powdered sugar over the berries makes it extra special.
On a cozy evening, my mom always pairs homemade ice cream with a hot cup of coffee or a rich hot cocoa. The warmth of the drink alongside the cold, sweet treat is such a comforting combination.
And for a quick and easy presentation, a drizzle of chocolate fudge sauce or a sprinkle of colorful sprinkles instantly elevates this classic choco vanilla ice cream into a festive dessert.
How to Store choco vanilla ice cream
Ensuring your creamy choco vanilla ice cream stays fresh and delicious is key to enjoying those sweet moments for longer. After all, a homemade treat this good deserves to be savored!
Chilling for Perfection
To keep your ice cream tasting its best, store it in an airtight container in the coldest part of your freezer. This prevents the formation of ice crystals and helps maintain that wonderfully smooth texture. I like using a shallow, rectangular container as it helps the ice cream freeze more evenly.
Freezer Friendly
Properly stored, your homemade choco vanilla ice cream will remain delicious for up to two weeks. While it might last longer, I find the texture and vibrant flavors are at their peak within that timeframe. For best results, press a piece of parchment paper or plastic wrap directly onto the surface of the ice cream before sealing the container.
Serving with Ease
When you’re ready to enjoy, let the ice cream sit on the counter for 5-10 minutes to soften slightly. This makes it much easier to scoop and enhances its creamy texture. My personal tip? I always warm my ice cream scoop under hot water for a few seconds before scooping; it glides through like a dream!
Nutritional Benefits
While it’s true that choco vanilla ice cream is a delightful indulgence, it can also offer a few small nutritional boosts. Made with real dairy, it provides calcium for strong bones, and the egg yolks contribute protein and vitamins. It’s a treat that combines satisfying flavors with simple, wholesome ingredients from the comfort of your kitchen.
FAQs
Faq 1
Can I make this choco vanilla ice cream without an ice cream maker?
Yes, you can! While an ice cream maker yields the creamiest result, you can use the “no-churn” method by freezing the base in a shallow pan and stirring it every 30-45 minutes until firm.
Faq 2
What’s the best way to get distinct choco vanilla ice cream swirls?
For beautiful swirls, alternate dollops of your vanilla and chocolate bases into your ice cream maker during the last few minutes of churning, or layer them into your freezer container and gently swirl with a knife.
Faq 3
Can I use a different type of milk?
For the creamiest choco vanilla ice cream, I highly recommend using whole milk as specified. Lower fat milks will result in a icier texture, as fat content is crucial for a rich, smooth finish.
Faq 4
How can I prevent my ice cream from becoming too hard in the freezer?
Adding a tablespoon of a clear spirit like vodka or a touch more sugar than specified can help lower the freezing point of your choco vanilla ice cream, making it softer and easier to scoop.
Conclusion
Making your own creamy choco vanilla ice cream at home is truly one of life’s simple, sweet pleasures. It’s a chance to slow down, create something beautiful with your hands, and fill your kitchen with the most comforting aromas. This recipe promises not just a delicious dessert, but also an opportunity to create cherished memories with every scoop. So, gather your ingredients, embrace the joy of baking, and get ready to delight your loved ones with this classic, heartwarming treat.