Today I’m bringing you a truly luscious, sunshine-in-a-slice dessert that is an absolute lifesaver when the weather heats up: the Easy No-Bake Lemon Icebox Pie. This pie is the ultimate warm-weather treat because it requires zero oven time—yes, you read that right, zero! It’s all about creating magic in the fridge. This recipe delivers a perfectly tart, ultra-creamy, and refreshingly sweet filling nestled in a buttery, crunchy graham cracker crust. Trust me, every bite is like a cool, breezy vacation for your taste buds, and since it’s so ridiculously easy to pull together, this one’s a game-changer for your summer dessert rotation.
Why You’ll Love This Recipe
- No Oven Required! 🔥 This is the perfect dessert for those hot days when turning on the oven is just not an option. It’s all chill time, zero cook time.
- The Perfect Balance of Flavor 🍋 The filling hits that sweet spot between creamy sweetness and bright, zesty lemon tartness—it’s incredibly refreshing!
- Ridiculously Simple to Make 🌟 If you can mix, press, and fold, you can make this pie. It uses simple pantry ingredients and delivers show-stopping results with minimal effort.
- Make-Ahead Dream 🗓️ This pie needs time to set, which means it’s ideal for making a day ahead of your party, allowing you to relax when guests arrive!
Ingredients
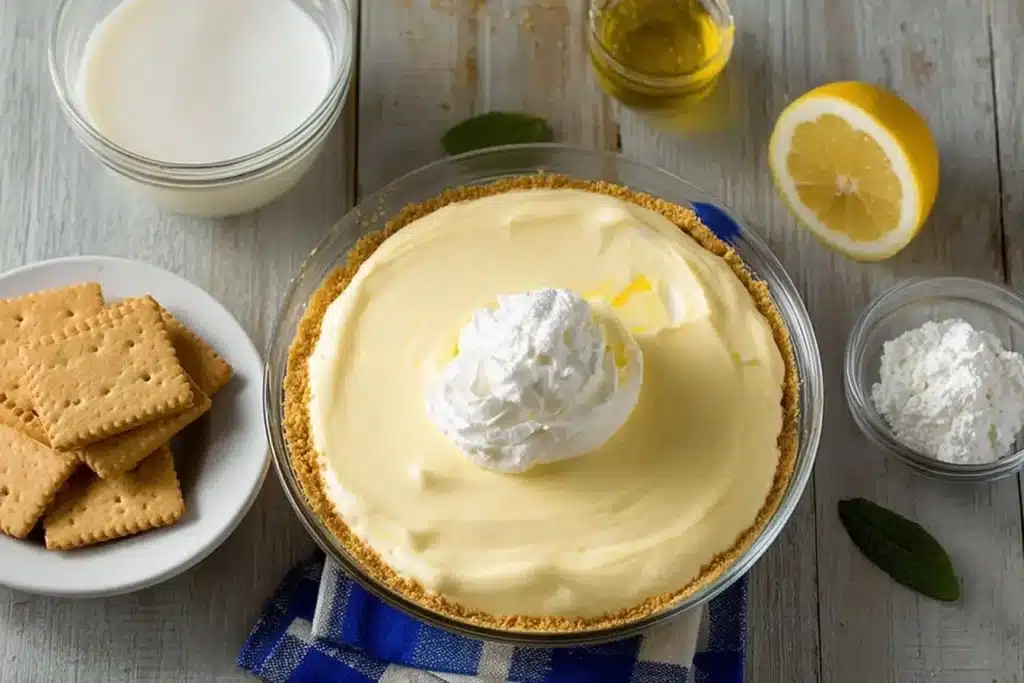
All you need for this dreamy Lemon Icebox Pie is about 15 minutes of active time! But first, let’s talk about the stars of the show and why we use them:
- Graham Cracker Crumbs: This is the foundation of our pie. They provide that classic, buttery, crunchy texture we all love in a no-bake crust.
- Melted Unsalted Butter: The essential binder! It holds those crumbs together firmly so your slices don’t crumble when you serve them.
- Sugar: We add a touch of granulated sugar to the crust for an extra bit of sweet flavor, making the base truly irresistible.
- Sweetened Condensed Milk: This is the magic ingredient for the filling. It makes the pie thick, sweet, and wonderfully creamy without needing to cook custard.
- Freshly Squeezed Lemon Juice: Use fresh juice here! This provides the essential zesty tartness and, even cooler, the acidity reacts with the condensed milk to help the filling thicken and set.
- Lemon Zest: This is where the bright, intense lemon aroma and flavor truly live. Don’t skip it; it elevates the whole pie!
- Cold Heavy Whipping Cream: When whipped, this creates the light, airy, and fluffy texture of the filling, making it feel like a cloud on your tongue.
- Powdered Sugar: Used to sweeten and stabilize the whipped cream, ensuring those beautiful stiff peaks hold their shape.
- Lemon Slices: For a final, vibrant garnish that tells everyone exactly what deliciousness they’re about to enjoy!
Note: The ingredients with precise measurements and quantities will be listed for you right under this article in the recipe card!
How to Make the Easy No-Bake Lemon Icebox Pie
Making this pie is almost as easy as eating it! Seriously, it’s a breeze.
Step 1: Prep the Crumb Crust
In a medium bowl, combine the graham cracker crumbs, melted butter, and sugar. Mix these beauties together thoroughly until the mixture resembles wet sand. Now, press this mixture firmly into the bottom and up the sides of your 9-inch pie dish. Use the bottom of a measuring cup or your hands to get it really compact! Pop this into the fridge for at least 20 minutes to set while you prepare the filling.
Step 2: Create the Lemon Base
In a separate medium bowl, take your sweetened condensed milk, lemon juice, and lemon zest. Whisk them together until the mixture is smooth. You’ll notice almost instantly that the mixture starts to thicken up—that’s the lemon acid doing its work!
Step 3: Whip the Cream
In a cold, separate bowl, pour in your heavy cream and powdered sugar. Using an electric mixer (or some serious arm muscle!), whip the cream until beautiful, firm stiff peaks form. This means when you lift the whisk, the peaks stand up and don’t flop over.
Step 4: Fold in the Fluff
Gently take your gorgeous, whipped cream and fold it into the lemon mixture. Use a spatula and a gentle, sweeping motion (cutting through the middle, sweeping to the side) until the cream is just fully incorporated and the filling is a uniform, pale yellow color. The key word here is gentle—we want to keep all that beautiful air in the whipped cream!
Step 5: Chill Out
Pour the light and fluffy filling into your chilled graham cracker crust and use the back of a spoon or spatula to smooth the top. Now, the hardest part: waiting! Refrigerate the pie for at least 4 hours, but honestly, overnight is best. This ensures it’s perfectly firm and chilled for easy slicing.
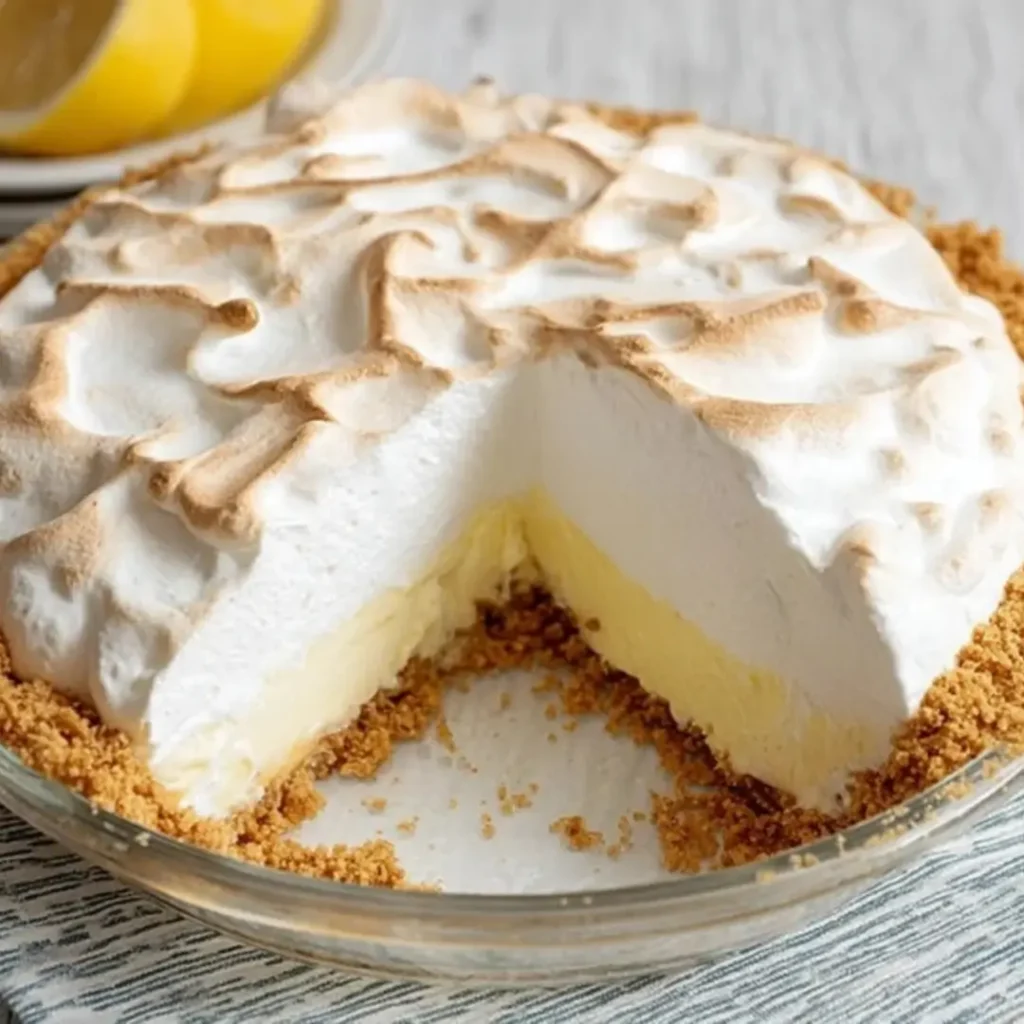
Step 6: Garnish and Serve
Before bringing it out to the adoring crowd, garnish the top with a few thin, fresh lemon slices for a stunning finish. Slice and enjoy the sunshine!
Pro Tips for Making the Recipe
- Don’t Skip the Chill Time: That initial 20 minutes for the crust and the final 4+ hours for the pie are non-negotiable! This is what ensures clean, beautiful slices.
- Use Fresh Lemon Juice: Seriously, ditch the bottle. Freshly squeezed lemon juice is far more bright, flavorful, and acidic, which is crucial for helping the filling set up properly.
- Folding Technique is Key: When incorporating the whipped cream, use a large rubber spatula and fold gently. Over-mixing will deflate the whipped cream and result in a dense, less airy filling.
- Cold Cream Whips Best: Make sure your heavy whipping cream (and even your mixing bowl and whisk attachment!) are nice and cold before you start whipping. This helps achieve stiff peaks faster.
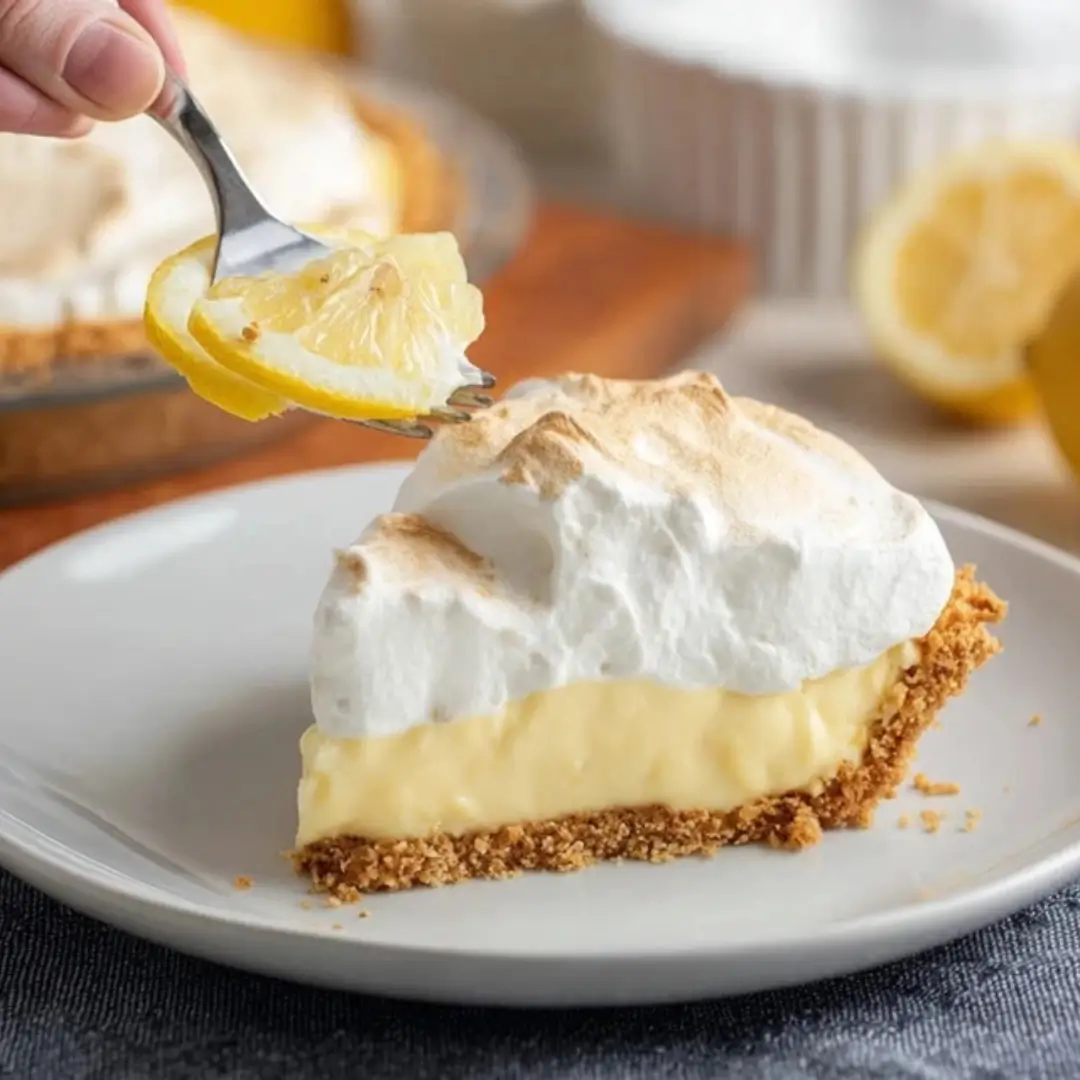
How to Serve
This pie is so delicious it truly stands on its own, but here are a few fun ways to serve it up and impress your friends:
- A Simple Garnish: A few fresh lemon slices or a dusting of extra lemon zest keeps it clean, simple, and elegant.
- Berry Goodness: Pair a slice with a handful of fresh, tart raspberries or sweet blueberries. The colors and flavors are a match made in heaven!
- Extra Cream: Add a dollop of extra whipped cream (maybe flavored with a hint of vanilla) to each slice just before serving.
- Tea Pairing: This refreshing, tangy pie is absolutely incredible served alongside a chilled glass of unsweetened iced tea.
Make Ahead and Storage
Storing Leftovers
Place any leftover slices in an airtight container and store them in the refrigerator for up to 3 days. It actually gets better the second day!
Freezing
Yes, you can freeze this pie! Once fully set, wrap the entire pie (or individual slices) tightly in plastic wrap, and then cover it again with aluminum foil. Freeze for up to 1 month.
Reheating
No need to reheat, but you will need to thaw it! If frozen, transfer the pie to the refrigerator and let it thaw overnight before slicing and serving.
FAQs
- I don’t have graham crackers. Can I use a different crust? Absolutely! You can easily swap graham crackers for crushed shortbread cookies, vanilla wafers (like Nilla Wafers), or even gingersnap cookies if you want to add a subtle spice contrast. Just make sure the volume of crumbs remains about the same, and adjust the butter/sugar slightly to get that “wet sand” consistency.
- Why didn’t my pie filling set up firm enough? The most common reason is not using fresh, highly acidic lemon juice, or not allowing enough chill time! The acid in the fresh lemon juice is what chemically thickens the condensed milk (it’s called an acid-base reaction). If the pie is still soft after 4 hours, give it more time—often 8 hours or overnight is needed, especially in warmer or more humid climates.
- Can I make this pie with lime instead of lemon? You betcha! This pie is essentially the same structure as a Key Lime Pie. Just swap the lemon juice and zest for fresh lime juice and lime zest, and you’ve got a fantastic, tropical twist on this classic dessert.
- What is the best way to get clean slices? For beautiful, photo-worthy slices, ensure the pie is thoroughly chilled (preferably overnight). Before slicing, run a sharp knife under hot water, wipe it dry, and then make a slice. Repeat the hot water and wiping process for every single cut. This keeps the knife warm, preventing the creamy filling from sticking and dragging.
Easy No-Bake Lemon Icebox Pie
Ingredients
Equipment
Method
- In a bowl, combine the graham cracker crumbs, melted butter, and sugar. Mix until the texture resembles wet sand.
- Press the mixture firmly into the bottom and sides of a 9-inch pie dish. Refrigerate for at least 20 minutes to set.
- In a medium bowl, whisk together the sweetened condensed milk, lemon juice, and lemon zest until smooth and thickened.
- In a separate bowl, whip the heavy cream with powdered sugar until stiff peaks form.
- Gently fold the whipped cream into the lemon mixture until fully incorporated.
- Pour the filling into the chilled crust and smooth the top.
- Refrigerate for at least 4 hours, or overnight, until firm and perfectly chilled.
- Garnish with lemon slices before serving.