Today I’m bringing you a truly crispy, tangy, and deeply flavorful treat that is a million miles better than anything you’ll find in the grocery store! Fermentation might sound intimidating, but trust me, this Homemade Fermented Pickles Recipe is as easy as mixing salt and water and waiting for magic to happen. These pickles are beautifully tangy, subtly spiced, and boast that satisfying crunch we all crave. Plus, they’re loaded with gut-healthy probiotics! Get ready to level up your sandwich and snack game, because this one’s a game-changer.
Why You’ll Love This Recipe
- Ultimate Crunch Factor: We’ve got a secret ingredient that ensures every bite is wildly crunchy, not soft or mushy!
- A Flavor Explosion: Unlike plain vinegar pickles, fermentation develops a complex, sour, and spiced flavor profile that is absolutely unreal.
- Gut Health Hero: These aren’t just delicious—they’re loaded with good-for-you probiotics, making this snack a secret weapon for your wellness routine.
- Minimal Effort, Maximum Reward: The hands-on time is tiny! You set them up, and then time does all the delicious work for you.
Ingredients
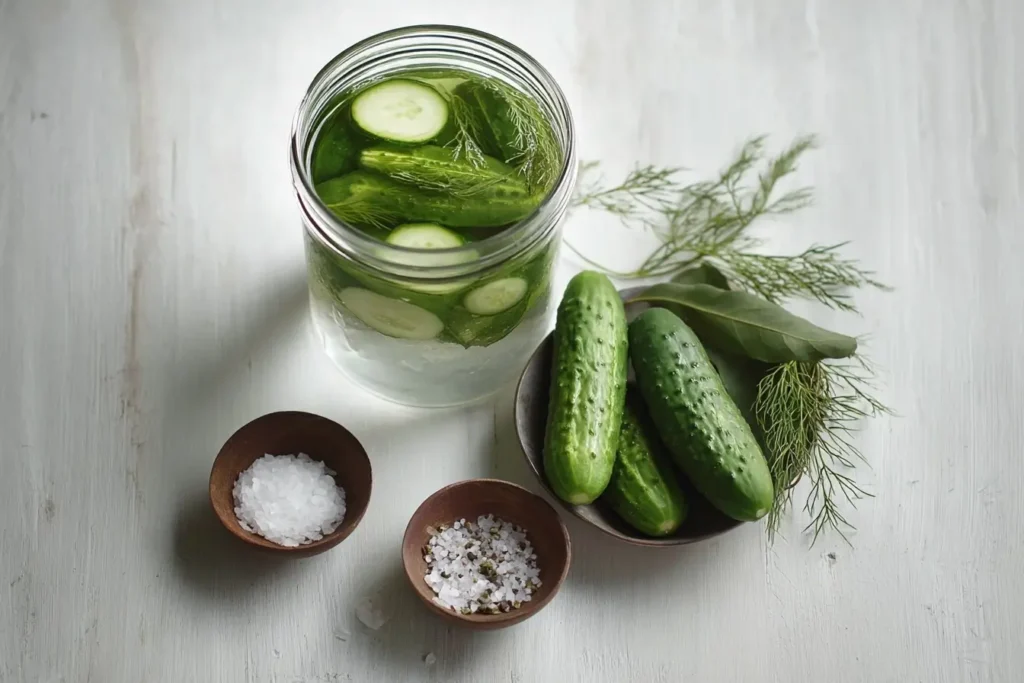
All you need for this pickle recipe are a few classic spices, some lovely little cucumbers, and about 15 minutes of prep time! Yes, it’s that easy. But first, gather up these must-haves:
- Small Cucumbers: These are the star! Look for small, firm pickling varieties—avoid the big, watery salad cucumbers for the best texture.
- Water: Use filtered, chlorine-free water. Chlorine can interfere with the beneficial bacteria that drive the fermentation process.
- Sea Salt: This is essential! It creates the brine and makes the environment safe for the good bacteria. Make sure to use non-iodized salt, as iodine can also impact fermentation.
- Garlic Cloves, Smashed: Garlic infuses the brine with a beautiful, savory depth. Smashing them gently helps release their flavor.
- Whole Black Peppercorns: Adds a subtle, earthy kick to the finished pickle.
- Mustard Seeds: These add a classic pickle tang and a warm, slightly sharp note.
- Coriander Seeds: Provides a bright, slightly citrusy flavor that balances the spice beautifully.
- Chili Flakes (optional): Want a little heat? Add these for a pleasant warmth that builds as the pickles ferment.
- Fresh Dill Sprigs: Dill is non-negotiable for a classic, aromatic pickle flavor. Use fresh heads and stems for the best punch!
- Grape Leaf or Bay Leaf: Pro Tip Alert! This is the secret to crispness. These leaves contain tannins which inhibit the enzymes that cause pickles to soften.
Note: The precise measurements and instructions for these ingredients will be provided in the full recipe card immediately following this article!
How to Make the Homemade Fermented Pickles
This is where the real fun begins! You’ll be surprised how simple it is to get this fermentation party started.
Step 1: Prep Your Cucumbers and Jar
Give your cucumbers a good wash—we want them clean, but don’t scrub too hard! Then, trim off the tiny blossom end (the end opposite the stem). This end sometimes contains enzymes that can make your pickles soft, so a quick snip here guarantees a crispy result.
Step 2: Build the Flavor Base
In a large, clean jar or fermentation crock, place the aromatic spices: the smashed garlic, peppercorns, mustard seeds, coriander seeds, chili flakes (if you’re feeling spicy!), and the fresh dill sprigs.
Step 3: Pack the Cucumbers
Arrange the prepared cucumbers vertically in the jar. Get them in there nice and snugly—packing them tight helps prevent them from floating up once the brine is added.
Step 4: Create and Cool the Brine
Heat your water slightly (just warm enough, not boiling) and whisk in the sea salt until it is completely dissolved. The crucial part here? You must let the brine cool completely! Pouring hot brine over cucumbers will cook them and ruin the crunch.
Step 5: Submerge and Weight
Pour the cooled brine over the cucumbers, ensuring they are fully submerged. Add the magical grape or bay leaf on top, and then place a fermentation weight or a clean small dish on top. Everything needs to stay under the liquid to prevent mold and ensure safe fermentation.
Step 6: Ferment and Wait
Cover the jar with a clean cloth or a lid placed loosely—this allows the gasses created by fermentation to escape (it’s normal, don’t worry!). Store it at room temperature (ideally $68^\circ\text{F}$ to $75^\circ\text{F}$) away from direct sunlight for 5–7 days. Check them daily to release any gasses and make sure they’re still under the brine.
Step 7: Taste and Chill
After about 5 days, give one a little taste test! When the tanginess is perfect for you, secure the lid tightly and move the pickles to the refrigerator. This will significantly slow down the fermentation process, preserving that delicious flavor and crunch. Enjoy!
Pro Tips for Making the Recipe
- Source the Best Cucumbers: Use cucumbers that are fresh, firm, and ideally picked the day you use them. Older cucumbers tend to get soft faster.
- Keep it Cool for the Brine: Never pour warm or hot brine over the vegetables. It kills the beneficial bacteria and results in cooked, soft pickles. Wait until it’s fully room temperature.
- Avoid Air Exposure: The secret to successful and safe fermentation is keeping the cucumbers fully submerged beneath the brine at all times. Use a weight!
- Use Non-Iodized Salt: Stick to non-iodized sea salt or kosher salt. Iodine and anti-caking agents in regular table salt can inhibit the fermentation process.
How to Serve

These tangy, crunchy Homemade Fermented Pickles are so versatile! Here are a few ways to enjoy them:
- The Classic Snack: Nothing beats pulling one straight out of the jar for a refreshing, salty, and tangy bite.
- Sandwich Superstar: Slice them up thick and pile them onto your next burger, grilled cheese, or turkey sandwich for the best crunch you’ve ever had.
- Platter Perfect: Chop them up for a delicious addition to potato salad, tuna salad, or egg salad—that tartness cuts through the richness beautifully.
- Pairing: Serve them alongside rich, smoky foods like pulled pork or grilled sausages.
Make Ahead and Storage
Storing Leftovers
Once the pickles have achieved your desired level of sourness, transfer them to the refrigerator in their brine. Stored in an airtight jar in the fridge, they will keep their fantastic flavor and crunch for up to 6 months (though I bet they won’t last that long!).
Freezing
These pickles cannot be frozen. Freezing and thawing will destroy the cellular structure of the cucumber, turning them into mushy, unpleasant results.
Reheating
No reheating required! These are best served chilled, right out of the refrigerator.
FAQs
1. What is the white stuff floating on top of my brine?
The white, cloudy layer that sometimes appears is often kahm yeast, a harmless wild yeast that sometimes develops on the surface. While it’s not harmful, it can give your pickles a slightly off-flavor. Gently skim it off if you see it, and make sure everything is submerged below the brine to prevent it from forming.
2. How do I know when the pickles are “done” fermenting?
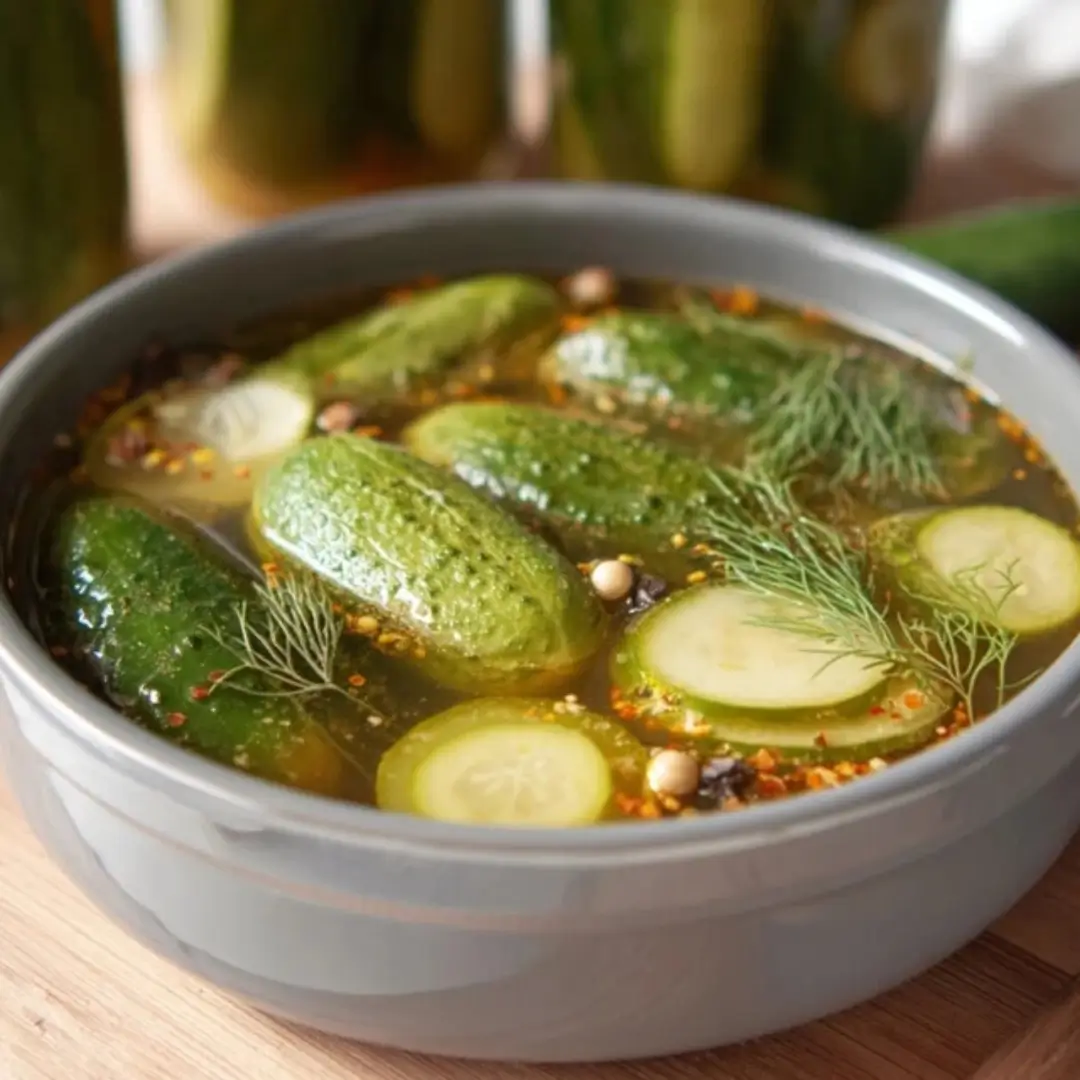
Fermentation is all about taste! After about 5 days, the color of the cucumbers will change from bright green to a duller olive green, and the brine will be cloudy. The best way to know if they are done is to take a bite—when they have the crunch and the perfect tangy-sour flavor you love, they’re ready for the fridge.
3. Why did my pickles turn out soft?
The most common culprit for soft pickles is the presence of enzymes that break down the pectin in the cucumber walls. This usually happens if the brine was too warm, if the blossom end of the cucumber wasn’t trimmed, or if the pickles were exposed to air (i.e., not submerged). Always use the grape or bay leaf and make sure they stay under the liquid!
4. Can I reuse the brine after the pickles are gone?
You sure can! The leftover brine is often called “pickle juice” or “fermented brine,” and it’s delicious. You can use it as a flavorful, probiotic base for salad dressings, add it to marinades, or even use it to start a new batch of pickles (though it may shorten the fermentation time for the second batch).
Homemade Fermented Pickles
Ingredients
Equipment
Method
- Wash the cucumbers thoroughly and trim the blossom ends.
- In a large jar or fermentation crock, place the garlic, peppercorns, mustard seeds, coriander seeds, chili flakes, and dill.
- Arrange the cucumbers vertically in the jar, packing them snugly.
- Heat the water slightly and dissolve the sea salt in it. Allow the brine to cool completely.
- Pour the cooled brine over the cucumbers, ensuring they are fully submerged.
- Add the grape leaf on top to help maintain crispness.
- Place a fermentation weight or a clean small dish on top to keep cucumbers under the brine.
- Cover the jar with a clean cloth or loose lid to allow gases to escape.
- Store at room temperature away from direct sunlight for 5–7 days.
- Check daily to ensure the cucumbers remain submerged and to release excess gases.
- Taste after 5 days. When fermented to your liking, seal the jar and refrigerate to slow fermentation.