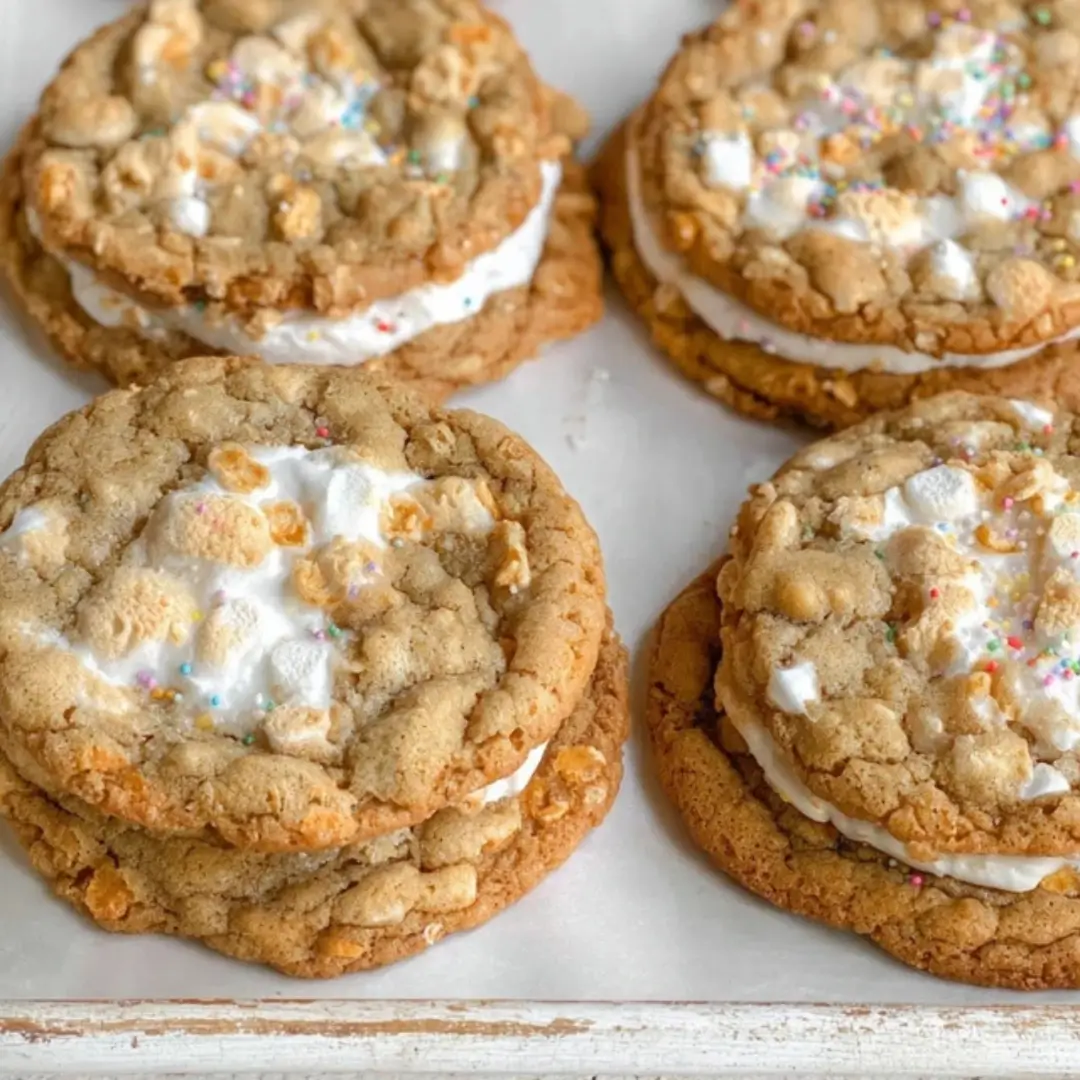
Today I’m bringing you a truly magical, nostalgic bite that’s going to make you feel like a kid again! This Marshmallow Crispy Cookies Recipe offers the absolute perfect combination of soft, chewy cookie, gooey melted marshmallow pockets, and a delightful, satisfying crunch from the crispy rice cereal.1 It’s like your favorite childhood treat decided to put on its best dress and become a gourmet cookie. Trust me, these are easy to bake, impossible to resist, and will instantly become the most requested treat in your kitchen!
Why You’ll Love This Recipe
You know how some cookies are just good, and some are absolute game-changers? This one is firmly in the second camp!
- Ultimate Texture Play: It gives you the best of all worlds! The edges are a little crisp, the center is wonderfully chewy, and you get that gooey, stretchy, melted marshmallow factor combined with the light crunch of the cereal.
- A Nostalgic Treat: It tastes exactly like your favorite crispy rice treat but in a soft, buttery, warm cookie form. It’s comfort food you can hold in your hand!
- No Chill Time Required: Yes, you read that right! You can mix up the dough and get these delicious cookies into the oven right away. That means gooey goodness in under 30 minutes.
- Customizable: We love the combo of crispy rice and chocolate chips, but this dough is a blank canvas. Swap out the chips for sprinkles, nuts, or your favorite baking chips!
Ingredients
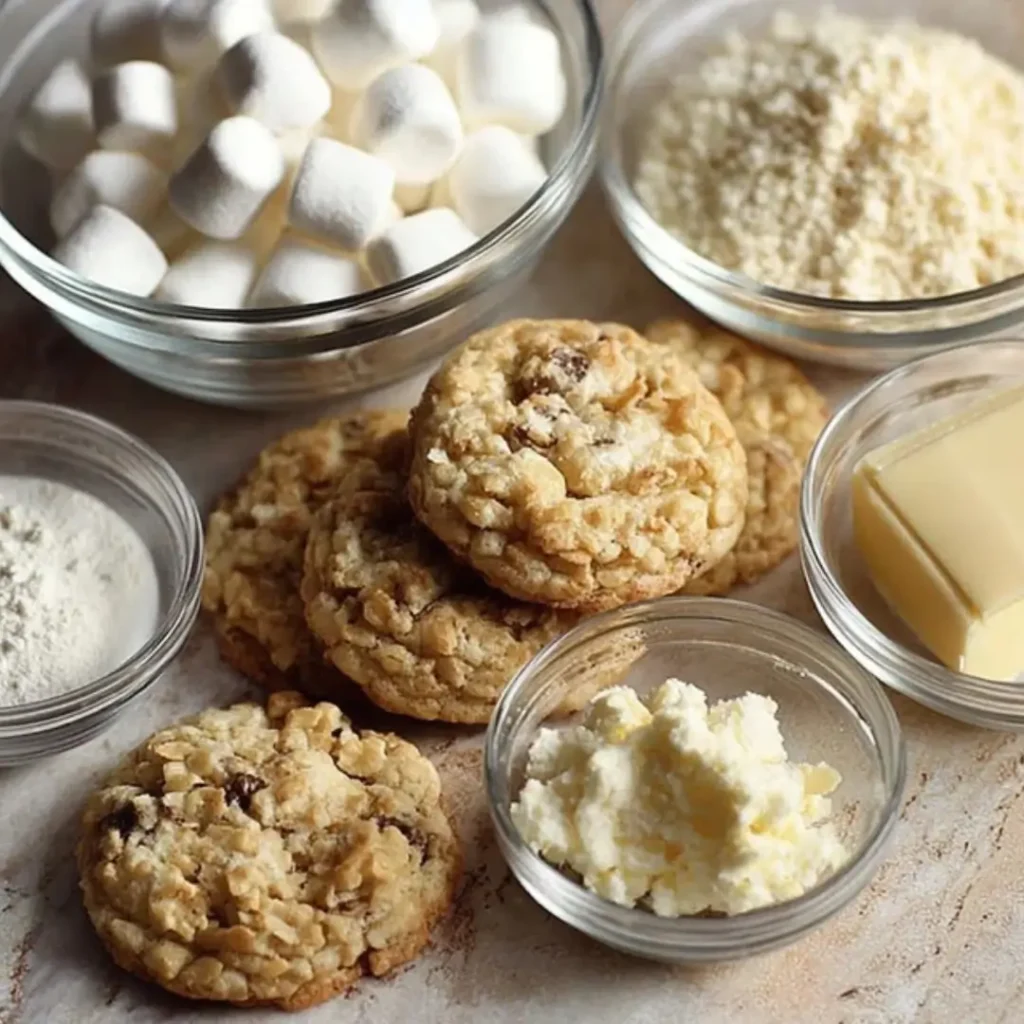
All you need for this Marshmallow Crispy Cookie Recipe is some basic pantry staples, a little bit of butter, and that irresistible trio of crunch, chew, and chocolate! But first, gather up these key components:
- Unsalted Butter: Make sure it’s properly softened (not melted!) to cream perfectly with the sugars. This step is the key to creating that light and fluffy cookie base.
- Brown Sugar & Granulated Sugar: The mix is essential! The brown sugar brings moisture, a delightful chewiness, and that subtle caramel flavor, while the granulated sugar helps the cookies spread just right and adds a touch of crispness to the edges.
- Egg: Our binding ingredient! It brings all the wet and dry elements together for a cohesive, rich dough.
- Vanilla Extract: Don’t skip this! It elevates the flavor of the butter and sugar, giving the cookies that warm, classic bakery taste.
- All-Purpose Flour: Provides the necessary structure. Make sure you measure it correctly—too much can make your cookies dry and crumbly.
- Baking Soda & Salt: The baking soda helps the cookies rise and spread, giving them that signature crinkly texture, and the salt balances all that wonderful sweetness.
- Crispy Rice Cereal: This is where the crunch comes from! It adds a fantastic light and airy texture that makes this cookie so unique. Use your favorite brand!
- Mini Marshmallows: The star of the show! When baked, they melt into lovely, gooey pockets of heaven. The mini size works best for even distribution and melting.
- Mini Chocolate Chips: Because what’s a fantastic cookie without chocolate? The mini size ensures you get chocolate in every single bite!
Note: The exact measurements and quantities for all of these fantastic ingredients will be found right under this article in the recipe card!
How to Make the Marshmallow Crispy Cookies
These are seriously easy to throw together. Grab your mixing bowls and let’s get baking!
Step 1: Prep the Oven and Pan
Preheat your oven to $350^{\circ}\text{F}$ ($175^{\circ}\text{C}$). Now, this next bit is crucial: line a baking sheet with parchment paper. Trust me, when those marshmallows start to melt and get gooey, you’ll be thanking me for the easy cleanup!
Step 2: Cream the Wet Ingredients
In a large bowl (or the bowl of your stand mixer), combine the softened butter, brown sugar, and granulated sugar. Beat them together until the mixture is beautifully light and fluffy. This step incorporates air and ensures a tender cookie. Add the egg and vanilla extract, and continue to beat until everything is fully combined and looks homogenous.
Step 3: Mix the Dry Ingredients
In a separate, medium-sized bowl, quickly whisk together the flour, baking soda, and salt. This little whisking step ensures the leavening agent (the baking soda) and salt are evenly distributed so your cookies bake perfectly.
Step 4: Combine and Finish the Dough
Gradually add the dry mixture to the wet mixture, mixing on low speed (or by hand) until it is just combined. You don’t want to overmix here! Finally, grab a spatula and gently fold in the crispy rice cereal, the gorgeous mini marshmallows, and the mini chocolate chips until they are evenly distributed throughout the dough.
Step 5: Scoop and Bake
Scoop tablespoon-sized portions of the dough onto your prepared baking sheet. Leave about 2 inches between them because these cookies are going to spread a little bit. Pop them into your preheated oven and bake for 10–12 minutes. You’ll know they’re ready when the edges are a beautiful golden brown, but the centers still look soft and slightly underdone.
Step 6: Cool and Serve
Let the cookies sit and cool on the hot baking sheet for 5 minutes. This allows them to finish baking and firm up so they don’t fall apart when you move them. Then, transfer them to a wire rack to cool completely. For the ultimate experience, serve them warm when those marshmallow pockets are still deliciously gooey!
Pro Tips for Making the Recipe
Want to go from a good cookie to an absolutely incredible cookie? Keep these little nuggets of wisdom in your back pocket!
- Don’t Overbake: Seriously! Pull them out when the centers look slightly soft. They will continue to set on the pan, and this is the secret to getting that perfect, chewy interior.
- Use Parchment Paper: We mentioned it, but it bears repeating! Marshmallows melt, and they will stick to an unlined pan, making cleanup a sticky nightmare. Use parchment!
- Measure Flour Properly: Use the “spoon and level” method: spoon the flour into your measuring cup, then level off the excess with a flat edge. Scooping directly can result in too much flour, leading to dry cookies.
- For Extra Gooeyness: Press a couple of extra mini marshmallows onto the top of the dough balls right before they go into the oven. This gives you beautiful, toasted marshmallow pockets!
How to Serve

These cookies are absolutely perfect on their own, but if you want to elevate the dessert experience, here are a few fun ideas for serving and pairing:
- The Classic Pairing: Serve alongside a big, cold glass of milk—it’s pure nostalgia.
- Ice Cream Sandwich: Once completely cool, sandwich a scoop of vanilla (or even caramel!) ice cream between two cookies for an unbelievably decadent ice cream sandwich.
- Salty Finish: Sprinkle a tiny pinch of flaky sea salt on top of the cookies the moment they come out of the oven to enhance the sweet and chocolate flavors!
- Drizzle Delight: Drizzle the cooled cookies with melted white or dark chocolate for an extra layer of decadence and visual appeal.
Make Ahead and Storage
You can definitely prep ahead for a quicker treat, or save some for later (if you can manage not to eat them all immediately!).
Storing Leftovers
Once completely cooled, place your leftovers in an airtight container at room temperature. They will stay perfectly soft and chewy for up to 3 days. Pro tip: add half a slice of bread to the container to help them stay soft longer!
Freezing
You have two options for freezing:
- Freeze the Dough: Scoop the dough balls onto a parchment-lined sheet, flash-freeze until solid, then transfer the balls to a freezer-safe zip-top bag. Bake from frozen, adding 1–2 minutes to the bake time.
- Freeze Baked Cookies: Once completely cooled, place the cookies in a freezer-safe container, separated by parchment paper. Freeze for up to 3 months.
Reheating
To get that fresh-from-the-oven warmth and gooeyness back, you can reheat the cookies in a $300^{\circ}\text{F}$ oven for about 3-5 minutes, or pop one in the microwave for 10-15 seconds. Pure bliss!
FAQs
- How do I prevent the cookies from spreading too much?The most common reason for excessive spreading is using butter that is too warm. Ensure your butter is only “softened” (it should give slightly when pressed, but not be greasy) and not melted or oily. You can also try chilling the scooped dough balls for 15 minutes before baking, which helps the butter solidify and prevents too much spreading in the oven. Also, make sure your oven temperature is accurate!
- Can I use regular-sized marshmallows instead of mini ones?Mini marshmallows are highly recommended for the best results! If you only have regular ones, you need to cut them into smaller, bite-sized pieces before folding them into the dough. Large pieces of marshmallow are more likely to melt, run out of the cookie, and burn on the pan, which we definitely want to avoid for a perfect gooey center.
- Why did the marshmallows burn on the bottom of my cookies?This is often a sign of not using parchment paper, or the marshmallows being directly exposed to the hot baking sheet. The key is to make sure the marshmallows are nestled inside the dough and to always use parchment paper. The parchment acts as a buffer and prevents the sugars in the marshmallow from caramelizing and sticking directly to the metal.
- Can I substitute other cereals for the crispy rice cereal?Absolutely! This cookie dough is very forgiving and fun to experiment with. You can easily swap the crispy rice cereal for other favorites like chopped pretzels for a salty crunch, or even other light, non-frosted cereals. Keep in mind that a heavier or denser cereal will slightly change the final texture, but the results will still be delicious!
Marshmallow Crispy Cookies
Ingredients
Equipment
Method
- Preheat oven to 350°F (175°C). Line a baking sheet with parchment paper.
- Cream together the butter, brown sugar, and granulated sugar until light and fluffy.
- Add the egg and vanilla extract, mixing until well combined.
- In a separate bowl, whisk together flour, baking soda, and salt. Gradually mix into the wet ingredients.
- Fold in crispy rice cereal, mini marshmallows, and white chocolate chips.
- Scoop tablespoon-sized balls of dough onto the prepared baking sheet, spacing them 2 inches apart.
- Bake for 9–11 minutes, until edges are lightly golden and centers are soft. Cool on the baking sheet for 5 minutes before transferring to a rack.