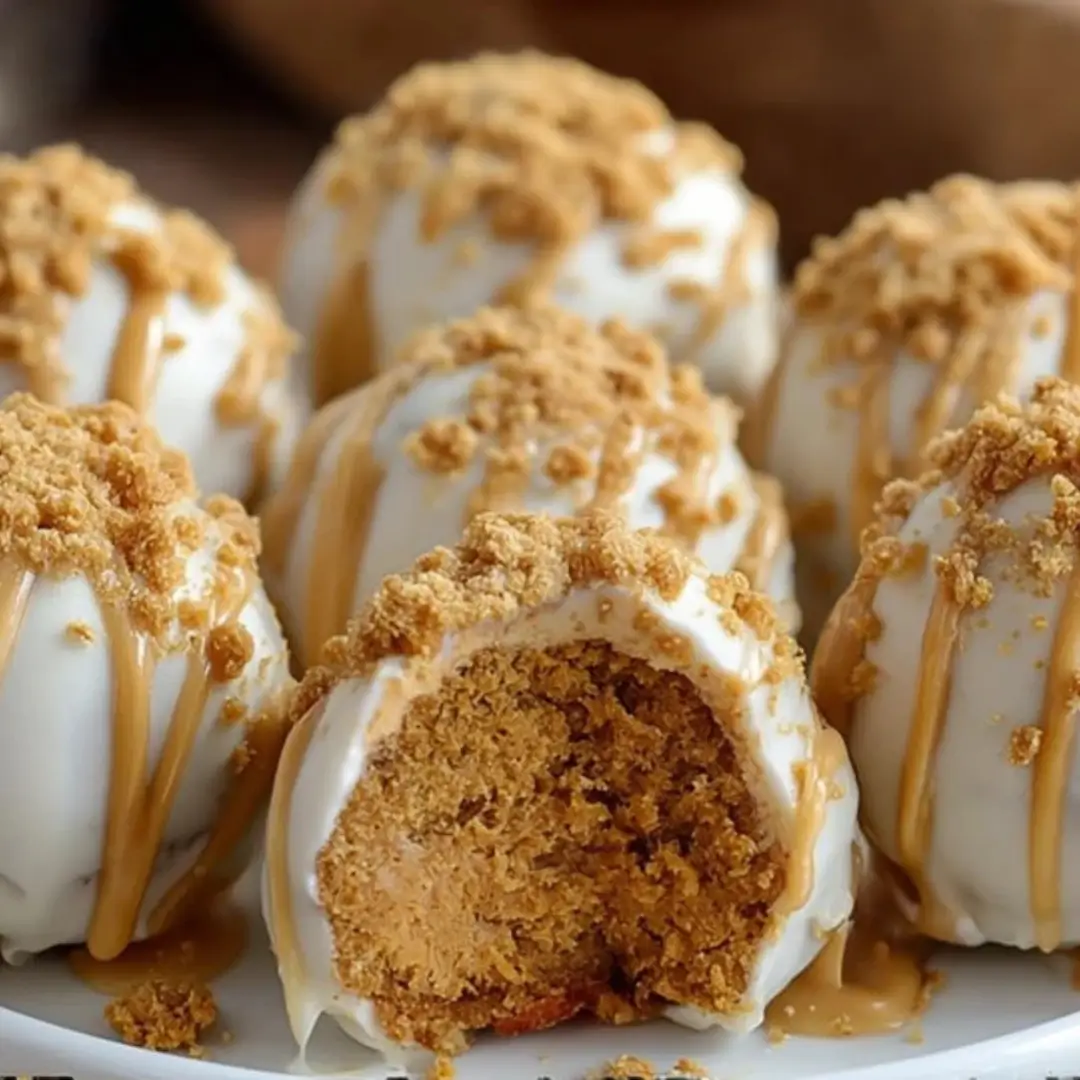
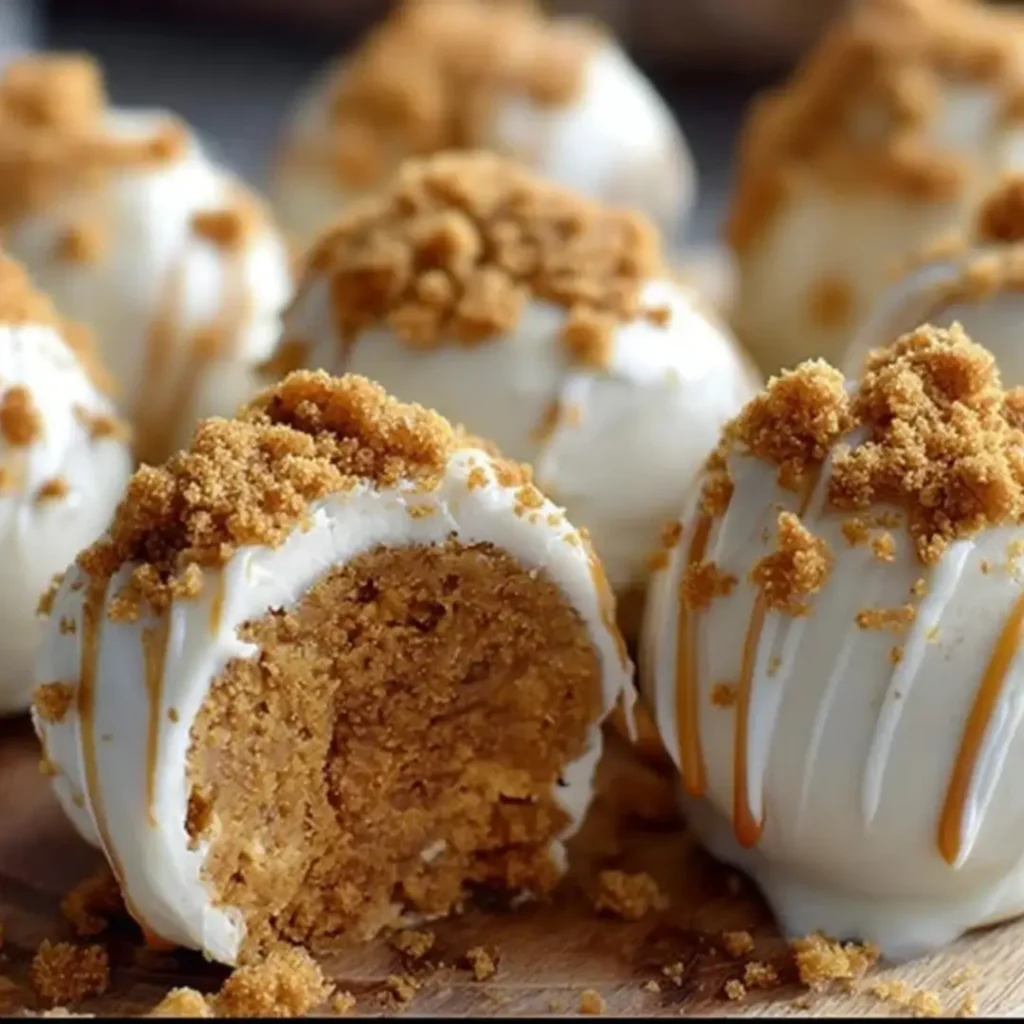
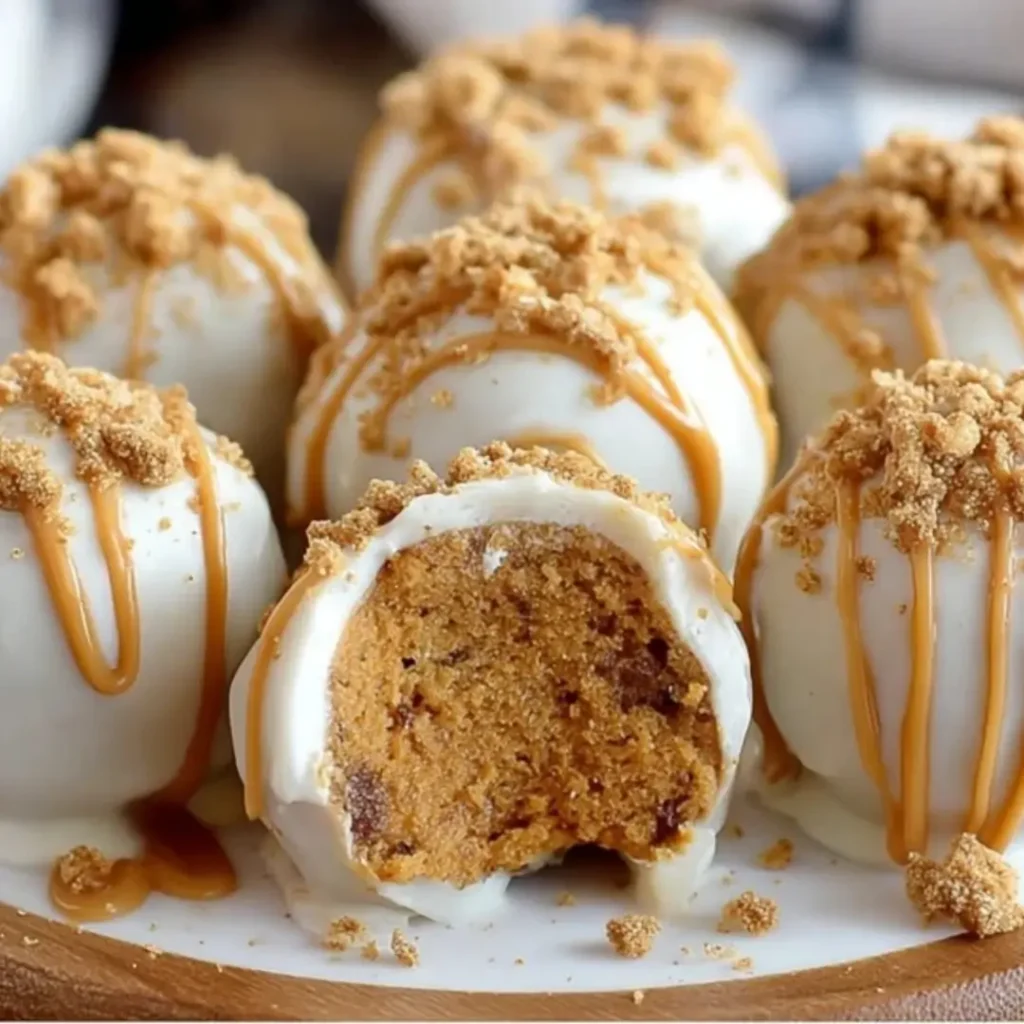
This No Bake Pumpkin Cheesecake Balls Recipe is about to become your new favorite fall tradition! Imagine everything you love about creamy, spiced pumpkin cheesecake—the luscious texture, the warmth of cinnamon and ginger, the classic graham cracker crunch—all rolled into a perfect, bite-sized truffle. These little gems are unbelievably easy to make, require zero oven time, and are coated in a sweet, snappy white chocolate shell. Whether you’re planning for a cozy movie night or need a stunning dessert for a holiday party, trust me, this one’s a true game-changer that will have everyone asking for the recipe.
Why You’ll Love This Recipe
- Totally No-Bake Magic: Seriously! No heating up the kitchen or worrying about cracks in a fussy water bath. These are as simple as mix, roll, dip, and chill.
- A Flavor Bomb in Every Bite: We’re capturing that iconic pumpkin pie spice warmth and pairing it with the rich, tangy cream cheese base of a classic cheesecake. It’s like a mini holiday party for your taste buds.
- The Ultimate Crowd-Pleaser: These are perfectly portioned for snacking, sharing, or bringing to a gathering. They look gourmet but are wonderfully approachable and disappear fast!
- Faster Than a Drive-Thru Coffee: With only about 15 minutes of hands-on prep, you can have these chilling in the freezer before you’ve even decided what to watch next.
Ingredients
All you need for this creamy dream are a handful of simple ingredients and a little bit of time! Gather up these favorites:
- Cream Cheese: The essential base that gives us that beautiful, signature tangy and creamy cheesecake texture. Make sure it’s fully softened so you get a super smooth, lump-free filling!
- Pumpkin Puree: Gives the balls their wonderful color and natural, earthy pumpkin flavor. Be sure to use pure puree, not pumpkin pie filling!
- Graham Cracker Crumbs: This is our “crust” component! It thickens the filling into a perfect, rollable dough and adds that classic, buttery, slightly sweet flavor.
- Powdered Sugar: Used here instead of granulated sugar because it dissolves instantly, keeping our filling smooth and adding the perfect touch of sweetness.
- Pumpkin Pie Spice & Cinnamon: This dynamic duo is where the magic happens! They deliver that warm, cozy, and irresistible fall aroma and flavor we all crave.
- Vanilla Extract: Just a dash to enhance and brighten all the wonderful spice and creamy notes.
- White Chocolate Chips or Melting Wafers: This creates the snappy, sweet outer shell that holds everything together and adds a lovely contrast to the spiced filling.
- Coconut Oil or Butter: Helps the chocolate melt into a smooth, beautifully dippable consistency for a professional-looking coating.
- Crushed Graham Crackers or Cinnamon Sugar: The optional, but highly encouraged, perfect finishing touch for a little extra crunch and flair.
P.S. The exact ingredient measurements and detailed nutritional info you need will be right under this article in the recipe card!
How to Make the No Bake Pumpkin Cheesecake Balls
Get ready to whip up a batch of these beauties with minimal effort!
Step 1: Whip the Creamy Filling
In a medium mixing bowl, combine your softened cream cheese, pumpkin puree, powdered sugar, pumpkin pie spice, cinnamon, and vanilla extract. Beat or mix everything together until the mixture is completely smooth, creamy, and uniform in color.
Step 2: Form the Dough Base
Stir in the graham cracker crumbs. Mix until everything is fully combined and the mixture turns into a thick, dough-like consistency that pulls away from the sides of the bowl. If it feels too warm or soft, just pop it in the fridge for 15–20 minutes to firm up a little—it makes rolling much easier!
Step 3: Roll and Freeze the Balls
Using a small cookie scoop (or just a regular teaspoon), scoop out the mixture and quickly roll it into bite-sized balls (about 1-inch in diameter). Place all your perfectly round spheres on a parchment-lined baking sheet. Transfer the sheet to the freezer for 20–30 minutes until they are nice and firm. This is key for easy dipping!
Step 4: Melt the Chocolate
In a microwave-safe bowl, combine the white chocolate chips and the coconut oil (or butter). Heat this mixture in short 20-second intervals, stirring well after each one. Continue until the chocolate is completely smooth and liquid—no lumps allowed!
Step 5: Dip and Garnish
Take the frozen balls out of the freezer. Dip each pumpkin ball into the melted chocolate using a fork or a dipping tool, letting any excess chocolate drip off. Place the coated ball back onto the parchment paper. If you’re using a garnish, sprinkle the crushed graham crackers or cinnamon sugar on top immediately before the chocolate hardens!
Step 6: Final Chill and Serve
Pop the baking sheet back into the refrigerator for at least 30 minutes (or longer) to allow the white chocolate to fully set and the centers to firm up for that ideal texture. Now go ahead and savor your delicious, easy-peasy treats!
Pro Tips for Making the Recipe
- The Cream Cheese Temperature is Crucial: Make sure your cream cheese is truly softened to room temperature. If it’s too cold, you’ll end up with lumps in your filling, and you won’t get that silky texture.
- Don’t Skip the Freeze: Freezing the balls before dipping is non-negotiable! The cold temperature keeps the ball firm and prevents it from falling apart or melting into the warm chocolate coating.
- Achieve a Smooth Chocolate Coating: If your melted chocolate seems too thick, try adding just a tiny extra bit of coconut oil or butter, about a half-teaspoon at a time, until you hit that perfect, flowing consistency.
- Dip with a Fork: Use a regular dinner fork to dip the balls. This allows excess chocolate to drain off through the tines, giving you a much neater coating.
How to Serve
These little beauties are the perfect grab-and-go dessert for any occasion!
- Coffee & Tea Pairing: Serve them alongside a warm cup of coffee, a creamy chai latte, or a spiced apple cider. The warmth contrasts beautifully with the cold, snappy chocolate.
- Dessert Platter Star: Arrange them on a platter with other fall favorites like candied pecans or dark chocolate truffles for a beautiful presentation.
- The Garnish Game: If you’re feeling fancy, drizzle them with a bit of melted milk chocolate, sprinkle with flaky sea salt, or use a tiny dollop of whipped cream right before serving.
Make Ahead and Storage
These are fantastic for making ahead—the flavor only gets better as the spices settle in!
Storing Leftovers
Keep leftovers in an airtight container in the refrigerator for up to 5 days. Layer them with parchment paper if you stack them to prevent sticking.
Freezing
Yes, you can absolutely freeze these! Once the chocolate coating is fully set, transfer the balls to a freezer-safe, airtight container. They will keep well for up to 3 months. Thaw them overnight in the refrigerator before serving.
Reheating
No reheating required here! These are best served chilled right from the fridge or freezer.
FAQs
- Is there a substitute for graham cracker crumbs if I can’t find them? Absolutely! You can use an equal amount of finely crushed digestive biscuits, shortbread cookies, vanilla wafers (Nilla wafers), or even ginger snap cookies for a slightly spicier kick. The goal is to absorb moisture and add a bit of structure, so any dry, finely crushed cookie will do the job beautifully.
- Can I use a different type of chocolate for the coating? Totally! While the white chocolate really lets that pumpkin color and flavor pop, you can easily use milk chocolate or dark chocolate for the coating. Just make sure you use high-quality melting wafers or temper the chocolate properly for the best shine and snap.
- My filling is too soft and sticky to roll. What should I do? This usually means the cream cheese was too warm or you need slightly more dry ingredients. Don’t panic! Simply add 1–2 extra tablespoons of crushed graham crackers or powdered sugar and mix well. If it’s still sticky, chill the mixture in the freezer for about 10 minutes to firm it up, then try rolling again.
- Why do I need to use coconut oil or butter when melting the chocolate? Adding a small amount of fat like coconut oil or butter helps to thin out the melted chocolate just slightly. This gives you a much smoother, runnier consistency, making the dipping process easier and resulting in a thin, even, and beautiful coating that’s less likely to clump or crack.