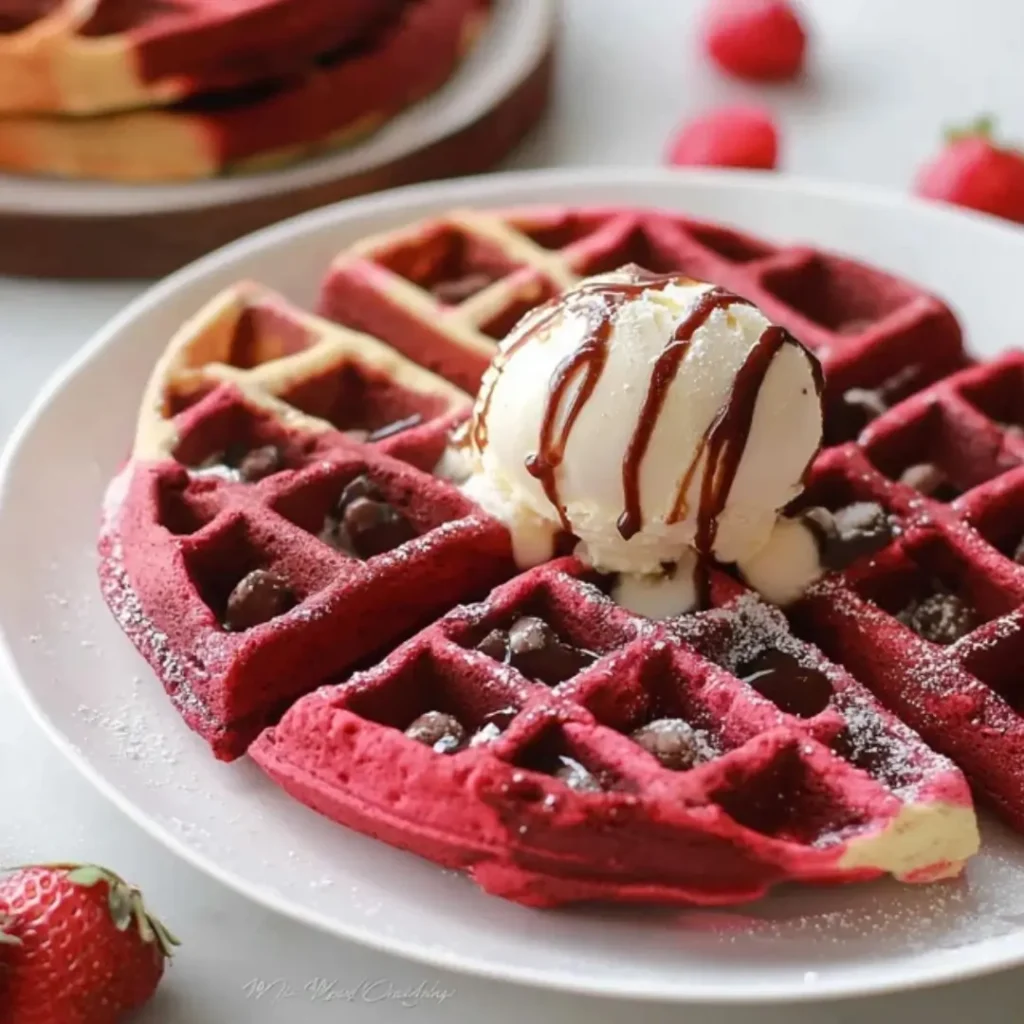
Oh, sweet friends, are you ready to bring a touch of dazzling magic to your breakfast table? Imagine sinking your teeth into a warm, fluffy waffle, where the deep cocoa notes of red velvet beautifully swirl with classic vanilla. These Red Velvet Marble Waffles aren’t just breakfast; they’re a treat that brings a touch of magic to any morning, a feast for the eyes and the taste buds.
I still remember countless afternoons in Grandma’s kitchen, her hands dusted with flour, teaching me the joy of transforming simple ingredients into something truly special. It’s that same spirit of warmth and creativity that I pour into every recipe, and these beautiful waffles feel like a sweet nod to those cherished memories. It’s a wonderful feeling to share a creation that feels both comforting and elegant.
This recipe is wonderfully approachable, making it perfect for cozy weekend brunches or a delightful surprise for loved ones. Plus, they come together quicker than you’d think, bringing smiles all around! My top tip for a consistently light texture? Always be gentle when folding your batters – it makes all the difference.
What You Need for These Delightful Waffles
For these delightful waffles, we use pantry staples like all-purpose flour, creamy buttermilk, and cocoa powder for that signature color. I always opt for quality vanilla extract for a rich flavor. All ingredients for these Red Velvet Marble Waffles are in the recipe card below!
How to Make Red Velvet Marble Waffles
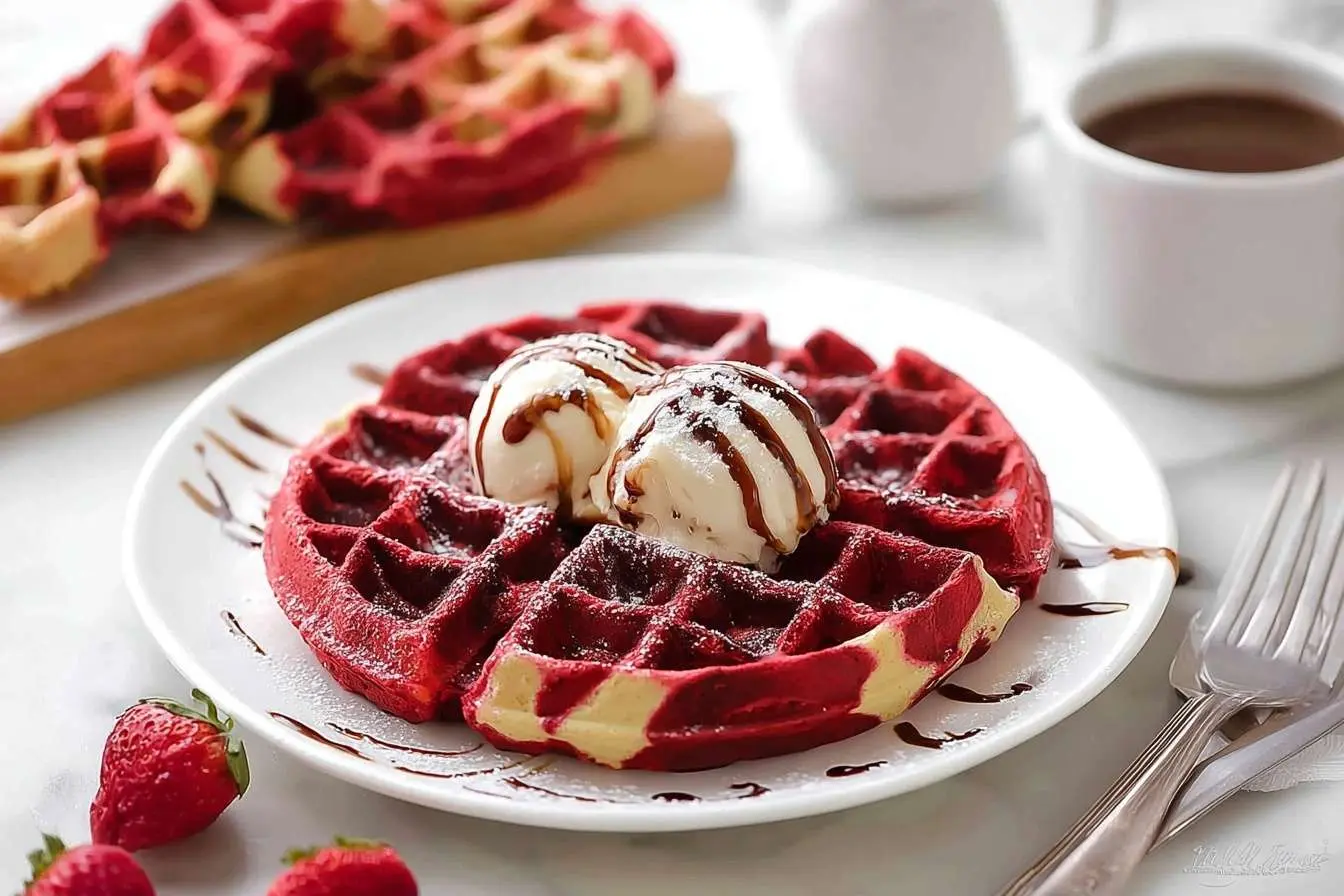
The magic begins by crafting a simple batter base, then dividing it to create both a classic vanilla and a vibrant red velvet mixture. A gentle swirl on your hot waffle iron brings the beautiful marble effect to life, cooking up golden and delicious. These Red Velvet Marble Waffles are a true joy to behold and taste!
Red Velvet Marble Waffles
Ingredients
Equipment
Method
- In a large mixing bowl, whisk together the all-purpose flour, granulated sugar, baking powder, baking soda, and salt. Set aside.
- In a separate medium bowl, whisk together the buttermilk, large eggs, and melted and cooled unsalted butter until well combined.
- Pour the wet ingredients into the dry ingredients. Whisk until just combined. Be careful not to overmix; a few lumps are okay. Divide this batter evenly into two separate large bowls.
- To the first half of the batter, add 1/2 tsp of the divided vanilla extract. Stir gently until fully incorporated. This is your vanilla batter.
- To the second half of the batter, add the unsweetened cocoa powder, red food coloring, and the remaining 1/2 tsp of vanilla extract. Whisk thoroughly until the color is uniform and the cocoa is fully incorporated. This is your red velvet batter.
- Preheat your waffle iron according to the manufacturer’s instructions. Lightly grease the waffle grids if necessary.
- For each waffle, drop alternating dollops (about 2-3 tablespoons each) of vanilla batter and red velvet batter onto the hot waffle iron. Try to distribute them somewhat evenly.
- Using a skewer or a knife, gently swirl the batters together 1-2 times to create a marbled effect. Be careful not to overmix, as you want distinct swirls.
- Close the waffle iron and cook for 3-5 minutes, or until the waffle is golden brown, crisp, and steam is no longer escaping. Cooking time may vary based on your waffle iron model.
- Carefully remove the cooked waffle and place it on a wire rack to prevent it from getting soggy while you cook the remaining waffles.
- Serve the Red Velvet Marble Waffles immediately with your favorite optional toppings such as cream cheese glaze, whipped cream, fresh berries, or a dusting of powdered sugar.
Notes
Pro Tips for Making This Red Velvet Marble Waffles
Baking, for me, has always been about learning and sharing those little secrets that make all the difference. Here are a few things I’ve picked up over the years to ensure your Red Velvet Marble Waffles turn out perfectly every time:
- Don’t Overmix: When combining your dry and wet ingredients, mix just until combined. Overmixing can lead to tough waffles, and we want them light and airy, just like Grandma taught me!
- Proper Buttermilk: If you don’t have buttermilk on hand, don’t worry! You can make your own by adding a tablespoon of lemon juice or white vinegar to regular milk and letting it sit for 5-10 minutes. It’s my go-to trick in a pinch.
- My Secret Trick: I always let my waffle batter rest for about 5-10 minutes before cooking. This allows the flour to fully hydrate, resulting in an even softer and fluffier texture for your waffles.
- Heat Your Iron Well: Make sure your waffle iron is fully preheated before adding the batter. This ensures a beautifully crisp exterior and prevents sticking, giving you those perfectly golden-brown waffles we all adore.
Fun Variations for Red Velvet Marble Waffles
I adore how versatile these waffles are! A little creativity can transform your Red Velvet Marble Waffles into new family favorites. Don’t be afraid to experiment and find what your loved ones enjoy most.
- Chocolate Chip Swirl: For an extra touch of decadence, my friend Sarah always suggests gently folding mini chocolate chips into the vanilla batter before swirling. It adds a delightful burst of chocolate that pairs so well with the red velvet!
- Berry Bliss: For a fresh and fruity twist, consider adding a handful of fresh raspberries or chopped strawberries into the batter just before cooking. The tartness beautifully complements the sweet waffles. It reminds me of the berry patches we used to visit as kids.
- Citrus Zest Brightness: Sometimes, I’ll add a teaspoon of orange or lemon zest to the vanilla batter. It adds a lovely, subtle brightness that makes these waffles sing and truly elevates the flavor profile.
What to Serve With Red Velvet Marble Waffles
These beautiful waffles are a showstopper on their own, but pairing them with a few thoughtful additions truly elevates the experience and makes your breakfast or brunch feel like a celebration.
- Cream Cheese Glaze & Berries: The rich Cream Cheese Glaze is a must, and a sprinkle of fresh berries like strawberries or blueberries adds a lovely tart contrast and vibrant color. It’s how I always serve them for special occasions; the colors are just so inviting!
- Whipped Cream & Powdered Sugar: For a classic, comforting touch, a dollop of homemade whipped cream and a dusting of powdered sugar are simple yet elegant toppers that melt delightfully into the warm Red Velvet Marble Waffles. My mother always said simplicity is often best.
- Maple Syrup & Coffee: For a more classic breakfast feel, a generous drizzle of warm maple syrup is always welcome, alongside a steaming cup of your favorite coffee or a refreshing glass of milk. It’s a perfect combination for a cozy morning.
How to Store Red Velvet Marble Waffles
Don’t fret about leftovers! With proper storage, your delicious Red Velvet Marble Waffles can be enjoyed again, just as fresh and delightful. It’s wonderful to have a sweet treat ready for a busy morning.
Fridge Storage
Allow the waffles to cool completely to room temperature before storing. Then, place them in an airtight container in the refrigerator for up to 3-4 days. I like to place a piece of parchment paper between each waffle to prevent them from sticking together, keeping them perfect.
Freezer Friendly
For longer storage, flash freeze the cooled waffles on a baking sheet until they are solid, typically about 30 minutes to an hour. Once solid, transfer them to a freezer-safe bag or container. They’ll keep beautifully in the freezer for up to 2-3 months.
Reheating for Freshness
To reheat, you can pop them directly from the fridge or freezer into a toaster or toaster oven for a few minutes until crisp and warm. My personal tip: a quick reheat in an air fryer also works wonders to bring back that delightful crispness, making your Red Velvet Marble Waffles taste freshly made!
Enjoying These Delicious Waffles Mindfully
While these delightful waffles are a sweet indulgence, they offer goodness too! Eggs provide protein, and buttermilk contributes calcium. Paired with fresh berries, these Red Velvet Marble Waffles become a satisfying treat, blending simple ingredients with joyful indulgence. It’s all about balance and enjoying life’s sweet moments.
FAQs
Faq 1: Can I make the batter ahead of time?
Yes, absolutely! Prepare vanilla and red velvet batters separately, cover tightly, and refrigerate up to 24 hours. Give them a gentle whisk before swirling and cooking your Red Velvet Marble Waffles for best results.
Faq 2: What if I don’t have red food coloring?
You can certainly omit the red food coloring! You’ll still have delicious cocoa marble waffles. For a natural pinkish tint, try using beet powder. The flavor of these Red Velvet Marble Waffles will be wonderful either way.
Faq 3: Can I make these gluten-free?
I haven’t personally tested a gluten-free version, but many bakers find success with a 1:1 gluten-free baking flour blend. Ensure your chosen blend contains xanthan gum for optimal texture when creating your Red Velvet Marble Waffles.
Faq 4: Are these waffles only for breakfast?
Absolutely not! While perfect for breakfast or brunch, these Red Velvet Marble Waffles make a delightful dessert. Serve with a scoop of vanilla ice cream, extra Cream Cheese Glaze, or a warm berry compote for a truly decadent treat.
Conclusion
Baking these Red Velvet Marble Waffles is more than just making breakfast; it’s an invitation to create joyful moments and cherished memories in your kitchen. With their stunning colors, delightful texture, and comforting flavors, they truly bring people together, just as Grandma’s desserts always did. So, gather your ingredients, embrace the process with a little love and patience, and share the sweet magic of these homemade treats. Happy baking!