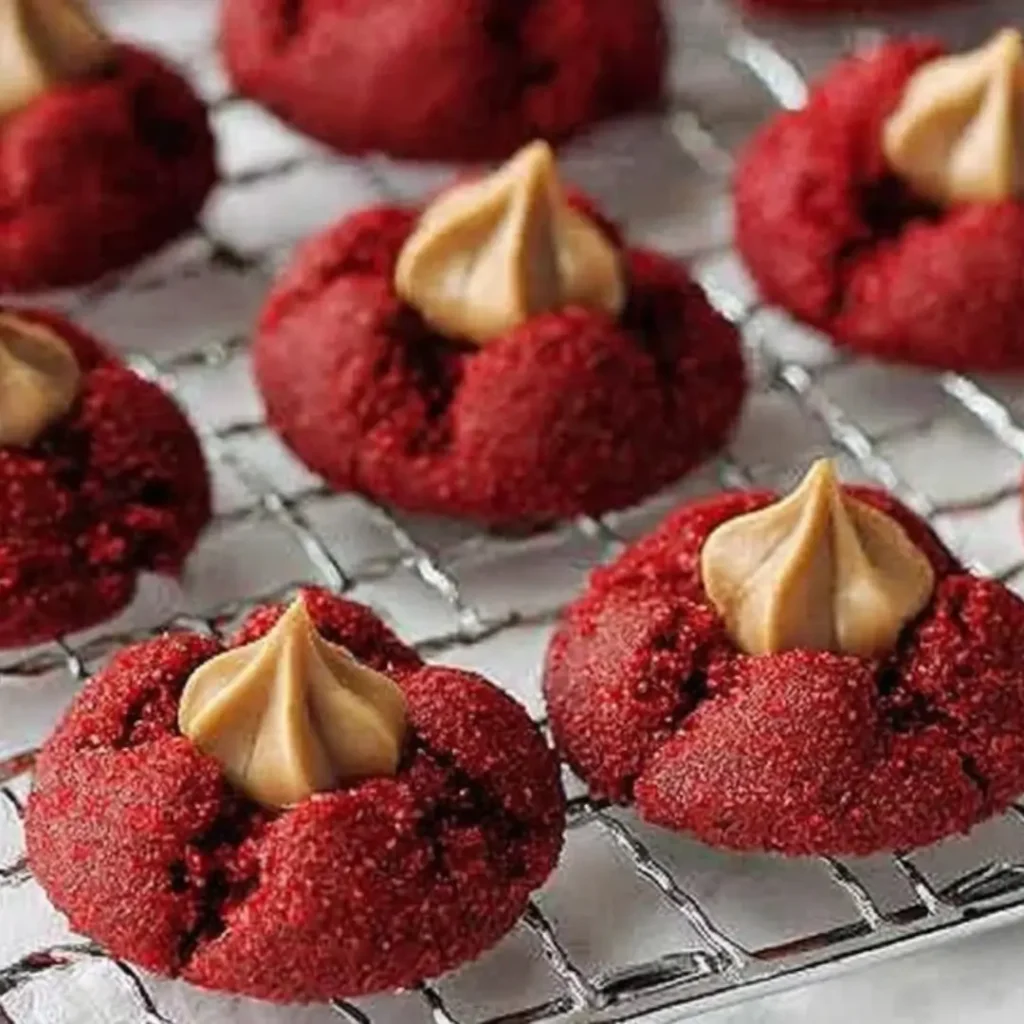
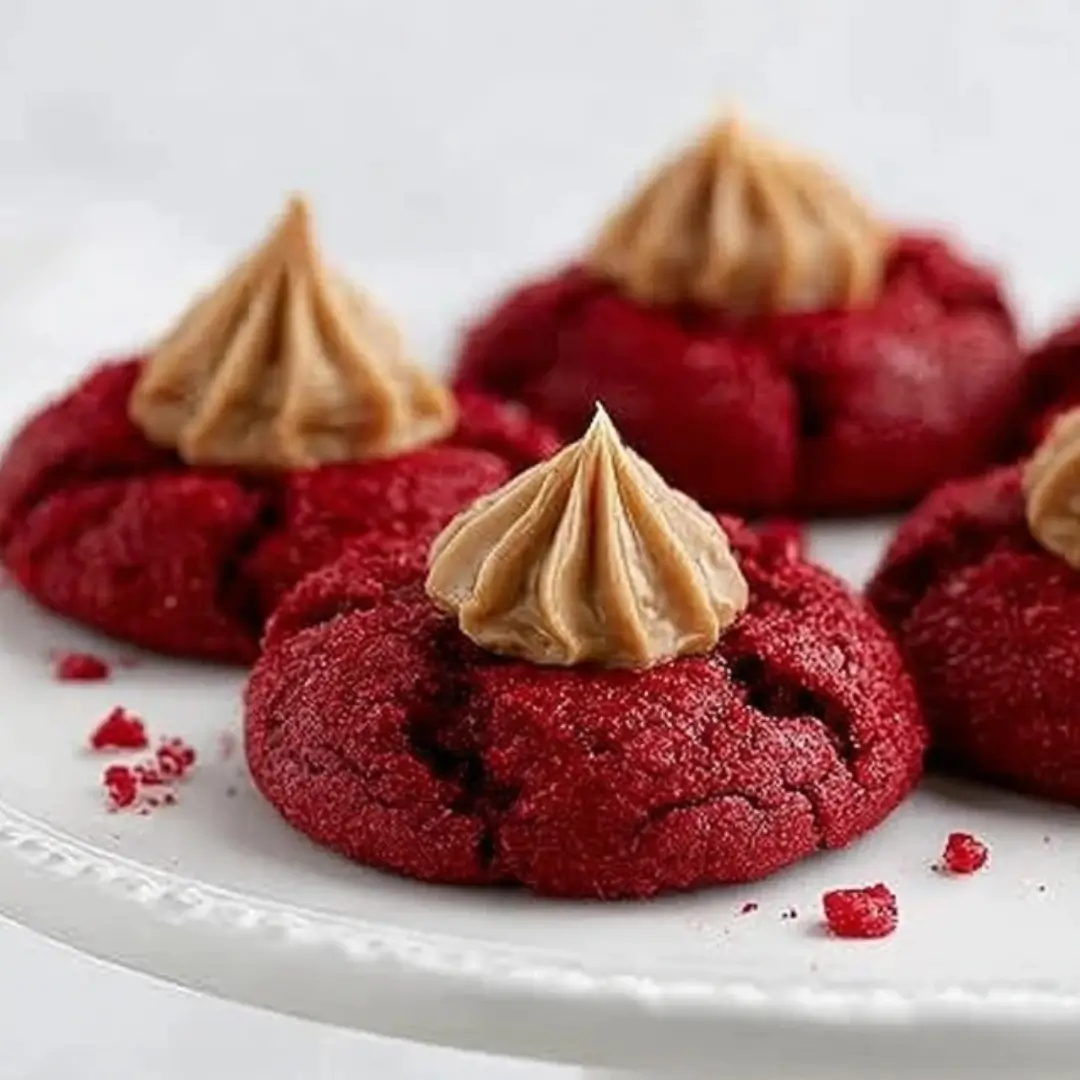
Get ready to fall head-over-heels for the most stunning cookie in your holiday lineup! These Red Velvet Peanut Butter Blossoms are a total showstopper, blending the iconic, velvety cocoa flavor of red velvet with the salty-sweet perfection of creamy peanut butter. With their vibrant crimson hue and that irresistible chocolate center, they aren’t just delicious—they’re a mood. Whether you’re baking for a cookie exchange or just craving a cozy treat to pair with your afternoon coffee, these soft, sugar-crusted gems are guaranteed to be the star of the show. Trust me, you’re going to love this playful twist on a classic favorite!
Why You’ll Love This Recipe
- The Ultimate Flavor Mashup: You get the best of both worlds—subtle chocolatey red velvet and rich, nutty peanut butter in every single bite.
- A Total Looker: That bright red dough rolled in sparkling sugar makes these cookies look like they came straight from a professional bakery.
- Super Soft Texture: Thanks to the peanut butter and butter combo, these stay incredibly soft and melt-in-your-mouth tender.
- Kid-Friendly Fun: From rolling the dough in sugar to pressing the chocolate centers in, this is a fantastic recipe to make with little kitchen helpers!
Ingredients
Gather up these goodies, and let’s get baking! This lineup creates a dough that is as vibrant as it is flavorful:
- All-Purpose Flour: Provides the perfect structure for a soft, chewy cookie.
- Unsweetened Cocoa Powder: This gives us that signature red velvet chocolate undertone without being too heavy.
- Baking Powder & Salt: Our leavening agent for a little lift and a pinch of salt to balance the sweet.
- Unsalted Butter: Make sure it’s softened! This creates that light, fluffy base we’re looking for.
- Granulated Sugar: Used in the dough and for rolling to give the cookies a beautiful sparkle and a tiny bit of crunch.
- Large Egg: Binds everything together for the perfect dough consistency.
- Milk & Vanilla Extract: Adds moisture and a boost of classic bakery aroma.
- Red Food Coloring: The secret to that gorgeous, “wow-factor” crimson color.
- Creamy Peanut Butter: Adds richness to the dough and pairs perfectly with the chocolate.
- Peanut Butter Cups or Chocolate Kisses: The crowning glory! Use your favorite alcohol-free chocolate treats for the center.
Note: The ingredients with full measurements can be found right under the article in the recipe card!
How to Make the Red Velvet Peanut Butter Blossoms Recipe
Step 1: Prep the Oven and Pan
First things first, preheat your oven to 350°F (175°C). Line a baking sheet with parchment paper so your beautiful cookies don’t stick.
Step 2: Whisk the Dry Ingredients
In a medium bowl, whisk together your flour, cocoa powder, baking powder, and salt. Make sure that cocoa is well-distributed so there are no lumps!
Step 3: Cream the Butter and Sugar
In a large bowl, beat your softened butter and sugar until it’s light, fluffy, and looks like a cloud. This step is key for a tender cookie!
Step 4: Mix in the Vibrant Flavors
Beat in the egg, milk, vanilla, food coloring, and that creamy peanut butter. Watch the dough turn a spectacular shade of red—it’s so satisfying!
Step 5: Combine and Form the Dough
Gradually add your dry flour mixture to the wet ingredients. Mix until a soft, pillowy dough forms. It’ll be easy to handle and smell amazing.
Step 6: Roll and Sparkle
Scoop tablespoon-sized portions of dough and roll them into neat little balls. Give them a quick roll in extra sugar for that signature “blossom” shimmer.
Step 7: Bake to Perfection
Place them on your baking sheet and bake for 10–12 minutes. You want them set but still soft—don’t overbake, or you’ll lose that “velvet” texture!
Step 8: The Finishing Touch
As soon as they come out, immediately press a peanut butter cup or chocolate kiss right into the center of each hot cookie. Let them cool for 5 minutes before moving them to a rack.
Pro Tips for Making the Recipe

- Don’t Wait to Press: You have to press the chocolate into the center while the cookies are piping hot! This melts the bottom of the chocolate slightly so it “glues” to the cookie.
- Use Room Temp Ingredients: Make sure your egg and butter are at room temperature. It helps the dough emulsify perfectly for a smoother bake.
- Chilling the Chocolate: If your kitchen is very warm, pop your chocolate kisses or peanut butter cups in the fridge for 15 minutes before pressing them in. This helps them hold their shape!
- Check the Color: If you want an even deeper red, you can use gel food coloring, which is more concentrated than liquid coloring.
How to Serve

These cookies are a delight all on their own, but if you want to level up the experience, try these:
- The Classic Pairing: Nothing beats a tall, cold glass of milk for dunking!
- Hot Cocoa Buddy: Serve these alongside a steaming mug of hot chocolate for the ultimate winter treat.
- Gift Boxes: These are sturdy enough to be stacked in holiday tins or treat bags for friends and neighbors.
Make Ahead and Storage
Storing Leftovers
Keep your cookies in an airtight container at room temperature for up to 5 days. They stay surprisingly soft!
Freezing
You can freeze the baked cookies (once the chocolate is completely set) for up to 3 months. Just thaw them at room temperature when the craving hits.
Reheating
If you love that “just-out-of-the-oven” feel, pop a cookie in the microwave for 5–8 seconds. The chocolate center will get slightly gooey and irresistible!
FAQs
1. Can I use crunchy peanut butter instead of creamy? You certainly can! While creamy peanut butter gives that classic smooth “blossom” texture, crunchy peanut butter adds a little extra texture and salty pops of peanut flavor that many people actually prefer.
2. Why did my cookies crack too much when I pressed the chocolate in? If the edges crack significantly, it usually means the cookies were slightly overbaked or cooled down too much before you added the chocolate. Try to be quick with the chocolate centers the second that tray leaves the oven!
3. Can I make the dough in advance? Absolutely! You can make the dough, roll it into balls, and keep them in the fridge for up to 48 hours before baking. Just roll them in the sugar right before they go into the oven.
4. My chocolate centers are melting too much, what do I do? Don’t worry! This happens if the cookies are very hot. Simply leave the cookies alone and don’t touch the chocolate. As they cool, the chocolate will firm back up. You can even pop the whole tray in the fridge for 10 minutes to speed it up.
Red Velvet Peanut Butter Blossoms
Ingredients
Equipment
Method
- Preheat the oven to 350°F (175°C) and line a baking sheet with parchment paper.
- In a medium bowl, whisk together the flour, cocoa powder, baking powder, and salt.
- In a large bowl, cream the butter and sugar until light and fluffy.
- Beat in the egg, milk, vanilla extract, red food coloring, and peanut butter until smooth.
- Gradually add the dry ingredients to the wet mixture until a soft dough forms.
- Scoop tablespoon-sized portions of dough, roll into balls, roll lightly in sugar, and place on the baking sheet.
- Bake for 10–12 minutes until set but still soft. Immediately press a peanut butter cup or chocolate kiss into the center of each cookie.
- Cool on the baking sheet for 5 minutes, then transfer to a wire rack to cool completely.