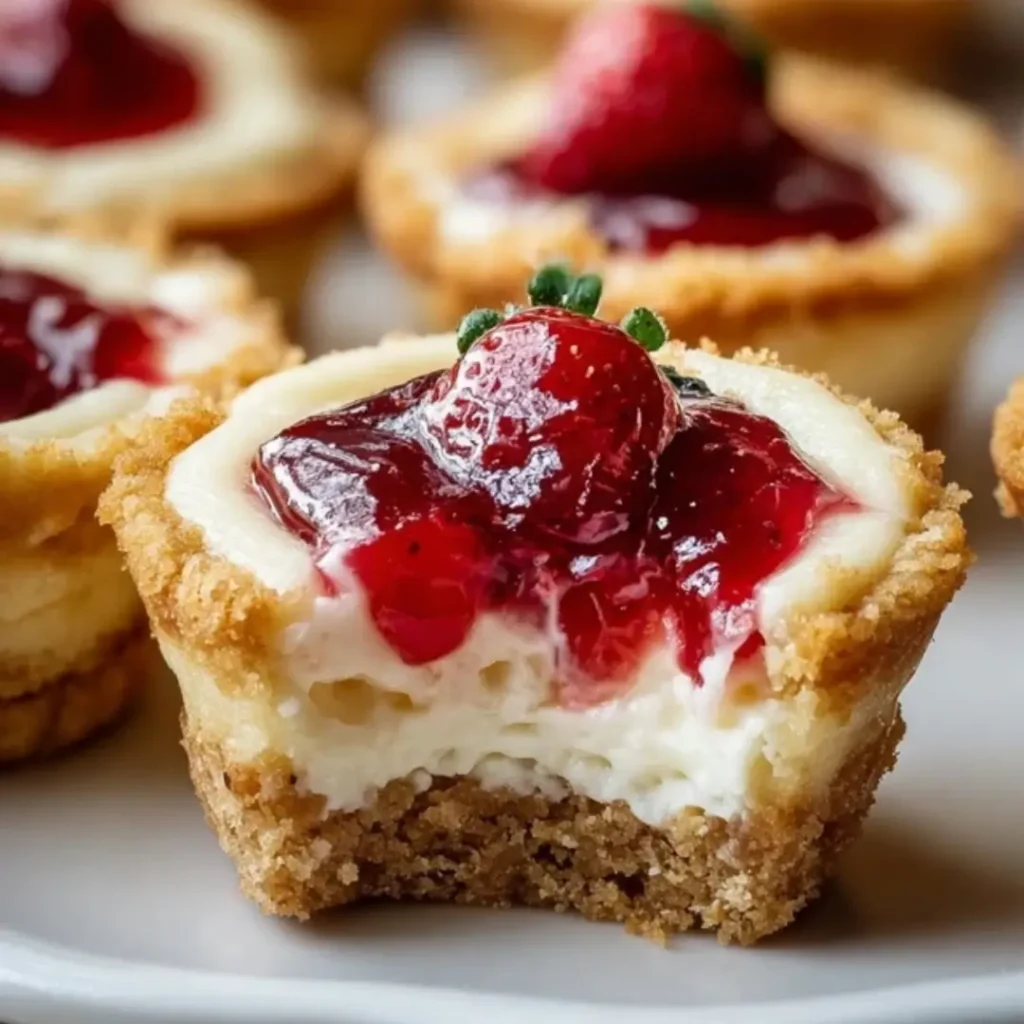
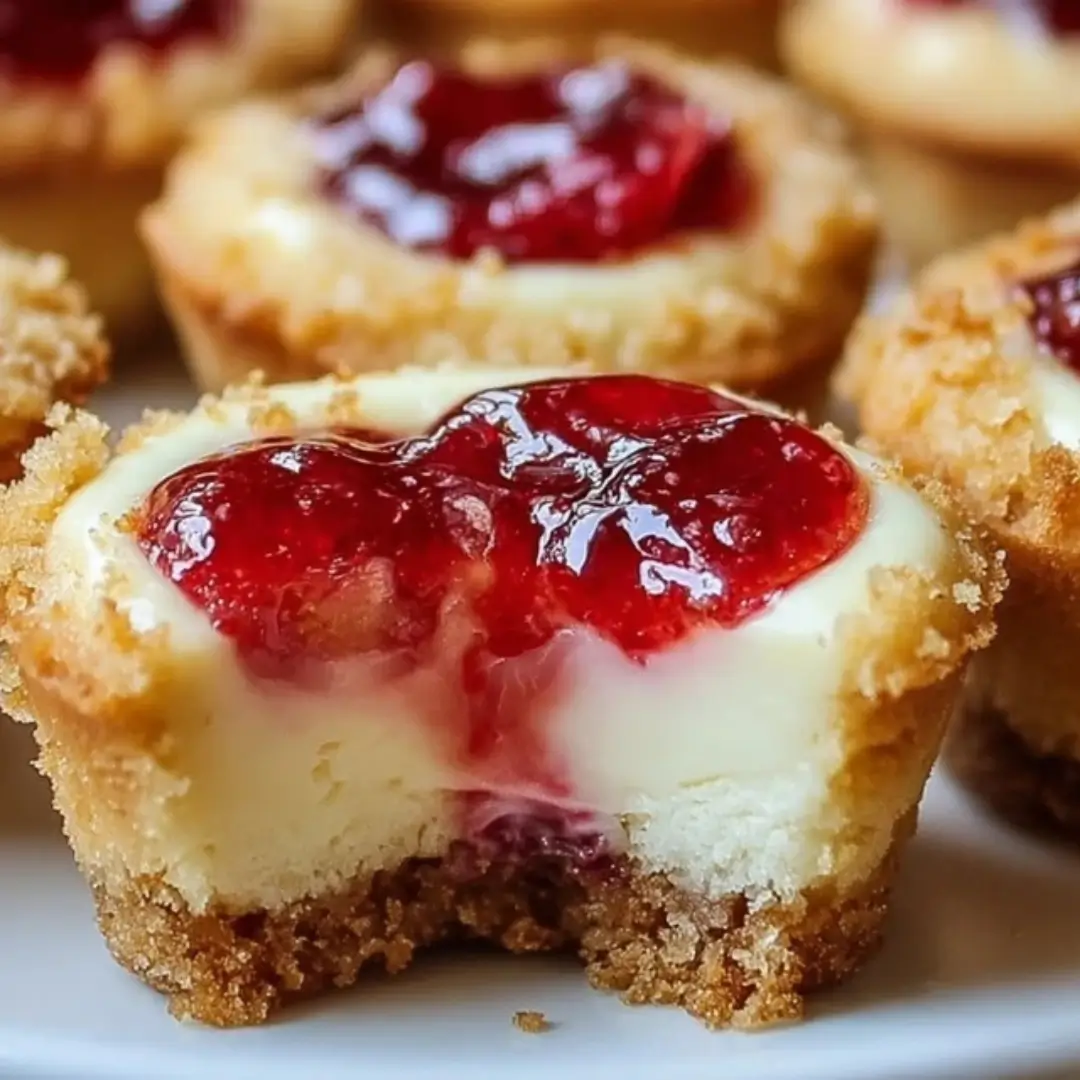
Trust me, you are going to want to drop everything and make these. Today I’m bringing you a sweet, dreamy handheld treat that combines two of the very best desserts: a chewy, buttery cookie and a rich, creamy cheesecake. These Strawberry Jam Cheesecake Cookie Cups are a little taste of heaven, featuring a perfect golden cookie base, a silky smooth cream cheese filling kissed with lemon, and a bright, gorgeous swirl of strawberry jam on top. They are ridiculously easy to make, look absolutely stunning, and are guaranteed to be a game-changer at your next party or simply for a sweet Friday night indulgence. Get ready to bake!
Why You’ll Love This Recipe
- Miniature Magic: These cookie cups deliver all the cozy comfort of a full-sized dessert in a cute, perfectly portioned, handheld bite. They’re simply adorable!
- The Ultimate Texture Combo: You get the perfect trio of textures—a slightly crisp cookie crust, a super fluffy and creamy cheesecake filling, and the sweet, soft jam topping. It’s truly unreal.
- A Bright, Cheerful Flavor: The hint of lemon in the cheesecake filling perfectly cuts through the sweetness of the strawberry jam, making every bite feel light and refreshing.
- Simple & Quick: Even though they look fancy, this recipe comes together in a flash. With a prep time of just 20 minutes and a short bake time, you’ll be chilling these beauties before you know it.
Ingredients
Gather up these key players! All you need for these beautiful cookie cups are pantry staples and a few star ingredients.
- All-Purpose Flour: This is the base for our cookie cup, giving it structure and that classic chew.
- Baking Soda & Salt: The dynamic duo! Baking soda helps the cookie rise slightly and stay soft, while salt balances all the sweet flavors.
- Unsalted Butter: The essential ingredient for a rich, tender, and buttery cookie base. Make sure it’s properly softened for the best texture when creaming with sugar.
- Granulated Sugar & Brown Sugar: Using both creates a wonderful texture. Granulated sugar promotes spread and crispness, while brown sugar adds depth, moisture, and a hint of molasses flavor.
- Large Egg: The binder that holds the cookie dough together and keeps it perfectly tender.
- Vanilla Extract: Essential for flavoring both the cookie dough and the cheesecake filling, adding a warm, aromatic note.
- Cream Cheese: The heart of our filling! Make sure it’s fully softened so you get that silky smooth, lump-free cheesecake texture we’re aiming for.
- Powdered Sugar: Used in the filling to sweeten the cream cheese without making it grainy—it dissolves perfectly for that classic, velvety finish.
- Lemon Juice: This is our secret weapon! A tiny squeeze of lemon juice brightens the entire cheesecake filling, providing a crucial, refreshing tang.
- Strawberry Jam: The bright, fruity star on top! Use your favorite high-quality jam for the best flavor payoff.
- Fresh Strawberries: Optional, but adding a thin slice on top is the perfect finishing touch and tells everyone exactly what deliciousness awaits inside.
Note: The exact measurements for these ingredients, along with the full, printable instructions, will be available in the recipe card right beneath this article!
How to Make the Strawberry Jam Cheesecake Cookie Cups
This process is super straightforward. Just follow these steps, and you’ll have a dozen beautiful treats in no time!
Step 1: Prep the Oven and Dry Ingredients
Preheat your oven to a cozy 350°F (175°C). Take a standard 12-cup muffin tin and lightly grease it—this is key for easy cup removal! In a small bowl, whisk together the flour, baking soda, and salt. Set that aside.
Step 2: Cream the Wet Ingredients
In a separate, large bowl, it’s time to start the cookie dough magic. Beat the softened butter with the granulated and brown sugars until the mixture is light, fluffy, and creamy. Next, add the egg and vanilla extract, mixing until everything is smooth and incorporated.
Step 3: Mix the Dough and Create the Cups
Gradually add your dry ingredients to the wet mixture, mixing just until a soft cookie dough forms. Now for the fun part: divide the dough evenly among the 12 muffin cups. Gently press the dough down and up the sides to form a little ‘cup’—you can use your thumb or the back of a spoon to create that perfect hollow center.
Step 4: Bake and Deepen the Cups
Bake the cookie cups for 10–12 minutes, or until the edges are beautifully golden brown. As soon as they come out of the oven, immediately take your thumb or the spoon and gently press the centers again to deepen the indentation. This creates a perfect well for the filling. Let them cool completely in the tin.
Step 5: Prepare the Cheesecake Filling
While the cups are cooling, make the filling. In a separate bowl, beat the softened cream cheese with the powdered sugar, lemon juice, and vanilla until the mixture is incredibly smooth and wonderfully fluffy.
Step 6: Fill, Top, and Chill
Spoon or pipe the cheesecake filling into each cooled cookie cup. Top each filled cup with a small, irresistible dollop of strawberry jam. If you’re feeling fancy (and you should be!), garnish with a slice of fresh strawberry. Pop these beauties into the fridge for at least 30 minutes to set before serving—trust me, the chill time makes the texture absolutely divine!
Pro Tips for Making the Recipe
- Softened is Key: Pay attention to the temperature of your ingredients! Make sure your butter and, especially, your cream cheese are truly soft (room temperature). This prevents lumps in the filling and ensures your cookie dough creams perfectly.
- Don’t Overbake: Keep an eye on the oven! You want the cookie cup edges to be golden, but not overly dark. Over-baking leads to a dry cookie instead of the tender, chewy base we’re going for.
- The Muffin Tin Trick: When pressing the centers immediately after baking, use a rounded item (like a small wooden dowel or a cocktail muddler) if your thumb is too big. This creates a neat, uniform well for your beautiful filling.
- Use Quality Jam: Since the strawberry flavor is so prominent, splurge a little on a good quality jam or preserve. It really makes a difference in the final taste!
How to Serve
These cookie cups are so pretty, they hardly need any extra flair, but here are a few fun ideas for serving and pairing:
- Coffee & Tea Pairing: They are the perfect little bite to enjoy with a cup of hot coffee, espresso, or a soothing herbal tea.
- Sweet Platter: Arrange them on a platter with other miniature desserts like chocolate truffles or lemon bars for an impressive party spread.
- Drizzle Delight: Before serving, drizzle a little melted white chocolate over the tops for an extra visual pop and layer of sweetness.
- A Scoop on the Side: If you’re really treating yourself, serve two cookie cups alongside a tiny scoop of vanilla bean ice cream.
Make Ahead and Storage
Planning ahead? You absolutely can! These make a fantastic dessert to prep for a crowd.
Storing Leftovers
Store any leftover cookie cups in an airtight container in the refrigerator for up to 3 days. Since they contain a dairy-based cream cheese filling, they must be kept chilled.
Freezing
While you can freeze the unfilled cookie cups (up to 2 months in a freezer-safe bag), freezing the filled cups is not recommended as the cream cheese filling can sometimes change texture when thawed.
Reheating
No reheating necessary! These are intended to be eaten chilled or at room temperature. Take them out of the fridge about 15 minutes before serving for the best texture and flavor.
FAQs
1. Can I use a different kind of jam or fruit?
Absolutely! This recipe is super flexible and works wonderfully with different fruit pairings. Try raspberry jam, blueberry preserves, or even a lemon curd for a delightful twist. Just be sure to use a high-quality jam for the best flavor.
2. Why did my cookie cups lose their shape or crack when I pressed them?
This usually happens if you wait too long after removing them from the oven. You need to immediately press the centers while the cookies are still very hot and pliable. If the cookies are already cool, they will be set and pressing them will cause them to crack.
3. How can I make the cheesecake filling extra fluffy?
The key to a fluffy filling is to ensure both your cream cheese and powdered sugar are fully incorporated and mixed well. Use an electric hand mixer and beat the filling for at least 1-2 minutes until it is visibly lightened in texture.
4. Can I make the cookie dough ahead of time?
Yes! You can prepare the cookie dough, wrap it tightly in plastic wrap, and store it in the refrigerator for up to 3 days. When you’re ready to bake, let it soften slightly at room temperature, then proceed with shaping and baking the cups.
Strawberry Jam Cheesecake Cookie Cups
Ingredients
Equipment
Method
- Preheat oven to 350°F (175°C). Lightly grease a 12-cup muffin tin.
- In a large mixing bowl, cream together butter and sugar until light and fluffy. Beat in the egg and vanilla extract.
- In a separate bowl, whisk together flour, baking powder, and salt. Gradually add to wet ingredients and mix until a soft dough forms.
- Roll dough into 12 equal balls and place each into a muffin cup. Press gently to form a shallow cup shape.
- Bake for 12–14 minutes, until edges are lightly golden. Immediately press the centers down with the back of a spoon to form wells. Cool completely in the pan.
- In a bowl, beat cream cheese, powdered sugar, lemon juice, and vanilla until smooth and creamy.
- Spoon or pipe cheesecake filling into each cooled cookie cup. Top with a teaspoon of strawberry jam and garnish with a slice of fresh strawberry if desired.
- Refrigerate for at least 30 minutes before serving for best texture.