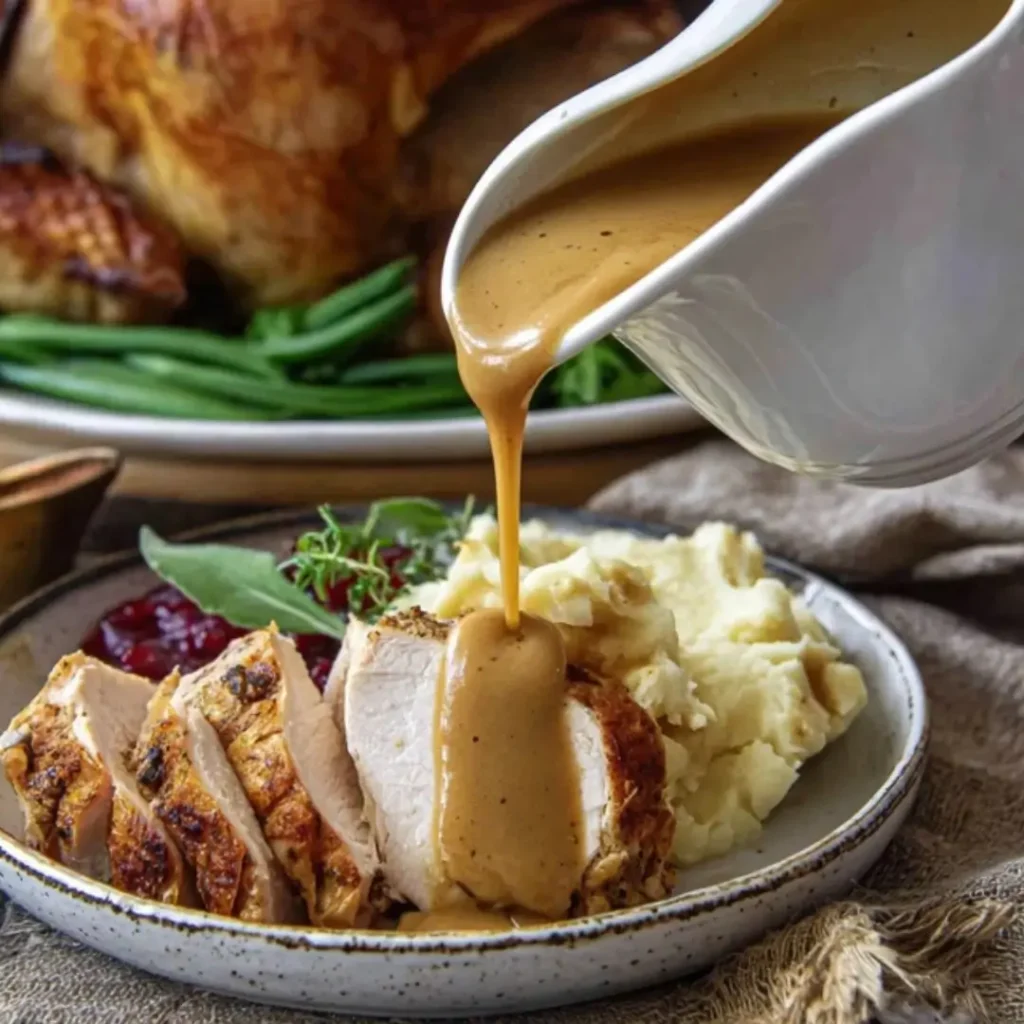
Today I’m bringing you an absolute essential for any holiday table: the best homemade turkey gravy! Trust me, this isn’t just a condiment; it’s the rich, savory liquid gold that truly ties your Thanksgiving spread together. Using the gorgeous drippings right from your roast turkey, this recipe builds an unbelievable depth of flavor that a store-bought jar just can’t touch. It’s incredibly easy, comes together in a flash while your turkey is resting, and is guaranteed to make your mashed potatoes and stuffing sing. This one’s a game-changer!
Why You’ll Love This Recipe
- Ultimate Flavor Bomb: Since you’re using the drippings from your own roasted bird, this gravy has a deep, authentic turkey flavor that is unparalleled.
- Velvety Smooth Texture: We’re making a simple roux (butter and flour) that ensures your gravy comes out perfectly thick, rich, and silky smooth—no lumps here!
- Thanksgiving Hero: It’s quick! You can whip this up in about 20 minutes while your turkey rests, minimizing your time at the stove on the big day.
- So Simple, You Can’t Mess Up: Even if you’ve never made gravy from scratch before, this step-by-step method will make you feel like an absolute culinary expert.
Ingredients
All you need for this luscious Turkey Gravy is a few pantry staples, plus those precious turkey drippings! But first, gather up these key ingredients:
- Drippings from Roasted Turkey: This is the liquid gold at the bottom of your roasting pan! It’s the flavorful base of the gravy, offering all the savory essence of your beautifully cooked bird.
- Unsalted Butter: The fat component for our roux, which is essential for thickening the gravy. We use unsalted so we can control the final seasoning.
- All-Purpose Flour: This is the other half of the roux! It thickens the liquid beautifully and gives the gravy that wonderful, rich body.
- Chopped Fresh Thyme: This is optional, but highly recommended! It adds a beautiful, subtle herbaceous note that screams “holiday dinner.”
- Low-Sodium Chicken or Turkey Broth: Used to thin the gravy to the perfect consistency and add a little extra body. Low-sodium helps prevent an overly salty finish.
- Salt and Pepper: Use these at the very end to season to taste. The drippings already contain salt, so always taste before adding more!
Note: The exact measurements and quantities for these ingredients will be provided right under this article in the recipe card!
How to Make the Turkey Gravy
This quick process happens right after the turkey comes out of the oven! Follow these easy steps to liquid gold:
Step 1: Separate the Drippings
Carefully transfer your beautiful, resting turkey from the pan and onto a carving board. Now, pour all those precious pan drippings into a fat separator or a large measuring cup. Give it about five minutes to let the fat rise to the top. Spoon off the excess fat and save the remaining flavorful liquid—that’s your gravy base!
Step 2: Make the Golden Roux
In a large saucepan over medium heat, melt the unsalted butter. Once melted and bubbly, whisk in the flour (and your fresh thyme, if you’re using it!). Cook this mixture, whisking constantly, for about two minutes until it turns a lovely, light golden-brown color. This step is important, as it cooks out the raw flour taste!
Step 3: Whisk in the Liquids
Slowly, and I mean slowly, whisk about 2 cups of the reserved turkey drippings (use broth to top it up if you don’t have enough!). The mixture will seize up into a thick paste—that’s exactly what you want! Now, gradually whisk in the chicken or turkey broth until it becomes completely smooth.
Step 4: Simmer and Thicken
Bring the mixture to a boil, then reduce the heat to a gentle simmer. Continue to whisk often as the gravy simmers for about 5-6 minutes. Keep an eye on the consistency; it will thicken as it cooks. If it gets too thick, just splash in a little more broth!
Step 5: Season and Serve
Once the gravy reaches your desired velvety thickness, remove it from the heat. Now for the crucial part: taste it! Season with salt and pepper as needed. Pour into your favorite gravy boat and serve it piping hot alongside your holiday meal. Trust me, you are going to love this!
Pro Tips for Making the Recipe
- Go for a Darker Roux: Cook your flour and butter mixture (the roux) slightly longer than two minutes, until it’s a deep peanut-butter color. This deepens the savory flavor and color of your final gravy!
- The Slower the Better: Always add your liquid slowly while whisking constantly. This is the secret to preventing lumps and ensuring a perfectly smooth, silky texture.
- A Touch of Umami: For an unbelievably rich and savory flavor, whisk in a splash of Worcestershire sauce or a tiny bit of soy sauce at the end. It enhances the umami without changing the turkey flavor.
- Keep it Warm: Gravy will naturally thicken as it cools. If you finish it early, keep it warm in a slow cooker on the “Keep Warm” setting, or just reheat it gently on the stove right before serving.
How to Serve

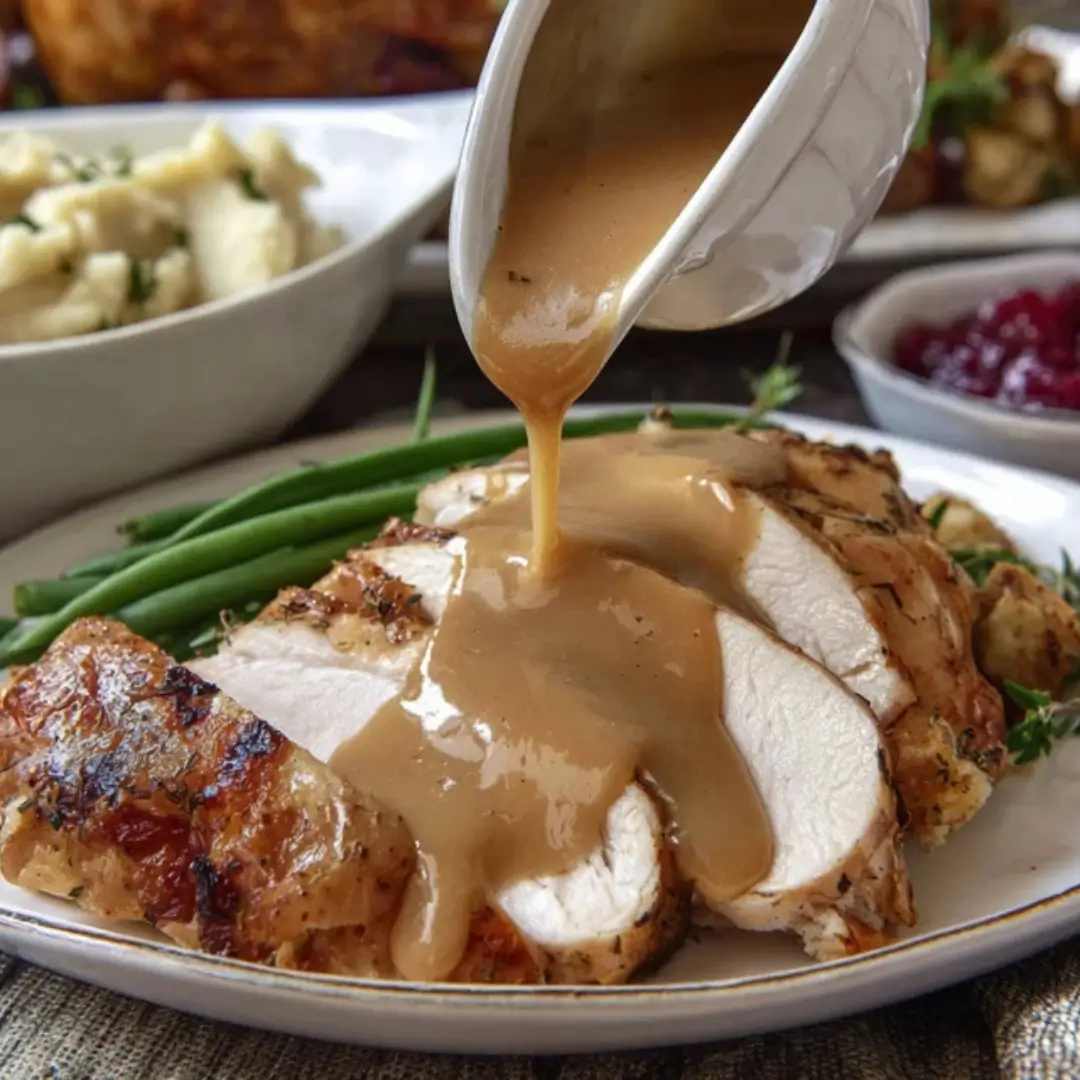
Of course, the classic way to serve this liquid gold is draped over your freshly carved turkey. But let’s be real, you’ll want to pour this on everything else on your plate, too!
- Mashed Potatoes: This is non-negotiable. Drown those creamy potatoes!
- Stuffing (or Dressing): A spoonful of gravy over a pile of savory stuffing is truly heavenly.
- Rolls and Biscuits: Dip those warm, fluffy rolls right into the gravy boat—it’s a perfect pairing.
- The Next Day: Ladle it generously over leftover turkey sandwiches or try it on poutine (fries topped with cheese curds and gravy!) for a fun post-holiday treat!
Make Ahead and Storage
Planning ahead for Thanksgiving? You’re a genius! Here’s how to handle your beautiful leftovers.
Storing Leftovers
Allow the gravy to cool completely to room temperature, then place it in an airtight container. It will last beautifully in the refrigerator for up to 3-4 days. Keep in mind it will thicken up quite a bit once chilled.
Freezing
Yes, you can freeze it! Pour the cooled gravy into a freezer-safe container (or even a Ziploc bag laid flat). It freezes well for up to 3 months. Thaw it overnight in the refrigerator before reheating.
Reheating
To reheat, simply transfer the cold gravy to a saucepan and warm it over medium-low heat, whisking constantly. Since it will be very thick from chilling, you will need to whisk in an extra splash or two of chicken broth or water until it returns to that perfect, pourable consistency.
FAQs
1. What if I don’t have enough turkey drippings?
Don’t panic! This is a very common scenario, especially with a lean bird. The good news is you can simply make up the difference with more low-sodium chicken or turkey broth. For example, if the recipe calls for 2 cups of drippings/broth combined, and you only got 1 cup of drippings, just add 1 cup of broth. You can also supplement the fat in your roux by using a bit of extra melted unsalted butter if your drippings were low on fat!
2. My gravy has lumps! How do I fix a lumpy gravy?
Lumpy gravy is easy to fix! The simplest method is to pour the entire batch through a fine-mesh strainer and use a rubber spatula or the back of a spoon to push the smooth gravy through, leaving the lumps behind. For a super-smooth texture, you can also transfer the gravy to a blender and give it a quick, careful blitz (be careful with hot liquids!).
3. How can I make my gravy thicker or thinner?
If your gravy is too thin, you can let it simmer longer over low heat, whisking often—it will continue to reduce and thicken. For a quicker fix, mix 1 tablespoon of cornstarch with 2 tablespoons of cold water (a slurry) and whisk it into the simmering gravy. If your gravy is too thick, simply whisk in more warm chicken broth, a tablespoon at a time, until you reach that perfect consistency.
4. Can I make this gravy without the drippings entirely?
Absolutely! If you roasted a breast, or just want to get this done a few days before Thanksgiving, you can use the same method. Just substitute the turkey drippings with an equal amount of chicken or turkey broth and use the full amount of butter listed for the roux. For extra flavor, you can sauté some finely chopped shallots or onion in the butter before adding the flour!
Turkey Gravy
Ingredients
Equipment
Method
- Pour pan drippings through a fine mesh strainer to remove solids. Let sit, then skim excess fat from the top (save if using instead of butter).
- In a medium saucepan over medium heat, melt butter or turkey fat.
- Whisk in the flour and cook for 1–2 minutes, stirring constantly, until golden and fragrant to form a roux.
- Gradually whisk in warm turkey drippings or broth, about ½ cup at a time, to prevent lumps.
- Continue cooking, whisking constantly, until the gravy thickens, about 5–7 minutes.
- Season with salt, pepper, and herbs to taste. Add additional stock to thin if needed.
- Serve hot over turkey, mashed potatoes, or stuffing.