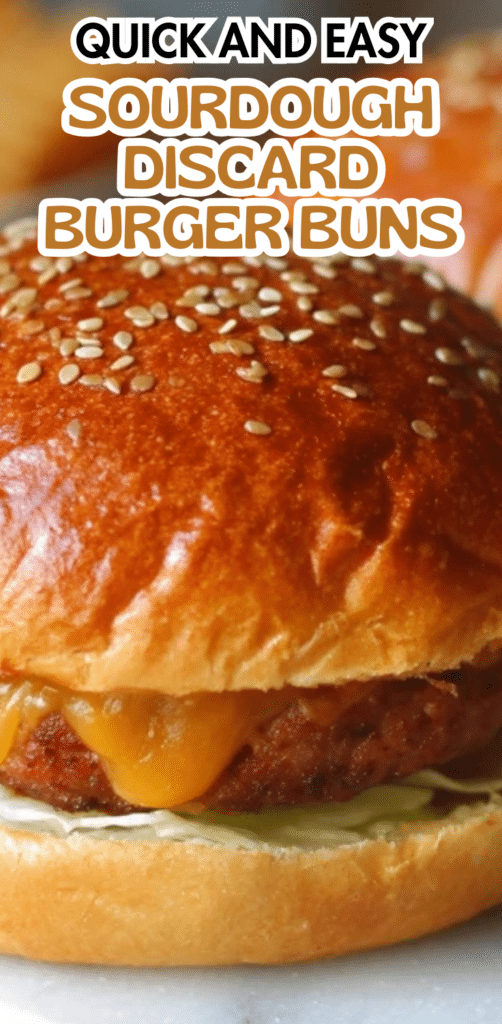
Pro Tips for Making This Sourdough Discard Burger Buns
Achieving bakery-quality Sourdough Discard Burger Buns at home is entirely within your reach, and I’ve gathered a few tried-and-true tips from my own kitchen adventures to help you along the way.
My Secret Trick: I always make sure my milk and butter are just lukewarm—not hot! If they’re too warm, they can kill the yeast, and we want those beautiful buns to rise perfectly. Just warm enough to melt the butter and activate the yeast.
When kneading, pay attention to the dough’s feel. It should be soft, supple, and only slightly tacky, not overly sticky. If it feels too wet, add a tiny bit more flour, a tablespoon at a time, until it reaches that perfect consistency. Trust your hands!
Don’t skip the second rise! This is crucial for developing that light, airy texture. Let your shaped Sourdough Discard Burger Buns rest in a warm, draft-free spot until they’ve nearly doubled in size. This patience truly pays off in the final product.
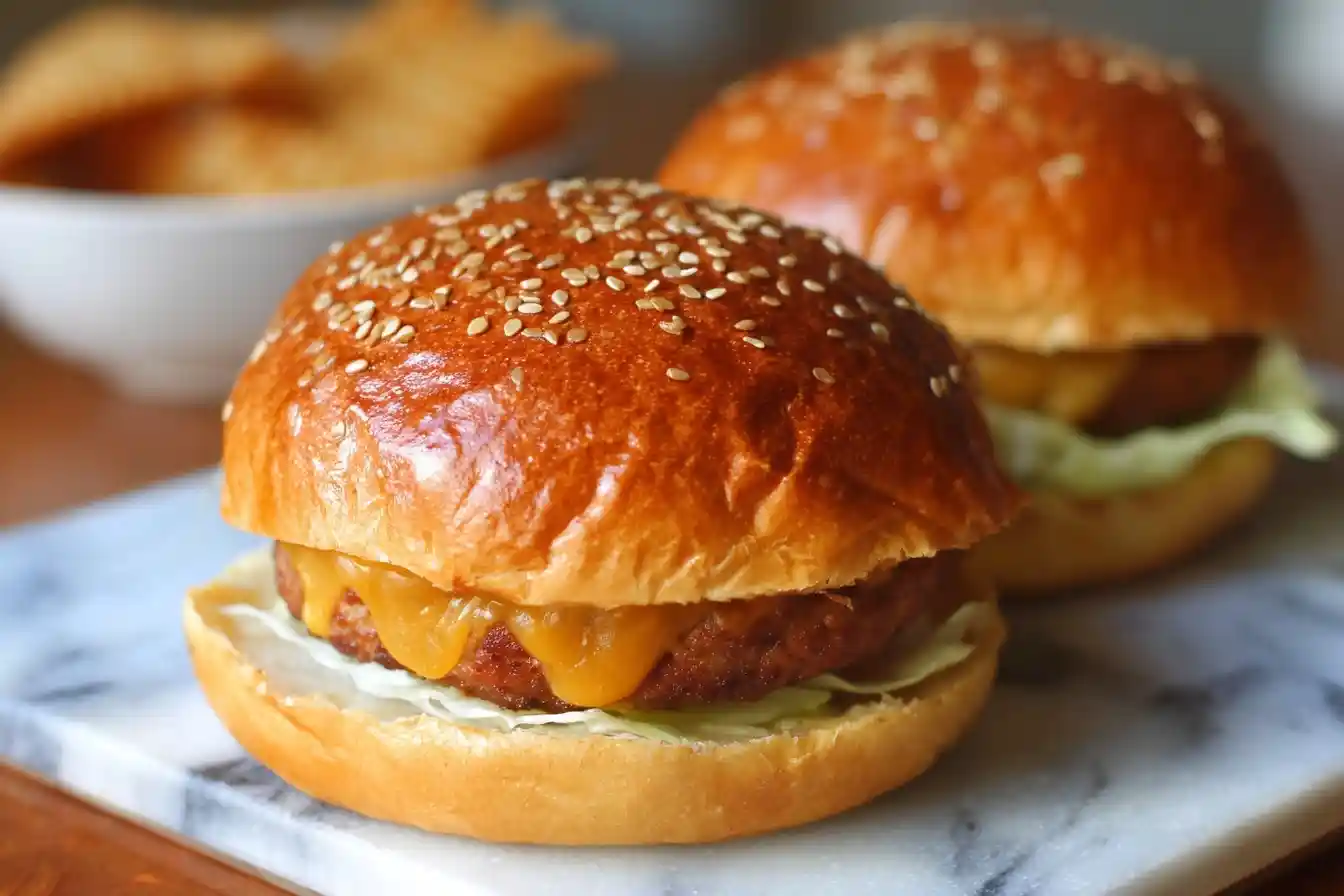
For an extra beautiful golden crust and those lovely sesame seeds to stick, an egg wash is a must. Just a simple whisked egg with a splash of water brushed over the tops before baking makes all the difference.
Fun Variations for Sourdough Discard Burger Buns
One of the greatest joys of baking is making a recipe truly your own, and these Sourdough Discard Burger Buns are wonderfully adaptable! Feel free to get creative and tailor them to your family’s tastes.
Cheesy Delights
For a savory twist that my nephew absolutely adores, try incorporating about 1/2 cup of shredded cheddar or a blend of your favorite cheeses into the dough during the last few minutes of kneading. The cheese melts beautifully, adding a delicious savory depth to the buns.
Herbaceous Harmony
I often add a tablespoon or two of finely chopped fresh herbs like rosemary or chives to the dough. It infuses the buns with a wonderful aroma and complements grilled meats perfectly. My friend, Emily, loves when I make them with a hint of dried oregano for an Italian-inspired burger night.
Sweet & Savory Swaps
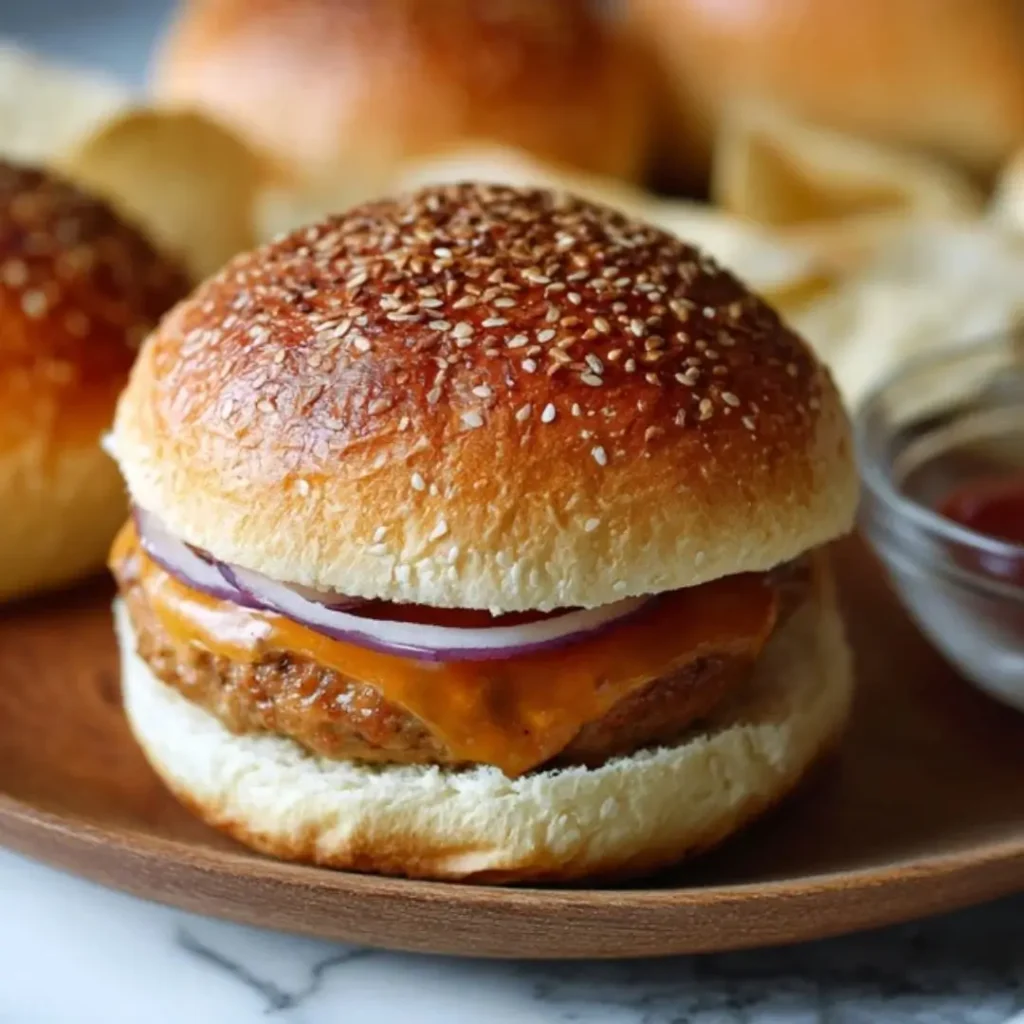
While these are designed for burgers, a touch of honey or a sprinkle of poppy seeds instead of sesame seeds can create a slightly different flavor profile. For a subtle sweetness, try replacing a tablespoon of the granulated sugar with honey.
What to Serve With Sourdough Discard Burger Buns
These gorgeous Sourdough Discard Burger Buns are the perfect foundation for so much more than just a classic beef patty! Their soft texture and slight tang make them incredibly versatile.
Of course, the classic choice is a juicy, grilled beef burger with all your favorite toppings – crisp lettuce, ripe tomatoes, red onion, and a slather of your secret sauce. They also elevate a fantastic grilled chicken sandwich, especially with some melted provolone and a pesto aioli. My mom always insists I make extra so we can have pulled pork sliders the next day! And for a lighter option, a thick slice of grilled halloumi or a hearty veggie burger finds its perfect match in these buns. For a quick weeknight idea, just a smear of butter and a sprinkle of flaky sea salt makes a delightful side to a comforting bowl of soup.
How to Store Sourdough Discard Burger Buns
You’ve put love into baking these amazing Sourdough Discard Burger Buns, so let’s make sure they stay fresh and delicious for as long as possible! Proper storage is key to preserving that wonderful texture.
Once completely cooled, store your buns in an airtight container at room temperature for up to 2-3 days. This keeps them soft and prevents them from drying out. If you live in a particularly humid climate, I find that a paper bag inside an airtight container can help prevent them from getting too moist.
Freezing for Freshness
For longer storage, these Sourdough Discard Burger Buns freeze beautifully! Wrap individual buns tightly in plastic wrap, then place them in a freezer-safe bag or container. They’ll keep well for up to 2-3 months. When you’re ready to enjoy, simply thaw them at room temperature or warm them gently in the oven for a few minutes until soft. My personal tip? A quick toast in the oven or toaster oven brings back that fresh-baked warmth and a lovely subtle crispness to the exterior.
Sourdough Discard Burger Buns
Ingredients
Equipment
Method
- In a large mixing bowl (or stand mixer bowl), combine the warm milk, granulated sugar, and active dry yeast. Stir gently and let sit for 5-10 minutes until the yeast is foamy. This indicates it’s active.
- Add the sourdough discard, melted butter, and egg to the yeast mixture. Whisk until well combined.
- Gradually add 3 cups of the all-purpose flour and the salt. Mix with a wooden spoon or the dough hook on low speed until a shaggy dough forms. Add the remaining 1/2 cup flour, a little at a time, until the dough comes together and is not overly sticky. You may not need all of it or might need a tiny bit more.
- If using a stand mixer, increase speed to medium-low and knead for 8-10 minutes until the dough is smooth, elastic, and pulls away from the sides of the bowl. If kneading by hand, turn the dough out onto a lightly floured surface and knead for 10-15 minutes.
- Lightly grease a clean bowl with oil. Place the dough in the bowl, turning once to coat. Cover tightly with plastic wrap or a clean kitchen towel. Let rise in a warm place for 2-3 hours, or until doubled in size. The exact time will depend on the temperature of your room.
- Gently punch down the dough to release the air. Turn it out onto a lightly floured surface. Divide the dough into 8 equal pieces (approx. 95-100g each for large buns, use a kitchen scale for accuracy).
- Shape each piece into a tight, smooth ball. To do this, flatten a piece slightly, then pull the edges into the center and pinch to seal. Flip it over and cup your hand around the dough, rolling it on the counter to create tension and a smooth, round shape.
- Line a large baking sheet with parchment paper. Arrange the shaped buns on the baking sheet, leaving about 2-3 inches between them.
- Cover the buns loosely with plastic wrap or a clean kitchen towel. Let them rise again in a warm place for 45-60 minutes, or until visibly puffy and almost doubled in size.
- Preheat your oven to 375°F (190°C) during the last 15 minutes of the second rise.
- In a small bowl, whisk together the egg and water for the egg wash. Gently brush the tops of the proofed buns with the egg wash. If desired, sprinkle with sesame seeds.
- Bake for 15-20 minutes, or until the buns are golden brown on top and sound hollow when tapped on the bottom. If they start to brown too quickly, you can loosely tent them with foil.
- Remove from the oven and transfer the buns to a wire rack to cool completely before slicing and serving.
Notes
Nutritional Benefits
While we often think of bread as a simple carb, these Sourdough Discard Burger Buns offer a bit more than meets the eye. The sourdough discard contributes to improved digestibility, and the whole milk and egg provide some protein and essential nutrients, making for a treat that’s both satisfying and nourishing in its own right.
FAQs
Faq 1
Can I use active sourdough starter instead of discard?
Yes, you can! If using active starter, adjust the flour and water slightly to account for its hydration. You might need a touch less liquid, but the overall process for these Sourdough Discard Burger Buns remains similar.
Faq 2
My buns didn’t rise enough. What went wrong?
Most likely, your yeast wasn’t active or your dough didn’t have a warm enough place to rise. Ensure your liquids are lukewarm and give your Sourdough Discard Burger Buns plenty of time in a cozy spot.
Faq 3
Can I make the dough ahead of time?
Absolutely! You can prepare the dough for your Sourdough Discard Burger Buns and let it have its first rise in the refrigerator overnight. Just bring it to room temperature for about an hour before shaping and continuing the recipe.
Faq 4
What if I don’t have sesame seeds?
No problem at all! You can leave the tops plain for a classic look, or try sprinkling with poppy seeds, everything bagel seasoning, or even a flaky sea salt for a different flavor profile on your Sourdough Discard Burger Buns.
Conclusion
There’s a special kind of satisfaction that comes from creating something wonderful in your own kitchen, and these Sourdough Discard Burger Buns are truly a rewarding bake. They bring that extra touch of homemade love to any meal, transforming a simple burger into a memorable feast. I hope you’ll embrace the joy of baking these delightful buns and, in doing so, create many sweet, savory memories around your own table, just like I have. Happy baking, my friends!