This classic Red Velvet Cupcakes Recipe offers the perfect blend of moist, tender cake and rich, tangy cream cheese frosting.1 Nothing says indulgence quite like that iconic deep red color and a cloud of fluffy white topping. This recipe is straightforward, a total joy to bake, and it guarantees that everyone who takes a bite will ask for seconds. Ready in under an hour, these are perfect for celebrations, a cozy weekend treat, or just because!
Why You’ll Love This Recipe
- The Perfect Crumb: We’re keeping the cake beautifully moist and tender thanks to the buttermilk and oil—no dry cupcakes allowed here!
- A Classic Flavor Combo: The subtle cocoa mixed with vanilla, plus that signature tang from the vinegar and buttermilk, creates a flavor profile that is utterly addictive.
- Cream Cheese Frosting Magic: This isn’t just any frosting; it’s a fluffy, tangy, and sweet dream that perfectly balances the cake’s richness. This one’s a game-changer!
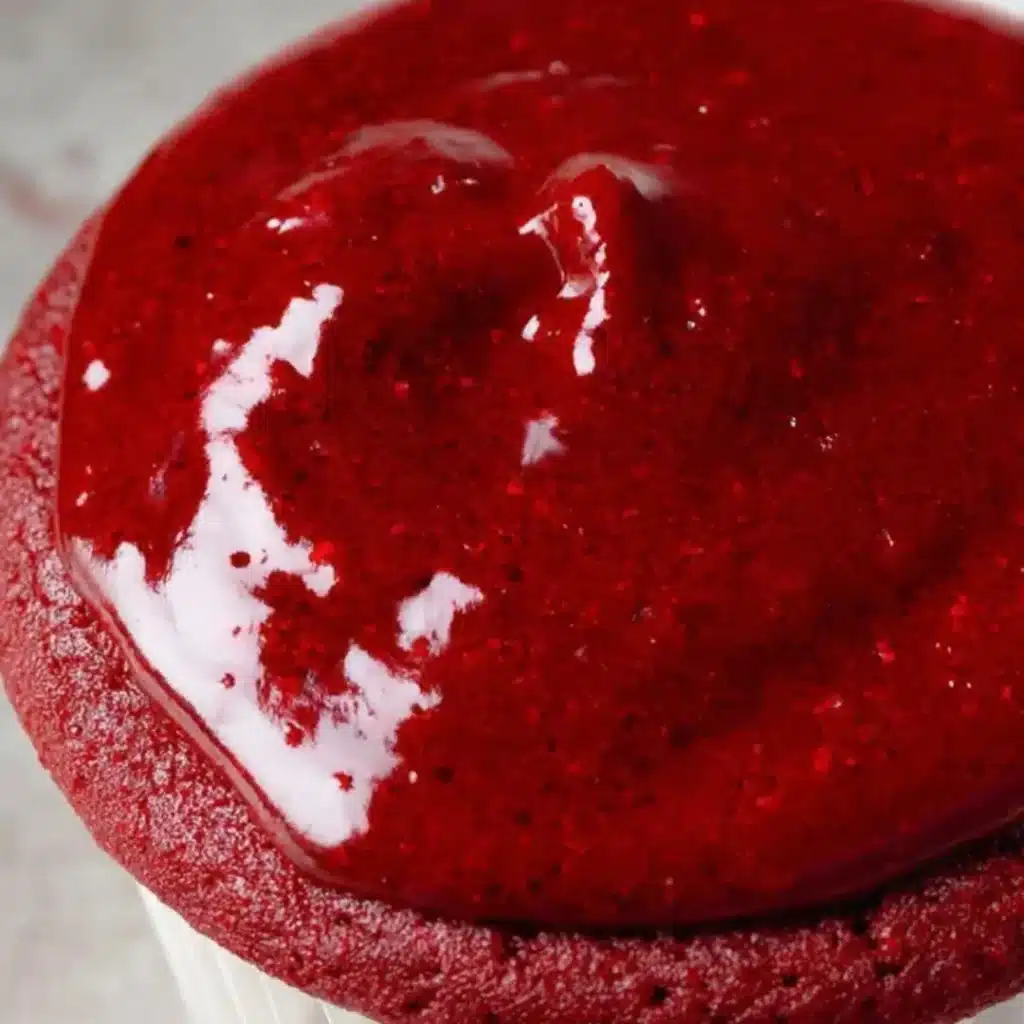
- Showstopper Status: The vibrant red color makes these little treats look absolutely stunning on any dessert table.
Ingredients
All you need for this dreamy Red Velvet Cupcakes Recipe is a little time and a few pantry staples. Seriously, it’s that easy. But first, let’s gather up these key ingredients:
- All-Purpose Flour: This is the structure of our cake! We’ll measure it carefully to ensure a light, tender crumb.
- Unsweetened Cocoa Powder: Don’t skip this! It’s the secret to that signature subtle chocolate note that defines a true Red Velvet.
- Baking Soda & Salt: The dynamic duo! The baking soda works with the acid (vinegar and buttermilk) to give our cupcakes a beautiful lift, and the salt balances all the sweet flavors.
- Granulated Sugar & Vegetable Oil: These provide moisture and a wonderful tenderness. Using oil here helps keep the cake moist for days.
- Large Eggs: Make sure these are at room temperature! They emulsify better with the oil and sugar, leading to a smoother batter and better rise.
- Buttermilk: This is non-negotiable for true Red Velvet flavor and texture. Its acidity reacts with the baking soda and keeps the cake supremely moist.
- Red Food Coloring: The “Red” in Red Velvet! Use a good-quality gel coloring for the most vibrant results.
- White Vinegar: This boosts the acidity, helping the baking soda do its job and enhancing the classic tangy flavor.
- Vanilla Extract: Enhances the depth of all the other flavors.
For the Cream Cheese Frosting
- Cream Cheese & Unsalted Butter: The heart of our frosting! Make sure both are perfectly softened so they beat into a smooth, lump-free, fluffy dream.
- Powdered Sugar: Gives the frosting its structure and sweetness. Sifting it will ensure a super-smooth texture.
- Vanilla Extract: Just a touch to round out the rich, tangy cream cheese flavor.
Note: The exact ingredients with measurements and a printable recipe card will be found right under this article.
How to Make the Red Velvet Cupcakes
Making these cupcakes is a fun, easy process that ends in a seriously rewarding treat! Just follow these simple steps to baking perfection:
Step 1: Prep for Baking
Preheat your oven to the magical baking temperature of $350^\circ\text{F}$ ($175^\circ\text{C}$). Go ahead and line a standard 12-cup muffin tin with your favorite cupcake liners. Getting this done first makes the rest of the process stress-free!
Step 2: Whisk the Dry Ingredients
In a medium bowl, whisk together the flour, cocoa powder, baking soda, and salt. Whisking ensures everything is evenly distributed—no one wants a pocket of unmixed baking soda! Set this bowl aside for now.
Step 3: Cream the Wet Base
In your main, large mixing bowl (or the bowl of a stand mixer), beat the sugar and vegetable oil until they are nice and smooth. Next, add your room-temperature eggs, one at a time, making sure to mix well after each one. This builds a strong, emulsified base for our batter.
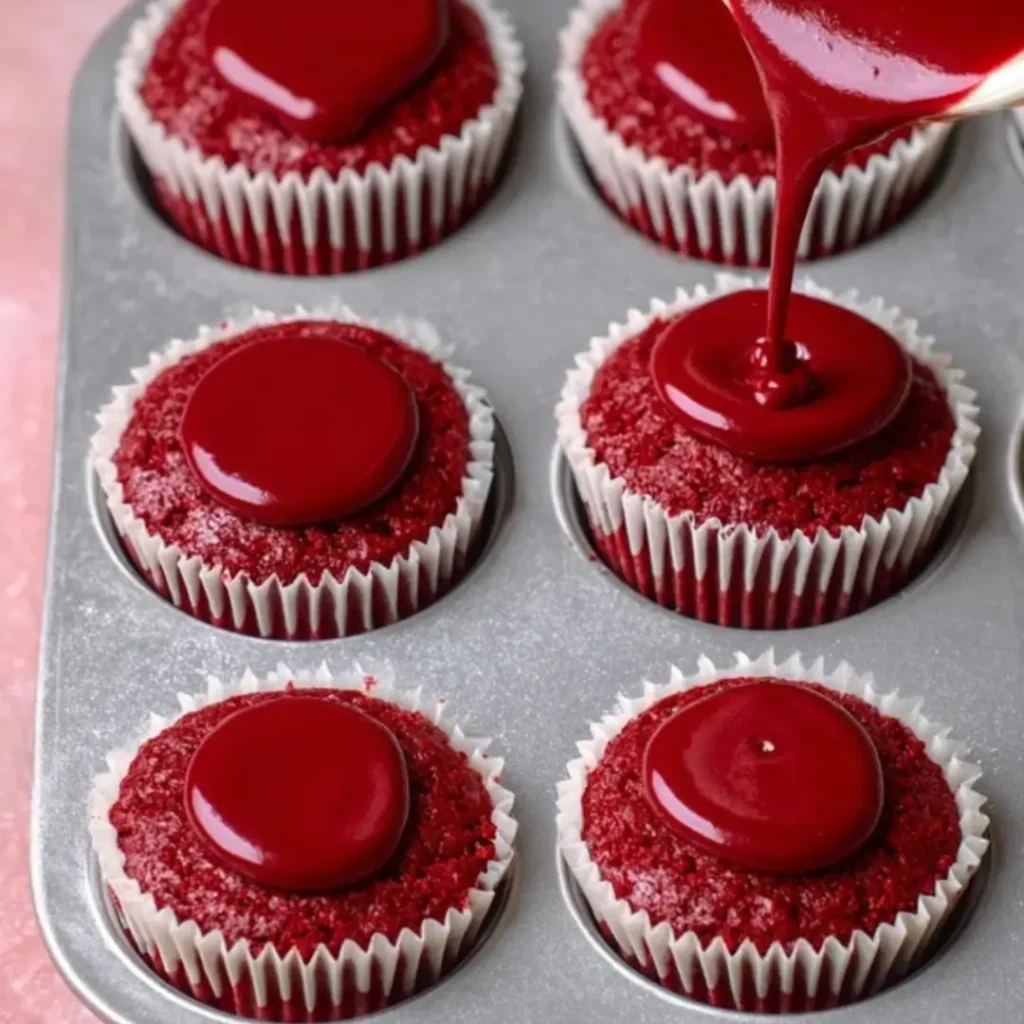
Step 4: Add the Color and Flavor
Now for the fun part! Stir in the buttermilk, the vivid red food coloring, the white vinegar, and the vanilla extract. Mix until everything is beautifully and evenly combined and your batter is a rich, ruby hue.
Step 5: Combine Wet and Dry
Gradually add your dry ingredient mixture to the wet mixture. Mix only until the flour is just combined. Stop the mixer immediately once you no longer see streaks of flour. Do not overmix, or your cupcakes could become tough!
Step 6: Bake Until Perfect
Divide that gorgeous batter evenly among your prepared cupcake liners, filling each about two-thirds full. Slide the tray into the preheated oven and bake for 18–20 minutes. Use the toothpick test—if it comes out clean from the center, they are done!
Step 7: Cool Down
Transfer the baked cupcakes to a wire rack and let them cool completely. I mean completely! If you try to frost warm cupcakes, all that glorious cream cheese frosting will melt right off. We can’t have that!
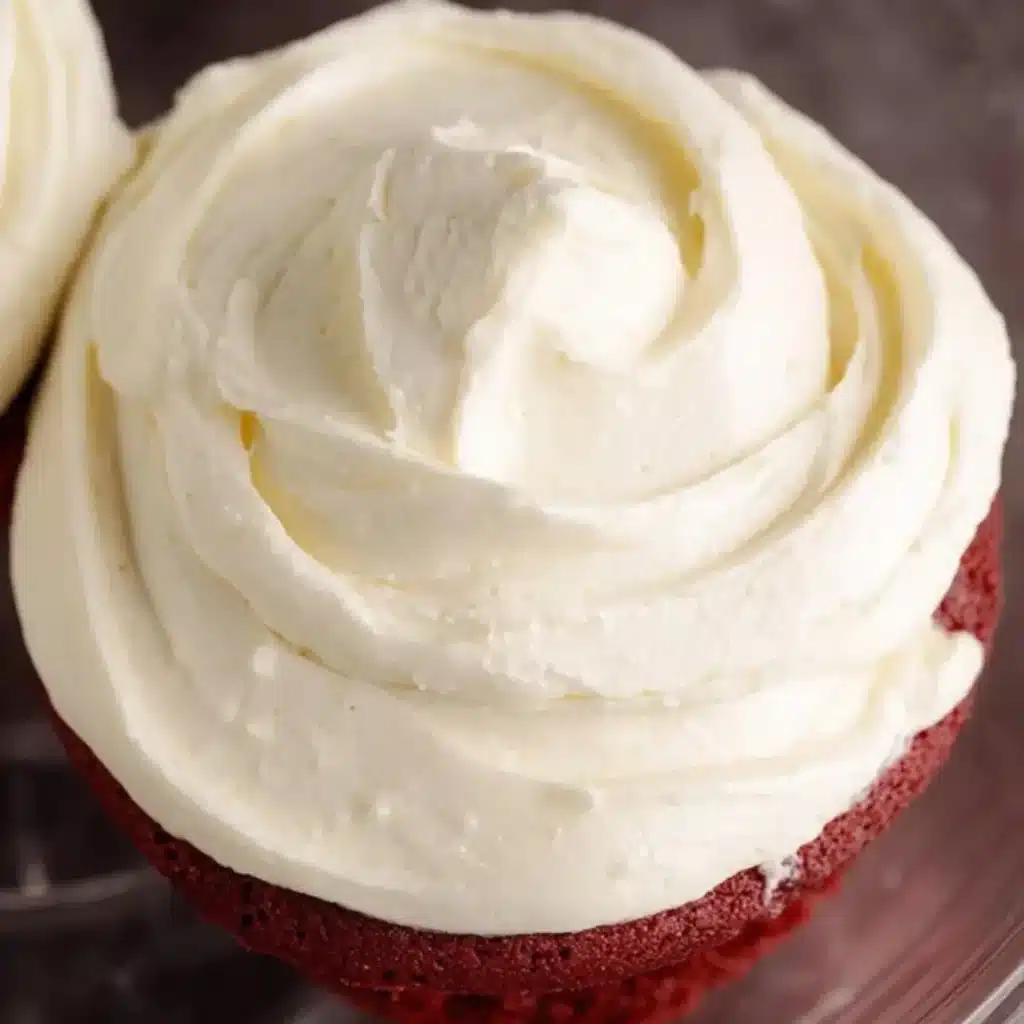
Step 8: Make the Fluffy Frosting
While the cupcakes cool, whip up the frosting. Beat the softened cream cheese and butter together until they are perfectly fluffy and light. Gradually add the powdered sugar and vanilla, beating until the frosting is super smooth and creamy.
Step 9: Frost and Admire!
Pipe or spread that luscious frosting onto your cooled cupcakes. Get creative with sprinkles or a little velvet cake crumb garnish! Now, take a photo and enjoy your masterpiece!
Pro Tips for Making the Recipe
- Temperature is Key: This applies to the eggs, butter, and cream cheese! Having them at room temperature is the number one secret to a smooth, evenly mixed batter and lump-free, fluffy frosting.
- Don’t Overmix the Batter: When adding the dry ingredients, mix on low speed and stop just when the flour streaks disappear. Overmixing develops the gluten, resulting in dense, tougher cupcakes.
- Use Gel Food Coloring: For that deep, stunning red color, skip the liquid stuff and grab a concentrated gel food coloring. You’ll get better results with less product.
- Don’t Rush the Cooling: Seriously, the cooling step is critical. A wire rack allows air to circulate underneath the cupcakes, preventing them from getting soggy on the bottom and ensuring the frosting stays perfect.
How to Serve
These little beauties are already perfect as is, but here are a few fun ways to serve and pair them!
- The Classic Garnish: Top them with a tiny sprinkle of red cake crumbs (just save a bit of batter or cake top for this!) or some elegant white or red sprinkles.
- Beverage Pairing: Serve them alongside a big glass of cold milk, a strong cup of coffee, or a glass of dry champagne to cut through the richness of the frosting.
- Dessert Bar Staple: They are perfect for holidays (hello, Valentine’s Day or Christmas!) or as a feature piece on a party dessert spread.
Make Ahead and Storage
Storing Leftovers
Store leftover frosted cupcakes in an airtight container in the refrigerator for up to 3 days. They taste best if you let them sit at room temperature for about 30 minutes before serving.
Freezing
Unfrosted cupcakes freeze beautifully! Once cooled, wrap them tightly in plastic wrap, then place them in a freezer-safe zip-top bag. Freeze for up to 3 months. Thaw them overnight in the refrigerator before frosting.
Reheating
Frosted cupcakes should not be reheated. Unfrosted, they are best served thawed. If the cake feels dry, a quick 10 seconds in the microwave might help, but typically they are served at room temperature.
FAQs
1. Why do I need to use buttermilk in this recipe?
Buttermilk is essential for a true Red Velvet cake! It’s a slightly acidic ingredient that reacts with the baking soda to give the cupcakes a beautiful, light rise. More importantly, it contributes the signature subtle tang and ensures the cake stays wonderfully moist and tender for days. Substituting it is tricky, but you can technically make a quick buttermilk substitute by mixing 1 cup of whole milk with 1 tablespoon of white vinegar or lemon juice and letting it sit for 5 minutes before using.
2. Can I make this recipe as a whole cake instead of cupcakes?
Absolutely! The Red Velvet Cupcakes Recipe can easily be converted into a layer cake. You would typically divide the batter between two 8-inch round cake pans and adjust the baking time. It will likely need 25–30 minutes, but start checking with the toothpick test after 20 minutes. Just make sure the pans are greased and floured well!
3. What can I use if I don’t have red food coloring?
If you don’t have or don’t want to use red food coloring, you can simply skip it! You’ll end up with a “Mahogany” or “Brown Velvet” cupcake. The taste will be exactly the same—a delicate chocolate-vanilla flavor with a tang—but the color will be a deep, rich brown. The texture and flavor are still spot-on, just without the famous red hue!
4. How can I ensure my cream cheese frosting is smooth and lump-free?
The absolute key to smooth frosting is using perfectly softened cream cheese and butter. If they are even slightly cold, you will get lumps. You should be able to press them easily with a finger. Also, make sure you beat the cream cheese and butter together thoroughly until they are light and fluffy before gradually adding the powdered sugar.

Red Velvet Cupcakes
Ingredients
Equipment
Method
- Preheat oven to 350°F (175°C) and line a muffin tin with cupcake liners.
- In a bowl, whisk together flour, cocoa powder, baking soda, and salt. Set aside.
- Cream butter and sugar until light and fluffy. Add eggs one at a time, then mix in vanilla extract and red food coloring.
- Mix in half the dry ingredients, followed by buttermilk and vinegar, then add remaining dry ingredients. Mix until smooth.
- Divide batter evenly into cupcake liners, filling about 2/3 full. Bake for 16–18 minutes or until a toothpick inserted comes out clean.
- Let cupcakes cool completely before frosting.
- For the frosting, beat cream cheese and butter together until smooth. Add powdered sugar gradually, then vanilla, and beat until fluffy. Frost cupcakes as desired.