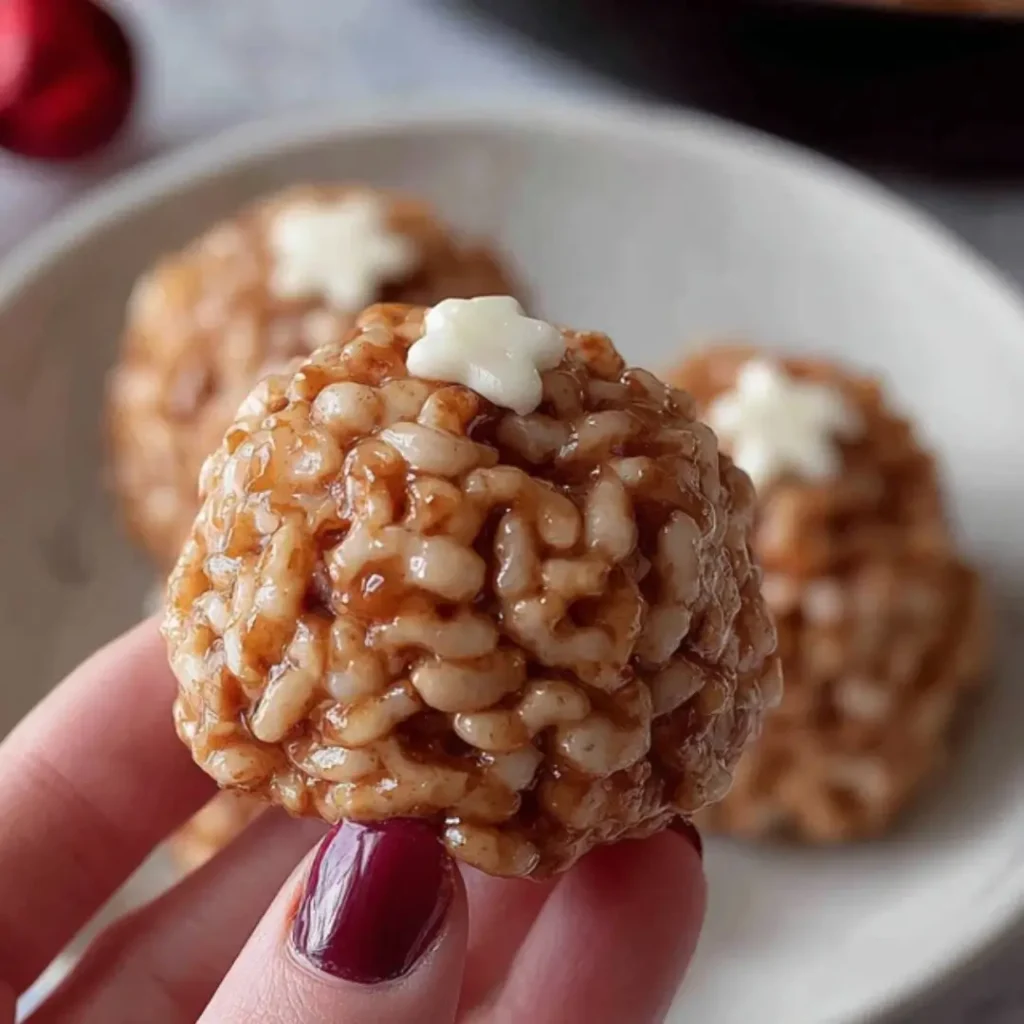
If you’re looking for a genuinely fun, ridiculously easy, and utterly adorable festive treat, you’ve found it! These no-bake Rice Krispie Christmas Puddings are the perfect combination of crunchy chocolate goodness, smooth white chocolate ‘icing,’ and playful holiday cheer. Ready in a flash, these mini puddings bring instant joy to any Christmas platter and are perfect for getting the whole family involved—no oven necessary!
Why You’ll Love This Recipe
- No-Bake Wonder: Seriously, who wants to turn on the oven when there are presents to wrap? These come together entirely on the stovetop and with a little help from your fridge!
- A Family Affair: Shaping these little puddings is a fantastic, non-messy activity for kids. It’s a great way to make memories (and snacks!) during the holidays.
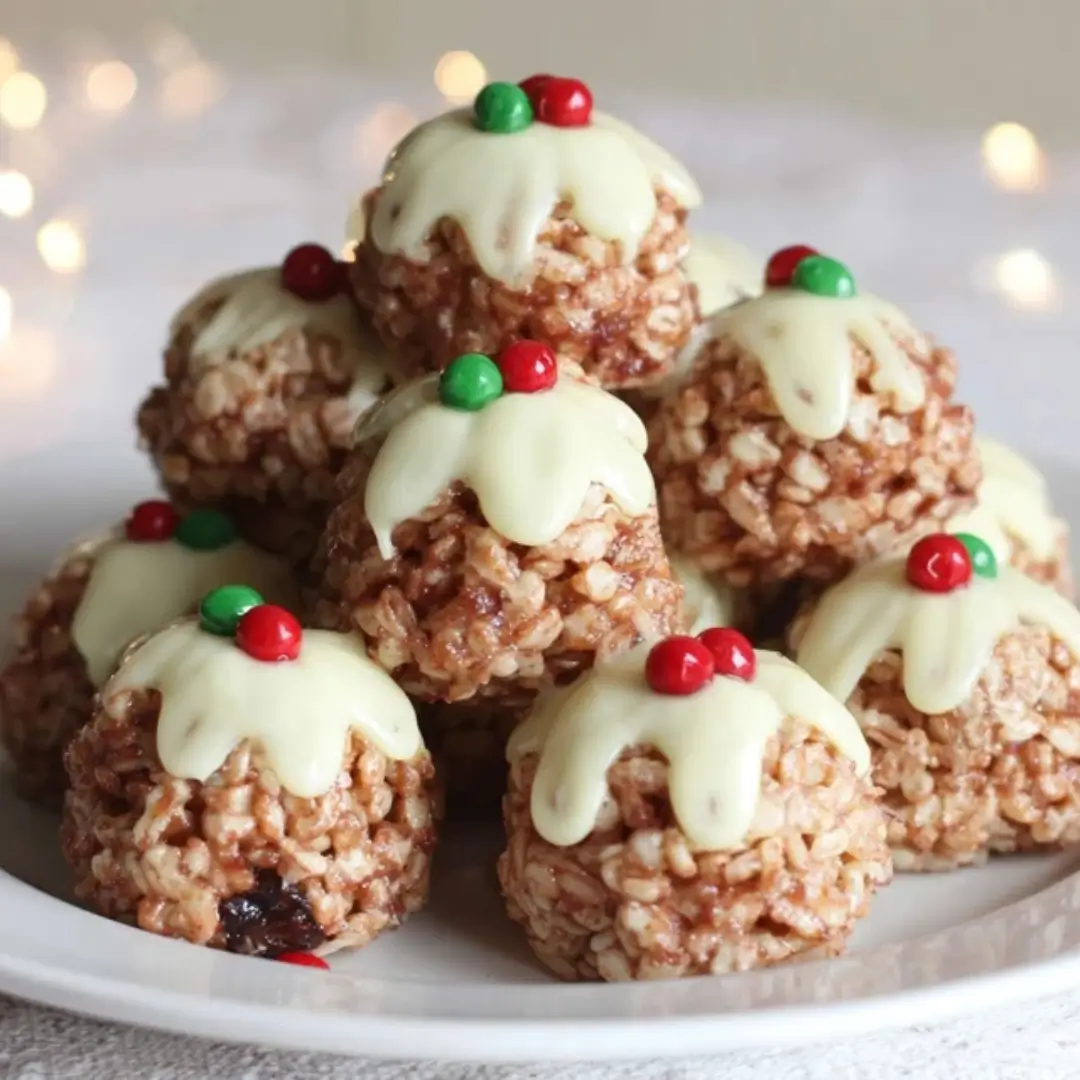
- Perfectly Festive: They are so cute! The rich chocolate base, the creamy white chocolate topping, and the pop of colorful candy make them the most eye-catching treat on your holiday cookie tray.
- Totally Portable: Whether you’re headed to a holiday party or gifting treats to neighbors, these little beauties are easy to transport and hold their shape beautifully.
Ingredients
Gather up these key players! Trust me, the combination of these simple ingredients is what makes these puddles absolutely UNREAL.
- Rice Krispies Cereal: The backbone of this dessert! It provides that signature crispy, crunchy texture we all know and love.
- Unsalted Butter: This is our fat base. It adds richness and helps bind the whole mixture together, preventing it from tasting dry.
- Golden Syrup or Light Corn Syrup: The magic glue! This is essential for achieving that sticky, perfectly chewy consistency that holds the “pudding” shape.
- Cocoa Powder: Brings a deep, decadent chocolate flavor to the base. It’s what gives them that beautiful, dark Christmas pudding color.
- Milk Chocolate Chips: Melts right into the mixture to enhance the chocolate flavor and contribute to the rich binding texture.
- Vanilla Extract: A dash of vanilla elevates any chocolate recipe. It brightens the flavor and adds aromatic warmth.
- Salt: Don’t skip this! A tiny pinch of salt balances the sweetness and makes the overall chocolate flavor taste much deeper and more complex.
- White Chocolate Chips: This is for the stunning, creamy “icing” on top. It gives these treats their authentic pudding look!
- Red and Green Candy Decorations: Used for that final, festive flourish—think of them as your mini holly berries and leaves!
Note: The exact measurements for these ingredients, along with the full, printable instructions, will be provided right under this article in the recipe card!
How to Make the Rice Krispie Christmas Puddings
This recipe moves quickly, so be sure to have your ingredients measured out and ready to go! This whole process is so satisfying—you’ll be done before you know it.
Step 1: Prep the Pan
Line a large baking sheet with parchment paper. This simple step is a true time-saver because it prevents sticking and makes for super easy cleanup!
Step 2: Melt the Sticky Base
In a large saucepan (you want one big enough for all the cereal later!), melt the butter, syrup, and cocoa powder over low heat. Keep stirring constantly until the mixture is completely smooth. Low and slow is the name of the game here to prevent scorching!
Step 3: Add the Chocolate
Take the saucepan off the heat and stir in the milk chocolate chips, mixing until they are fully melted and perfectly combined with the cocoa butter mixture. Now, stir in your vanilla extract and that tiny pinch of salt. That chocolate scent is going to fill your kitchen!
Step 4: Fold in the Cereal
Here’s the fun part! Dump all your Rice Krispies into the chocolate mixture. Using a spatula, fold and stir carefully until every single crisp is generously coated in that rich, sticky chocolate goodness.
Step 5: Shape and Chill
Grab a tablespoon and scoop out portions of the mixture. Use your hands (you might want to lightly dampen them to prevent sticking!) to gently shape them into small, round balls that resemble mini puddings. Place them neatly on your prepared tray. Pop the tray into the refrigerator for about 30 minutes or until they feel nice and firm to the touch.
Step 6: Melt the Icing
While they chill, get your “icing” ready! In a small, microwave-safe bowl, melt the white chocolate chips. Do this in 20-second bursts, stirring well between each interval. The key is to melt it slowly to keep it smooth and glossy—we don’t want grainy chocolate!
Step 7: Decorate and Finish
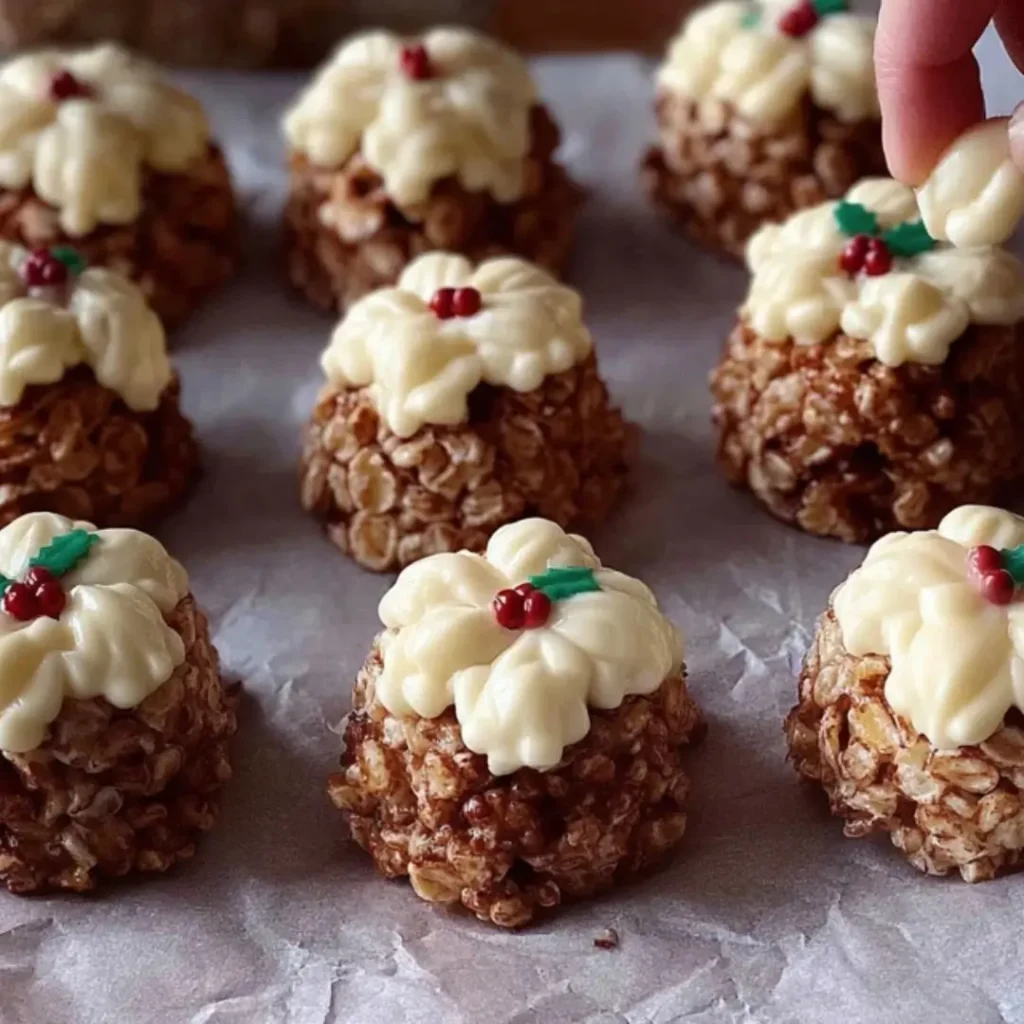
Spoon a small amount of the melted white chocolate over the top of each pudding. Let it drizzle down the sides a little to mimic that beautiful, melted glaze effect. While the white chocolate is still soft, place your red and green candies on top to complete the look. Give them one last quick chill for about 10 minutes to set the white chocolate before you start sampling!
Pro Tips for Making the Recipe
- Keep the Heat Low: When melting the butter and syrup, use the lowest heat setting you can. High heat will cause the cocoa powder to burn, which is no fun at all.
- The Wet Hand Trick: To keep the chocolate mixture from sticking to you during the shaping stage, lightly coat your hands with a tiny bit of water or non-stick spray. It makes shaping a breeze!
- Shape Consistency: Aim to use the same size scoop for all of your puddings so they look uniform and adorable on your platter. A cookie scoop is perfect for this!
- Use Quality Chocolate: Since the chocolate flavor is key here, try to use a good quality cocoa powder and chocolate chips—it truly makes a difference in the final taste.
How to Serve
These mini puddings are perfect on their own, but here are a few fun ways to present or pair them:
- The Festive Platter: Arrange them beautifully on a white serving platter dusted with a tiny bit of powdered sugar to look like snow.
- Neighbor Gifts: Package a few in clear cellophane bags tied with a festive ribbon. They make a thoughtful, homemade gift!
- Alongside Coffee: These are the ultimate pairing for a festive coffee, like a peppermint mocha or a simple, strong brew.
Make Ahead and Storage
These are the absolute best make-ahead treat, which is a lifesaver during the busy holiday season!
Storing Leftovers
Store your Rice Krispie Christmas Puddings in an airtight container at room temperature for up to 5 days, or in the refrigerator for up to 7 days. If storing in the fridge, let them come back to room temperature for about 10 minutes before serving for the best flavor and texture.
Freezing
Yes, you can freeze them! Place the completely set puddings in an airtight, freezer-safe container, separating layers with parchment paper. Freeze for up to 3 months.
Reheating
No reheating required! Thaw frozen puddings overnight in the refrigerator, and then let them sit at room temperature for 15 minutes before serving.
FAQs
- Is golden syrup necessary, or can I substitute it? Golden syrup is great for that classic sticky-chewy texture, but you can absolutely use light corn syrup (like Karo) or even a rice malt syrup. The key is using a liquid sweetener that is thick and sticky, which helps bind the cereal together. Using honey or maple syrup might alter the flavor too much and make the texture a little looser.
- Can I use other kinds of cereal for this recipe? Rice Krispies are definitely recommended because they are light and crisp, which prevents the pudding from becoming overly dense. However, if you’re looking for a slightly nuttier flavor, you could try mixing in a small amount of Cheerios or corn flakes, but stick primarily to the puffed rice cereal for the best result.
- My puddings are falling apart! What went wrong? If your puddings are crumbly, it usually means your butter/syrup/chocolate binder wasn’t quite thick enough or didn’t completely coat the cereal. Make sure you let the mixture melt completely on low heat, and ensure every single piece of cereal is covered before you start shaping. Also, make sure you give them the full 30 minutes in the fridge to set up properly before decorating.
- Can I make these vegan or dairy-free? It’s totally possible to adapt this recipe! Swap the dairy butter for a plant-based stick butter, use a vegan/dairy-free golden syrup (ensure it doesn’t contain animal products), and swap both the milk chocolate and white chocolate for high-quality vegan chocolate chips. They’ll be just as delicious and festive!
Rice Krispie Christmas Puddings
Ingredients
Equipment
Method
- Line a baking tray with parchment paper and set aside.
- In a large saucepan, melt the butter over low heat. Add marshmallows and stir until completely melted and smooth.
- Remove from heat and stir in the milk chocolate until melted and combined.
- Add the Rice Krispies cereal and stir gently until well coated with the chocolate mixture.
- Using lightly greased hands, shape the mixture into small pudding-sized balls and place them on the prepared tray.
- Drizzle each pudding with melted white chocolate to resemble icing dripping down the sides.
- Decorate with red candies and green fondant leaves on top to create the holly decoration.
- Allow to set in the refrigerator for about 30 minutes before serving.