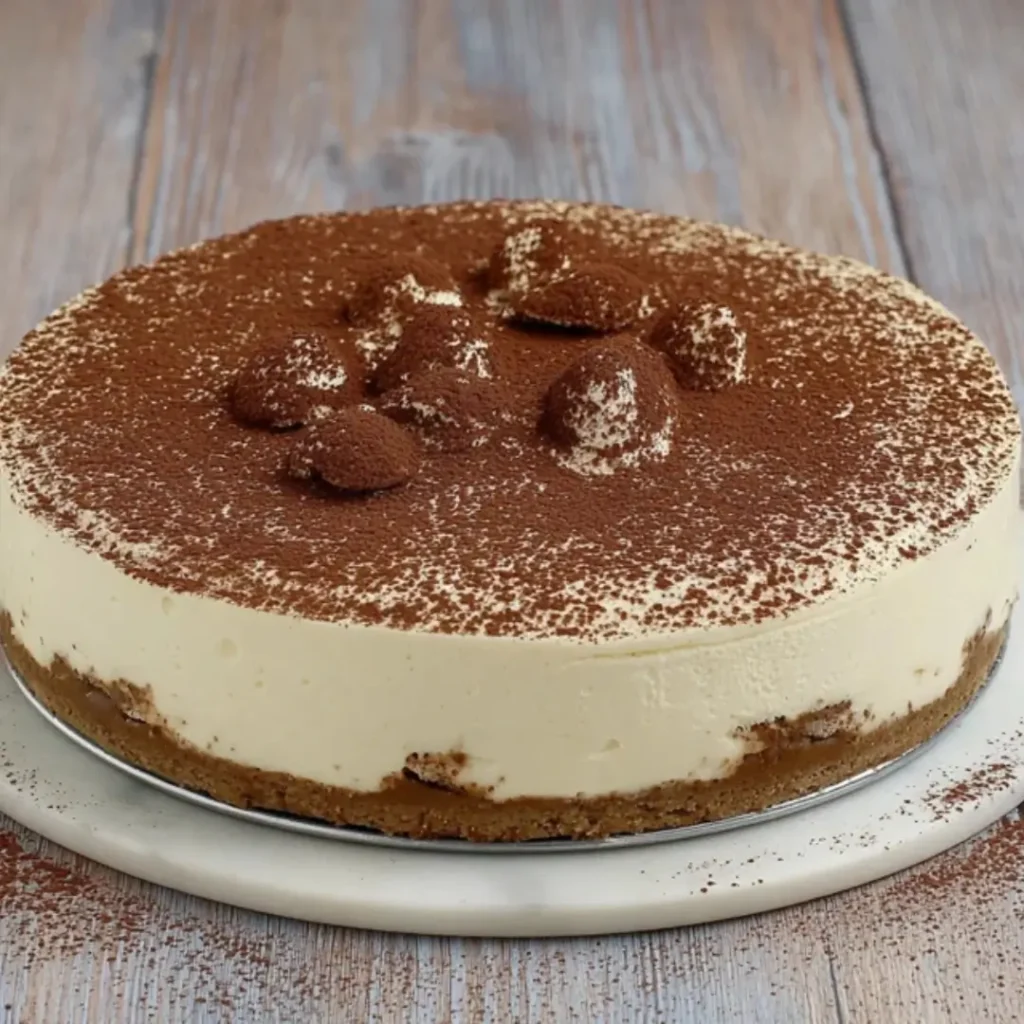
This No-Bake Creamy Tiramisu Cheesecake brings together the best of two dessert worlds: the rich, coffee-soaked elegance of classic Italian tiramisu and the smooth, irresistible tang of a perfect cheesecake. Seriously, if you’re looking for a luscious, impressive, and surprisingly easy dessert to wow your friends, trust me, this is the one! Since it’s completely no-bake, it’s the perfect light indulgence for any time of year—no oven required, just pure, creamy bliss.
Why You’ll Love This Recipe
- A True Game-Changer: This dessert takes the cozy, comforting flavors of espresso and sweet cocoa and wraps them up in a velvety, chilled cheesecake—it’s utterly irresistible!
- Ultimate Creaminess: By combining the traditional cheesecake base (cream cheese) with rich, silky mascarpone, you get a texture that is truly next-level smooth.
- Effortless Elegance: No need to fuss with a water bath or worry about cracks! This is a simple, no-bake recipe that looks incredibly sophisticated and decadent when served.
- Make-Ahead Dream: Since it needs a good chill time, this is the perfect dessert to prep the day before your gathering, leaving you stress-free!
Ingredients
All you need for this heavenly No-Bake Creamy Tiramisu Cheesecake are a few simple stars and a little chill time! But first, gather up these must-haves:
- Ladyfinger Cookies (Crushed): These form the delicate, porous base, soaking up the butter and giving us that signature tiramisu flavor profile right from the bottom.
- Melted Butter: The essential binder that turns your crushed ladyfingers into a firm, perfect crust.
- Cream Cheese: The heart of any cheesecake! Make sure it’s softened so you get a smooth, lump-free, creamy texture.
- Powdered Sugar: The sweetener of choice, as it dissolves instantly to keep the filling perfectly smooth and lump-free.
- Heavy Cream: This is whipped into stiff peaks to introduce lightness and air, ensuring our cheesecake filling is fluffy and not too dense.
- Vanilla Extract: A secret weapon that enhances all the other flavors and adds a gentle warmth to the creamy base.
- Strong Brewed Coffee (Cooled): The essential ingredient that defines the tiramisu flavor, adding that wonderful, complex bitterness and aroma.
- Mascarpone Cheese: This is where the magic happens! It’s a rich, Italian cream cheese that gives the filling an unparalleled richness and silkiness that standard cream cheese can’t match.
- Cocoa Powder: The final flourish, sifted over the top to deliver that traditional, slightly bittersweet dusting.
- Ladyfinger Pieces (for Layering): These are quickly dipped in the coffee and layered into the filling, adding texture and making sure every slice bursts with coffee flavor.
- Instant Coffee Powder: Mixed with the cocoa powder, this deepens the coffee aroma in the dusting for an even richer finish.
Note: The exact measurements for all ingredients and detailed nutritional information will be listed in the full recipe card found immediately below this article.
How to Make the No-Bake Creamy Tiramisu Cheesecake
Step 1: Prep the Crumb Crust
In a bowl, mix your crushed ladyfingers with the melted butter until everything is evenly moistened, like wet sand. Press this mixture firmly into the bottom of a springform pan (use the back of a measuring cup to compact it nicely!). Pop this into the fridge for about 20 minutes to firm up.
Step 2: Create the Cheesecake Base
In a large bowl, combine the softened cream cheese, powdered sugar, that silky mascarpone, and vanilla. Beat this together until the mixture is beautifully smooth, creamy, and there are absolutely no lumps left behind.
Step 3: Fold in the Fluff
In a separate bowl, whip your heavy cream until you achieve lovely, stiff peaks. Now, gently fold this whipped cream into the cream cheese mixture using a spatula. This step keeps the filling light and airy, so be gentle!
Step 4: Dip and Layer
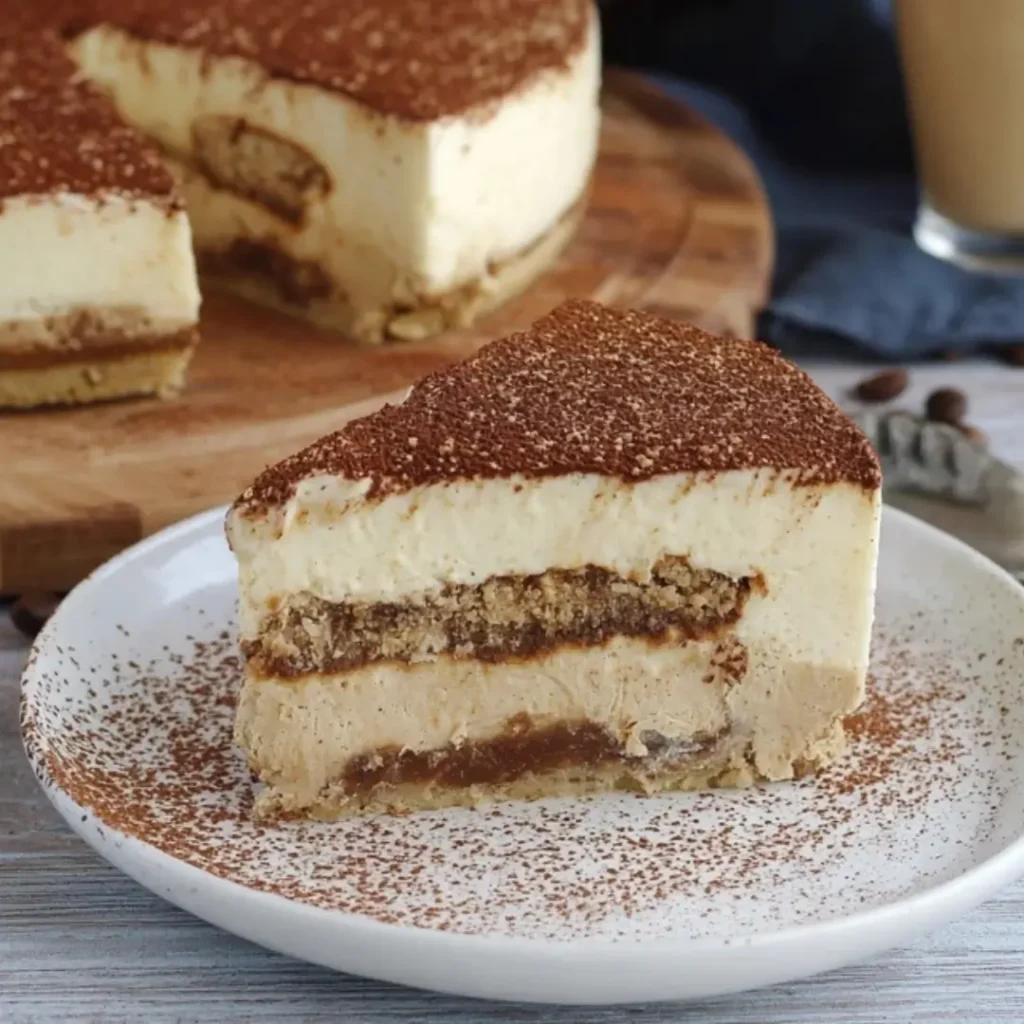
Quickly dip your small ladyfinger pieces into the cooled, strong coffee. You don’t want them soggy, just quickly saturated! Pour half of your creamy cheesecake filling onto the chilled crust. Scatter those coffee-soaked ladyfinger pieces evenly over the filling layer.
Step 5: Smooth and Chill
Pour the remaining cheesecake mixture over the top, smoothing the surface with a spatula or the back of a spoon. Mix the cocoa powder with the instant coffee powder, and then carefully sift this mixture evenly over the top for a gorgeous, deep-colored finish.
Step 6: Wait (the hardest part!)
Refrigerate the cheesecake for at least 6 hours, but honestly, preferably overnight is best. This allows the cheesecake to set up completely so you can get perfectly clean, beautiful slices. Slice and serve chilled for the most luxurious, coffee-forward flavor!
Pro Tips for Making the Recipe
- Soften the Cheeses: Make sure your cream cheese and mascarpone are truly at room temperature before you start beating. This is the key to achieving a perfectly smooth, lump-free filling.
- Don’t Over-Dip the Ladyfingers: When dipping the ladyfingers, the speed is essential! They are very absorbent. A quick dunk (half a second!) is all you need, or they will turn mushy and break down in the filling.
- The Sifting Trick: Don’t just dump the cocoa powder on top! Sifting the cocoa and coffee powder gives you that beautiful, velvety finish, preventing any lumps or bare spots.
- Chill Time is Non-Negotiable: Seriously, let it chill! This dessert needs the full time to set and solidify. Cutting it early will result in a soft, messy slice. Patience will reward you with perfection.
How to Serve
This cheesecake is already a showstopper, but here are a few ways to serve it up:
- A Classic Dusting: The traditional cocoa/coffee dusting is perfect as is, serving sophisticated simplicity.
- Garnish: Add a fresh, vibrant touch by placing a few fresh raspberries or a sprig of mint on each slice.
- Pairing Perfection: Serve a slice alongside a strong espresso or a rich glass of Marsala wine to enhance the Italian dessert experience.
Make Ahead and Storage
Storing Leftovers
Cover the cheesecake loosely and store leftovers in an airtight container in the refrigerator for up to 3 to 4 days. The flavor actually gets better the second day!
Freezing
You can freeze this cheesecake! Once completely set, remove it from the springform pan and place it (undusted) on a freezer-safe plate. Freeze until solid, then wrap tightly in plastic wrap followed by a layer of aluminum foil. Freeze for up to 1 month.
Reheating
To enjoy, simply thaw the frozen cheesecake overnight in the refrigerator. Dust with the cocoa/coffee powder just before serving.
FAQs
1. Can I use regular cream cheese instead of mascarpone?
While you can use only cream cheese, I highly recommend finding mascarpone! Mascarpone is critical for achieving that signature velvety, extra-rich, and slightly sweet flavor profile that makes this cheesecake taste so much like true Italian tiramisu. Using only regular cream cheese will still yield a good cheesecake, but you’ll lose some of the luxurious texture.
2. Can I make this dessert gluten-free?
Absolutely! To make this recipe gluten-free, the easiest swap is to substitute the traditional ladyfingers with a gluten-free cookie or wafer. You could also use a standard gluten-free graham cracker crust, though you’ll lose a bit of that classic ladyfinger flavor.
3. How strong should the coffee be for dipping the ladyfingers?
You definitely want to use a strong brew, like espresso or a very dark-roast coffee, for dipping. The strong flavor is necessary to cut through the richness of the cream cheese and mascarpone and give you that authentic, bold tiramisu flavor in every bite. Just make sure the coffee is completely cooled before dipping!
4. Why is my cheesecake filling not setting properly?
The most common culprit is not whipping the heavy cream enough or not folding it in gently enough. The air incorporated by whipping the cream is what gives the filling structure. Also, ensure you are using full-fat cream cheese and mascarpone, and most importantly: you must give it the full 6 hours (or overnight) chill time to set up completely.

No-Bake Creamy Tiramisu Cheesecake
Ingredients
Equipment
Method
- Combine crushed ladyfingers with melted butter. Press firmly into the bottom of a springform pan and refrigerate for 20 minutes.
- Beat cream cheese, powdered sugar, mascarpone, and vanilla until smooth and creamy.
- Whip heavy cream to stiff peaks and gently fold into the cream cheese mixture.
- Dip ladyfinger pieces quickly into cooled brewed coffee.
- Pour half of the filling over the crust, add a layer of soaked ladyfingers, then top with the remaining filling.
- Mix cocoa powder with instant coffee powder and sift evenly over the top.
- Refrigerate for at least 6 hours or overnight before slicing and serving.