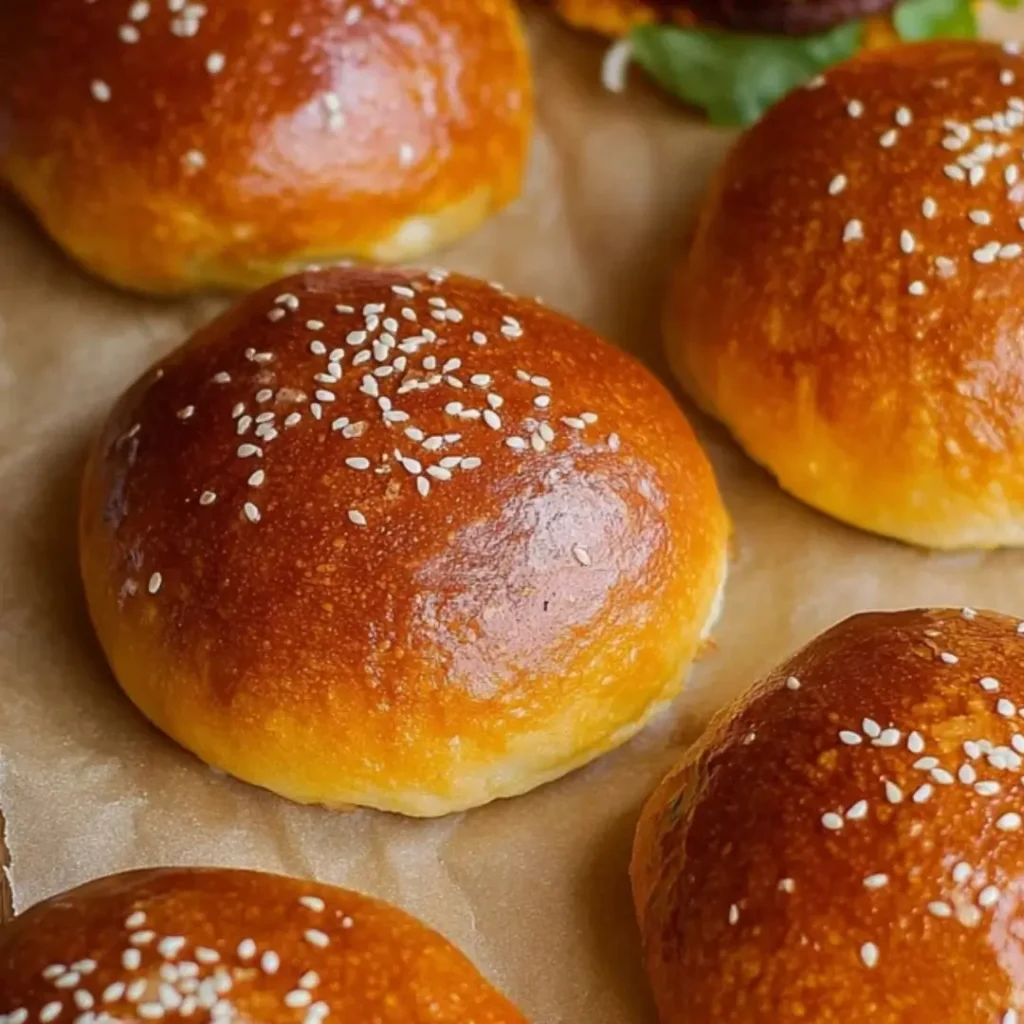
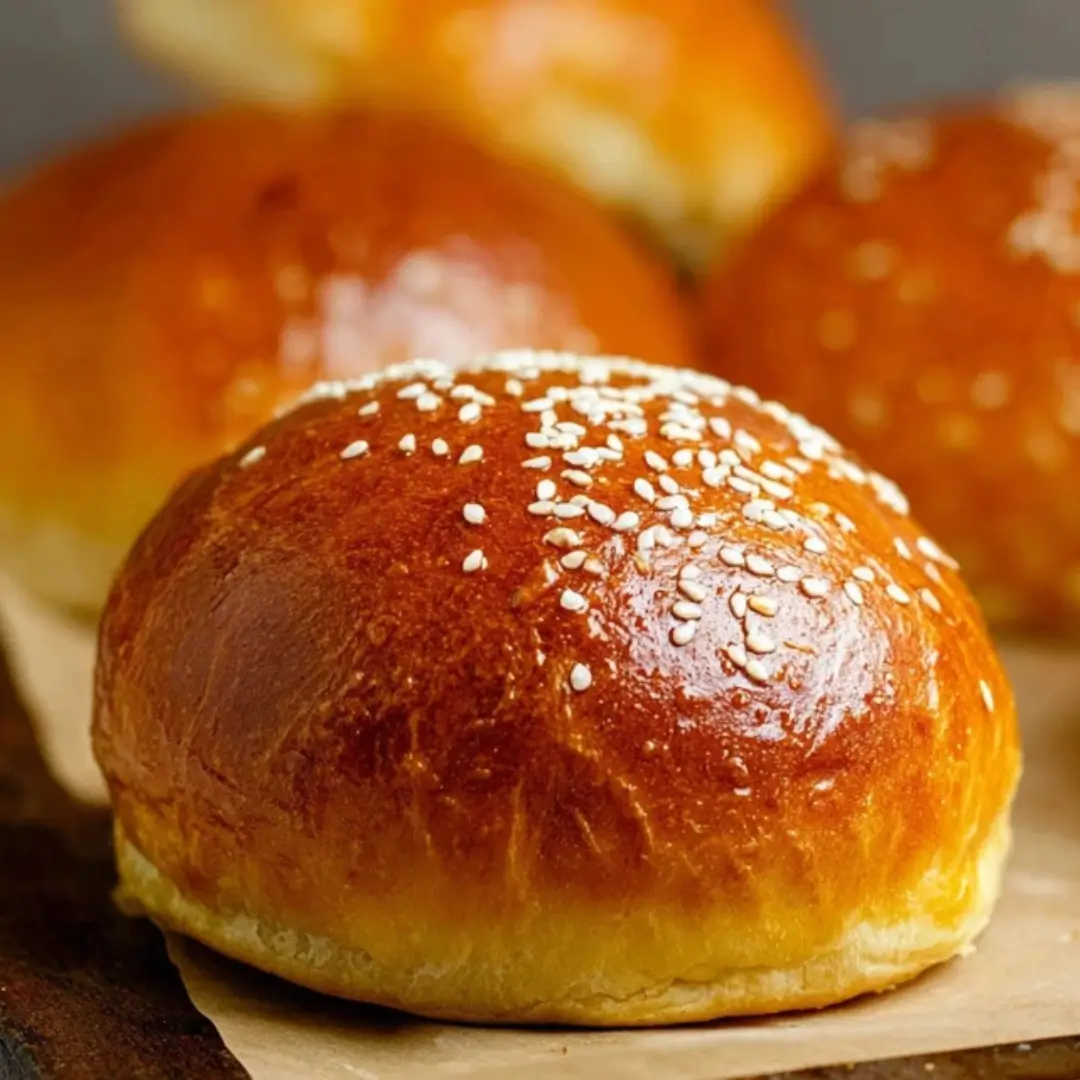
Today I’m bringing you a truly luscious recipe that is going to instantly upgrade your burger game: homemade Brioche Burger Buns! Forget those dry, crumbly store-bought discs. Your amazing, juicy homemade burger deserves a cozy, buttery cloud to sit on, and trust me, this recipe is a game-changer. These buns are unbelievably soft, rich with butter, subtly sweet, and boast that beautiful, golden shine. They are the definition of burger perfection!
Why You’ll Love This Recipe
- Ultimate Texture: This isn’t just bread; it’s a buttery, cloud-like brioche that’s miles ahead of standard buns. It’s soft enough to melt in your mouth but sturdy enough to hold up to the juiciest burger.
- Insanely Fresh Flavor: Nothing beats the smell and taste of fresh-baked bread, especially when it’s enriched with butter and eggs. This is a simple pleasure you’ll be proud to serve.
- Simple & Fun Baking: Dough can sound intimidating, but I promise this recipe is incredibly approachable. It’s a wonderful project to spend an afternoon on, and the reward is absolutely worth the wait!
- Perfect for Everything: Sure, they are amazing for burgers, but you can also use them for pulled pork, chicken sandwiches, or even slice them for breakfast sliders.
Ingredients
Alright, friends, it’s time to gather the goods for this buttery masterpiece! All you need for these incredible Brioche Burger Buns is a bit of time and these simple kitchen staples.
- All-Purpose Flour: This is the foundation of our bun structure! It gives us that perfect chew and rise.
- Sugar: A touch of sweetness that also feeds the yeast, ensuring a beautiful, active rise and contributing to that classic golden-brown color.
- Active Dry Yeast: Our magical riser! This is what gives the brioche its incredible lightness and fluffy texture.
- Salt: Essential for flavor! It balances the sweetness and actually controls the yeast, ensuring your dough doesn’t over-proof too quickly.
- Warm Milk and Warm Water: The essential liquids that wake up our yeast and bring the dough together. Make sure they are warm (not hot!)—about $105^{\circ}\text{F}$ to $115^{\circ}\text{F}$ is perfect.
- Large Eggs: These are what make brioche brioche. They enrich the dough, adding richness, tenderness, and that gorgeous golden hue.
- Butter, Softened: This is the secret to the ultimate flavor and softness! Make sure it’s properly softened (but not melted) so it incorporates smoothly during kneading.
- Sesame Seeds (Optional): A classic topping! They add a delightful little crunch and that iconic bakery look.
Note: The exact measurements for these ingredients, along with the full, printable recipe instructions, will be available right under this article in the recipe card!
How to Make the Brioche Burger Buns
Making these buns is a delightful process! Take your time, trust the steps, and you’ll have bakery-worthy results.
Step 1: Combine the Dry and Wet Ingredients
In your biggest mixing bowl, give the flour, sugar, yeast, and salt a good whisk. This ensures everything is evenly distributed. In a separate bowl, whisk together the warm milk, warm water, and two of your eggs until they are nicely combined.
Step 2: Form the Dough
Add the wet ingredients to the dry mixture and stir it all up until you see a shaggy, rough dough start to form. Now we bring in the richness! Add your softened butter to the bowl.
Step 3: Knead to Perfection
This is the fun part! Knead the dough for about 8 to 10 minutes. At first, it will look messy, but keep going! You are building that gluten structure. By the end, the dough should be beautifully smooth, elastic, and pass the “windowpane test” (meaning you can gently stretch a small piece thin enough to see light through it without tearing).
Step 4: First Rise (Bulk Fermentation)
Lightly oil a clean bowl, drop your smooth dough ball in, cover it tightly (plastic wrap works great!), and let it hang out in a warm spot. It needs 1 to 1.5 hours, or until it has happily doubled in size. This builds maximum flavor!
Step 5: Shape the Buns
Gently punch the risen dough down to release the air. Divide it into 8 equal pieces. Take each piece and shape it into a tight, smooth ball. The smoother the ball, the prettier the bun! Place these little beauties on a parchment-lined baking sheet, making sure to leave space—they’re going to puff up again!
Step 6: Second Rise (Proofing)
Cover your shaped buns loosely with plastic wrap and let them rise again for 45 to 60 minutes. They should look noticeably puffy and pillowy. Don’t rush this step; it’s key to the final fluffiness.
Step 7: Egg Wash and Bake!
Preheat your oven to $375^{\circ}\text{F}$ ($190^{\circ}\text{C}$). Beat the remaining egg with a tablespoon of water—this is our miracle worker for a golden, shiny crust! Gently brush the egg wash over the tops of the buns and sprinkle with sesame seeds (if using). Bake for 15 to 17 minutes until they are gorgeously golden brown.
Step 8: Cool Down
Pull them out and let them cool completely on a wire rack before you slice into them. Trust me on this: slicing them while warm deflates them and ruins the texture! Once cool, slice, load, and enjoy that buttery bliss!
Pro Tips for Making the Recipe
- Check Your Yeast: Your milk and water should be warm like a comfortable bath, not hot! If the liquid is too hot, it will kill the yeast, and your dough won’t rise. Aim for $105^{\circ}\text{F}$ to $115^{\circ}\text{F}$.
- The Butter Trick: Ensure your butter is truly softened. If it’s too hard, it won’t incorporate smoothly into the dough. If it’s melted, it changes the dough’s hydration and texture, making it tough to handle.
- Kneading is Key: If you have a stand mixer with a dough hook, use it! It simplifies the 10 minutes of kneading. If kneading by hand, keep going until the dough is smooth and elastic—it’s a great arm workout!
- Don’t Skimp on the Cool Down: I know it’s hard to wait, but allowing the buns to cool completely (at least 30 minutes to an hour) lets the internal structure fully set. This prevents squishing and deflating when you slice them.
How to Serve
These buns are meant for glorious things! Here are a few ways to show them off:
- The Classic Burger: Naturally! They are the perfect complement to a rich beef patty, crispy bacon, and melty cheese. The brioche sweetness balances savory toppings beautifully.
- BBQ Sandwich Star: Pair these with any BBQ favorite—pulled pork, shredded chicken tossed in BBQ sauce, or even brisket. The brioche holds up wonderfully to saucy fillings.
- Breakfast Sliders: Use smaller versions of these buns (or slice the full size horizontally) for ham and cheese sliders, egg salad, or even mini French toast.
Make Ahead and Storage
Planning ahead is a pro move, especially when dealing with baked goods!
Storing Leftovers
Once fully cooled, store your brioche buns in an airtight container or a large zip-top bag at room temperature for up to 3-4 days. Storing them too long will dry out that beautiful soft crumb.
Freezing
These freeze beautifully! After the buns are completely cooled, place them in a freezer-safe bag (removing as much air as possible) or wrap them individually in plastic wrap, then foil. Freeze for up to 3 months. Thaw overnight at room temperature before using.
Reheating
If you want to bring back that “freshly baked” warmth, you can lightly toast them cut-side down in a skillet with a little butter, or warm them in a $350^{\circ}\text{F}$ ($175^{\circ}\text{C}$) oven for just 5 minutes.
FAQs
1. Can I make this dough ahead of time?
Absolutely! This is a great trick for fresh morning buns. After the first rise (Step 5), punch the dough down, wrap it tightly, and place it in the refrigerator overnight (up to 24 hours). The cold temperature slows the yeast. The next day, let it sit on the counter for 30-45 minutes to warm up slightly before dividing and shaping into buns.
2. Why didn’t my dough rise much during the first proof?
There are usually two culprits here! First, check the temperature of your liquids; if they were too hot, you may have killed your yeast. Second, your yeast may have been old or inactive. To check your yeast, try proofing it first: mix the yeast with a tablespoon of sugar and the warm milk/water. Wait 5-10 minutes. If it doesn’t get frothy and bubbly, your yeast is likely dead.
3. Can I use rapid-rise or instant yeast instead of active dry yeast?
Yes, you can! Instant yeast can be mixed directly with the dry ingredients and typically results in a slightly faster rise time. You can often skip the second, shorter rise time, but for the best texture in brioche, I still recommend giving it a full proof!
4. How can I ensure my buns are perfectly equal in size?
For truly professional and uniform buns, I highly recommend using a kitchen scale! Weigh the entire ball of dough after the first rise, then divide that weight by 8. Use the scale to measure each of the 8 pieces of dough, ensuring every bun is exactly the same size for even baking.
Brioche Burger Buns
Ingredients
Equipment
Method
- Whisk together flour, sugar, yeast, and salt in a large bowl.
- In another bowl, mix warm milk, warm water, and 2 eggs.
- Add wet ingredients to the dry mixture and stir until a dough forms.
- Add softened butter and knead for 8–10 minutes until smooth and elastic.
- Place dough in a lightly oiled bowl, cover, and let rise 1–1.5 hours or until doubled.
- Punch down the dough and divide into 8 equal pieces. Shape each into a smooth ball.
- Place dough balls on a parchment-lined baking sheet, leaving space between them.
- Cover loosely and let rise 45–60 minutes until puffy.
- Preheat oven to 375°F (190°C).
- Beat remaining egg with 1 tablespoon of water. Brush onto buns and add sesame seeds if desired.
- Bake 15–17 minutes until golden brown and shiny.
- Cool completely before slicing.