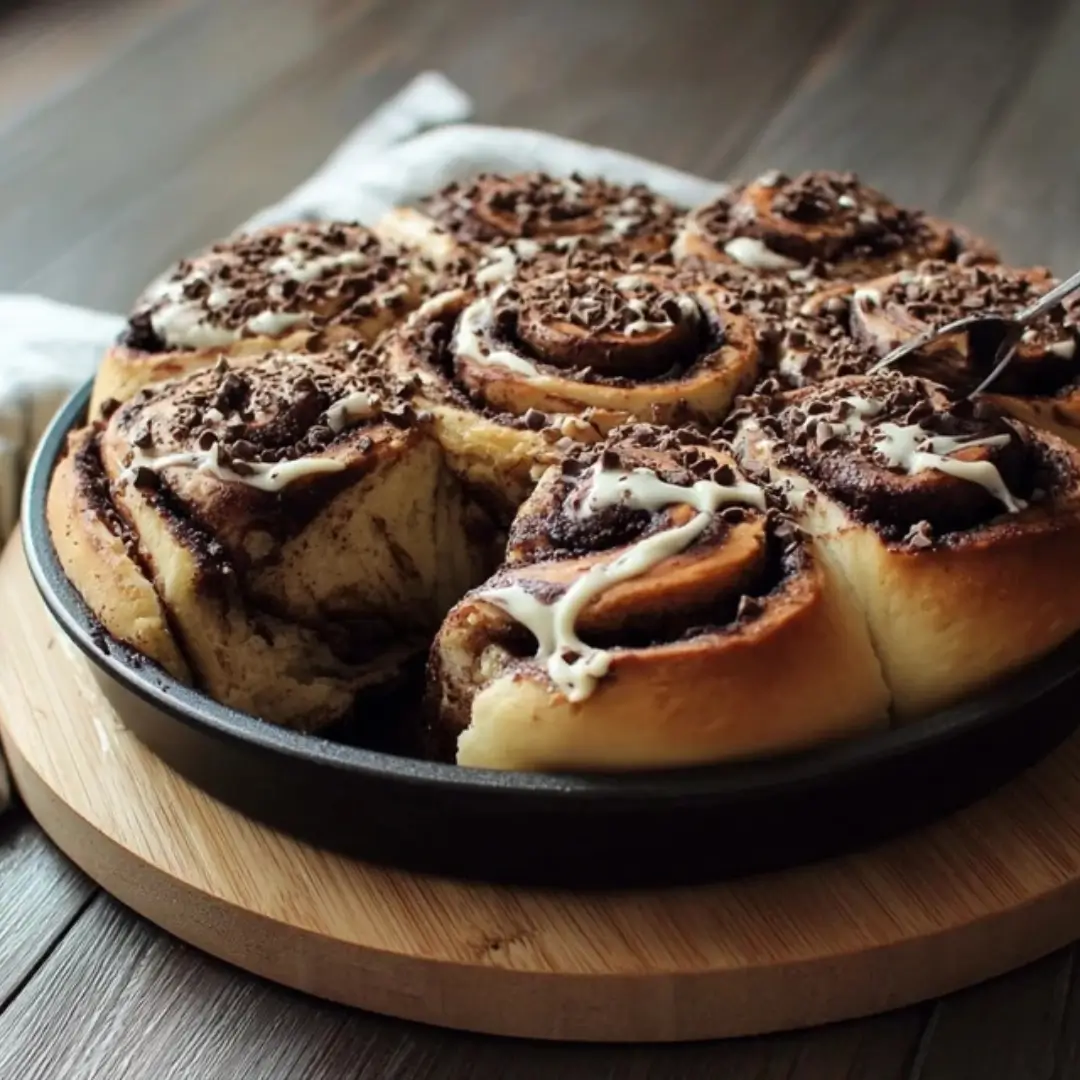
Today I’m bringing you a truly luscious, pillowy treat to warm your soul: Sourdough Chocolate Rolls. Forget cinnamon rolls for a minute—these rolls capture all that classic gooey comfort but swap the spice for rich, decadent chocolate. The sourdough starter doesn’t just give them a lovely, signature tang; it makes the dough incredibly soft and tender. With minimal hands-on time and maximum reward, you’ll end up with a batch of perfectly puffed, lightly golden rolls that are just begging to be pulled apart while they’re still warm. This is a must-try recipe that will make you feel like a master baker, and you’re going to love this!
Why You’ll Love This Recipe
- The Ultimate Comfort Food Hybrid: This recipe takes the light, tangy texture of sourdough baking and marries it with the gooey, rich decadence of a classic chocolate roll. It’s the best of both worlds!
- Minimal Effort, Major Payoff: While there are a couple of rising periods (thanks, sourdough!), the actual hands-on prep time is incredibly short. The oven does all the hard work for you.
- Pillowy Soft Texture: Thanks to the active starter and the milk and butter in the dough, these rolls are unbelievably soft, moist, and tender. They practically melt in your mouth.
- That Rich Chocolate Flavor: We’re using a mix of cocoa powder, brown sugar, and chocolate chips for a filling that is deeply flavorful and beautifully sweet without being overwhelmingly sugary.
Ingredients
All you need for this Sourdough Chocolate Rolls Recipe are a few simple pantry staples and a little patience! But first, gather up these must-have ingredients:
- Active Sourdough Starter: This is the heart of our rolls! It acts as the leavening agent, giving the rolls their lift and imparting that wonderful, slightly tangy flavor that balances the sweetness of the chocolate.
- Warm Milk: This helps hydrate the dough and “wake up” the sourdough starter, ensuring the dough stays soft and tender.
- Granulated Sugar: Adds just the right amount of sweetness to the dough and also feeds the starter, encouraging a good rise.
- Melted Butter: Adds richness, tenderness, and flavor to the dough—it’s key for that luxurious, soft crumb!
- Large Egg: Helps bind the dough and adds extra richness, color, and structure.
- All-Purpose Flour: The necessary foundation for our dough! It provides the structure needed to create those perfectly puffed rolls.
- Salt: Don’t skip this! Salt is crucial for controlling the fermentation, strengthening the dough structure, and making sure the rolls don’t taste flat.1
- Chocolate Chips: These melt beautifully into pockets of chocolate goodness inside the rolls. Feel free to use milk or semi-sweet!
- Unsweetened Cocoa Powder: This is combined with the sugar to create a deep, rich chocolate base for the filling.
- Brown Sugar: Adds a lovely molasses note and helps make the chocolate filling gooey and caramelized.
- Ground Cinnamon: This is optional, but trust me on this one—just a touch of cinnamon enhances the chocolate flavor and adds a warm, spicy background note that is irresistible.
Note: The exact measurements and quantities for all of these wonderful ingredients will be listed right under this article in the recipe card!
How to Make the Sourdough Chocolate Rolls

Making these dreamy rolls is simpler than you might think! Just follow these easy steps and prepare for your kitchen to smell absolutely incredible.
Step 1: Mix the Wet Ingredients
In a big bowl, whisk together your active sourdough starter, warm milk, granulated sugar, melted butter, and large egg until they are thoroughly combined. It should look like a nice, creamy, slightly bubbly mixture.
Step 2: Form the Dough
Add the all-purpose flour and salt to the wet mixture. Use a spoon or your hands to mix everything until a soft, shaggy dough forms.
Step 3: Knead and Develop
Turn the dough out onto a lightly floured surface and get kneading! Work the dough for about 8 to 10 minutes. You’re looking for it to become smooth and elastic—this step is crucial for achieving that pillowy texture later.
Step 4: The First Rise (Bulk Fermentation)
Place the dough back into a lightly greased bowl, cover it (a tea towel or plastic wrap works great), and let it rise at room temperature for 4 to 6 hours. You’re waiting for the dough to almost double in size.
Step 5: Prepare the Chocolate Filling
While the dough is working its magic, quickly mix your filling! In a small bowl, combine the cocoa powder, brown sugar, ground cinnamon, and the chocolate chips. Set this aside.
Step 6: Roll and Sprinkle
Once the dough is doubled, gently punch it down and roll it out on a lightly floured surface into a rectangle that’s about 1/4-inch thick. Sprinkle your lovely chocolate mixture evenly over the entire surface of the dough.
Step 7: Roll and Cut
Starting from the long side, tightly roll the dough into a log. Using a serrated knife or piece of unflavored floss, cut the log into 10 even rolls.
Step 8: The Second Rise (Proofing)
Arrange the rolls snugly in a greased baking dish (a 9×13 or 9×9 works well). Cover them loosely and let them rise for another 1 to 2 hours. They won’t double again, but they should look visibly puffed up and ready for the oven!
Step 9: Bake to Golden Perfection
Preheat your oven to 350°F (175°C). Pop the baking dish in and bake for 25 to 30 minutes until the tops are beautifully puffed and lightly golden brown.
Step 10: Cool and Savor
Let them cool slightly—about 10 minutes—before digging in. Serving them warm is non-negotiable for the best, meltiest chocolate experience!
Pro Tips for Making the Recipe
- Make Sure Your Starter is Active: For the best rise, your sourdough starter should be recently fed and actively bubbling. If it’s sluggish, your rolls won’t be as light and airy!
- Don’t Over-Flour the Dough: When kneading or rolling, use as little extra flour as possible. A softer dough results in softer, more tender rolls. If the dough is too stiff, it will be dense.
- Use the Floss Trick for Cutting: Want perfectly shaped rolls without squishing the spiral? Slide a piece of unflavored dental floss under the log, cross the ends over the top where you want to cut, and pull! It makes for a clean slice every time.
- Cover the Rolls Tightly During the First Rise: Make sure the dough is well-covered (plastic wrap works best) to prevent a dry crust from forming, which can hinder the rising process.
How to Serve

These rolls are so rich and flavorful, they honestly don’t need much! But here are a few fun ways to enjoy them:
- As Is (Warm!): Truly the best way! Pull one right out of the pan and watch the chocolate ooze out.
- A Classic Glaze: Whisk together some powdered sugar and a splash of milk or cream for a simple, sweet glaze to drizzle over the warm rolls.
- Coffee Pairing: They are absolutely perfect served alongside a strong cup of coffee or a cozy latte for a spectacular breakfast or afternoon treat.
- Ice Cream Dessert: For a decadent finish, serve a warm roll with a scoop of vanilla bean ice cream—the melted chocolate mixing with the cold ice cream is divine!
Make Ahead and Storage
Storing Leftovers
Place any leftover rolls in an airtight container at room temperature for up to 2 days, or in the refrigerator for up to 4 days.
Freezing
You can freeze the baked rolls! Once cooled completely, wrap individual rolls tightly in plastic wrap, then place them in a freezer-safe bag or container. They will keep well for up to 3 months. Thaw overnight in the fridge before reheating.
Reheating
To enjoy that “freshly baked” experience, reheat the rolls in the microwave for 15-30 seconds until warm and soft, or wrap them loosely in foil and reheat in a 300°F (150°C) oven for about 5-10 minutes.
FAQs
1. Can I prepare the rolls the night before and bake them in the morning?
Absolutely! This is a fantastic way to enjoy fresh morning rolls. Instead of letting the assembled rolls have their second rise (Step 9) at room temperature, cover the baking dish tightly with plastic wrap and place it in the refrigerator overnight (up to 12 hours). In the morning, pull them out and let them sit at room temperature for about 60 to 90 minutes while the oven preheats to take the chill off before baking.
2. What if my sourdough starter isn’t very strong?
If you suspect your starter is a little sleepy or you’re short on time, you can add 1/2 teaspoon of instant dry yeast along with the flour and salt. This will give the rolls a guaranteed boost and ensure they rise beautifully, while still retaining a wonderful sourdough flavor.
3. Can I use a different type of chocolate for the filling?
Yes, you can! While chocolate chips are easiest, you can roughly chop a good quality chocolate bar (milk, dark, or a mix) and use that instead. For an extra gooey filling, you can also mix in 1-2 tablespoons of softened butter with the cocoa and sugar to create more of a paste before spreading.
4. How do I know when the rolls are done baking?
The rolls are ready when they are puffed up and the tops are a light, golden brown. If you want to be precise, the internal temperature should reach 200°F ($93^{\circ}\text{C}$). If the tops start browning too quickly, you can loosely tent the dish with aluminum foil for the remainder of the baking time.
Sourdough Chocolate Rolls
Ingredients
Equipment
Method
- Mix sourdough starter, warm milk, sugar, melted butter, and egg until well combined.
- Add flour and salt, mixing until a soft dough forms.
- Knead dough for 8–10 minutes until smooth and elastic.
- Cover and let rise at room temperature for 4–6 hours, or until doubled in size.
- Mix cocoa powder, brown sugar, cinnamon, and chocolate chips in a small bowl.
- Roll dough into a rectangle about 1/4-inch thick.
- Sprinkle chocolate mixture evenly over the dough.
- Roll dough tightly into a log and cut into even rolls.
- Arrange rolls in a greased baking dish, cover, and let rise 1–2 hours.
- Preheat oven to 350°F (175°C).
- Bake for 25–30 minutes until puffed and lightly golden.
- Cool slightly and serve warm.