Trust me when I say this: you are about to bake the best, most irresistible side dish to ever grace your dinner table. These Cheesy Garlic Dinner Rolls are a true game-changer. They are impossibly soft, beautifully fluffy, and bursting with savory garlic butter and melted mozzarella cheese tucked right inside! Forget those sad, store-bought bread baskets—this homemade version will make your kitchen smell divine and your family rave. Get ready to roll up your sleeves because this one is worth every minute!
Why You’ll Love This Recipe
- Pillowy Soft Texture: Thanks to the instant yeast and the perfect balance of ingredients, these rolls come out beautifully tender and fluffy every single time.
- A Cheese Surprise: We’re not just topping these with cheese; we’re stuffing rich, melty mozzarella right into the center of each roll. That first bite is simply unreal.
- Garlic Butter Heaven: The rolls are brushed with a powerful, aromatic garlic butter before baking, and then again after—double the flavor for a truly memorable experience.
- The Ultimate Comfort Food: They pair perfectly with soups, pasta, or just a little bit of butter. Seriously, they’re dangerously good on their own!
Ingredients
All you need to whip up this batch of heavenly Cheesy Garlic Dinner Rolls are a few pantry staples, a little patience for the rise, and a big appetite! But first, gather up these essential ingredients:
- All-Purpose Flour: This forms the structure of our rolls, giving them that classic chew and softness.
- Sugar: A tiny bit of sweetness that also feeds the yeast and helps the rolls get that beautiful golden-brown crust.
- Salt: Essential for balancing the flavor and controlling the yeast’s activity—don’t skip this!
- Instant Yeast: The magic maker! This helps our dough rise quickly and results in that incredibly fluffy texture we’re aiming for.
- Warm Milk: This is the liquid that brings the dough together and provides the perfect cozy environment to activate the yeast.
- Unsalted Butter (Melted): Adds richness and moisture to the dough, keeping it tender.
- Large Egg: Helps bind the dough and enriches the final texture, giving the rolls a lovely structure.
- Shredded Mozzarella Cheese: The star of the show! It gets stuffed inside each roll for an ooey-gooey, molten core.
- Fresh Parsley (Finely Chopped): A pop of fresh green color and a bright, herby contrast to the rich garlic butter.
For the Garlic Butter
- Unsalted Butter (Melted): The base for our intoxicating finishing sauce.
- Garlic (Minced): Use fresh cloves here! The savory, pungent aroma is what makes these rolls famous.
- Dried Oregano: Adds a subtle, warm Italian herb note that complements the garlic beautifully.
- Pinch of Salt: Just to bring all the glorious flavors forward.
Note: The exact measurements for these ingredients, along with the full recipe card, will be right under this article!
How to Make the Cheesy Garlic Dinner Rolls
Get ready to feel like a bread-making wizard! It’s simpler than you might think, and the results are truly spectacular.
Step 1: Combine the Dry Ingredients
In your biggest mixing bowl, whisk together the flour, sugar, salt, and instant yeast. Give it a good stir to ensure everything is evenly distributed.
Step 2: Form the Dough
Pour in the warm milk, melted butter, and the egg. Mix this all together until a soft, shaggy dough forms. It might look a little messy at first, but trust the process!
Step 3: Knead Until Smooth
Turn the dough out onto a lightly floured counter and knead it gently for about 8 to 10 minutes. The goal here is a dough that feels smooth, elastic, and springy when you poke it. This develops the gluten we need for those soft, fluffy rolls.
Step 4: First Rise (The Beauty Rest)
Grease a clean bowl lightly, then nestle your smooth dough ball inside. Cover it with plastic wrap or a clean kitchen towel and let it rest in a warm spot for about 1 hour, or until it has delightfully doubled in size.
Step 5: Stuff and Shape the Rolls
Gently punch the dough down to release the air. Divide it into 12 equal pieces. Flatten one piece slightly, place a small pinch of mozzarella in the center, and then carefully pull the edges together, pinching them tight to seal the cheese inside. Roll it into a smooth ball. Repeat this until all 12 rolls are shaped and stuffed.
Step 6: Second Rise and Preheat
Arrange the rolls in a greased baking dish (they can be close together—they love cuddling!). Cover them again and let them rest for another 20 minutes while you preheat your oven to a cozy $375^{\circ}\text{F}$ ($190^{\circ}\text{C}$).
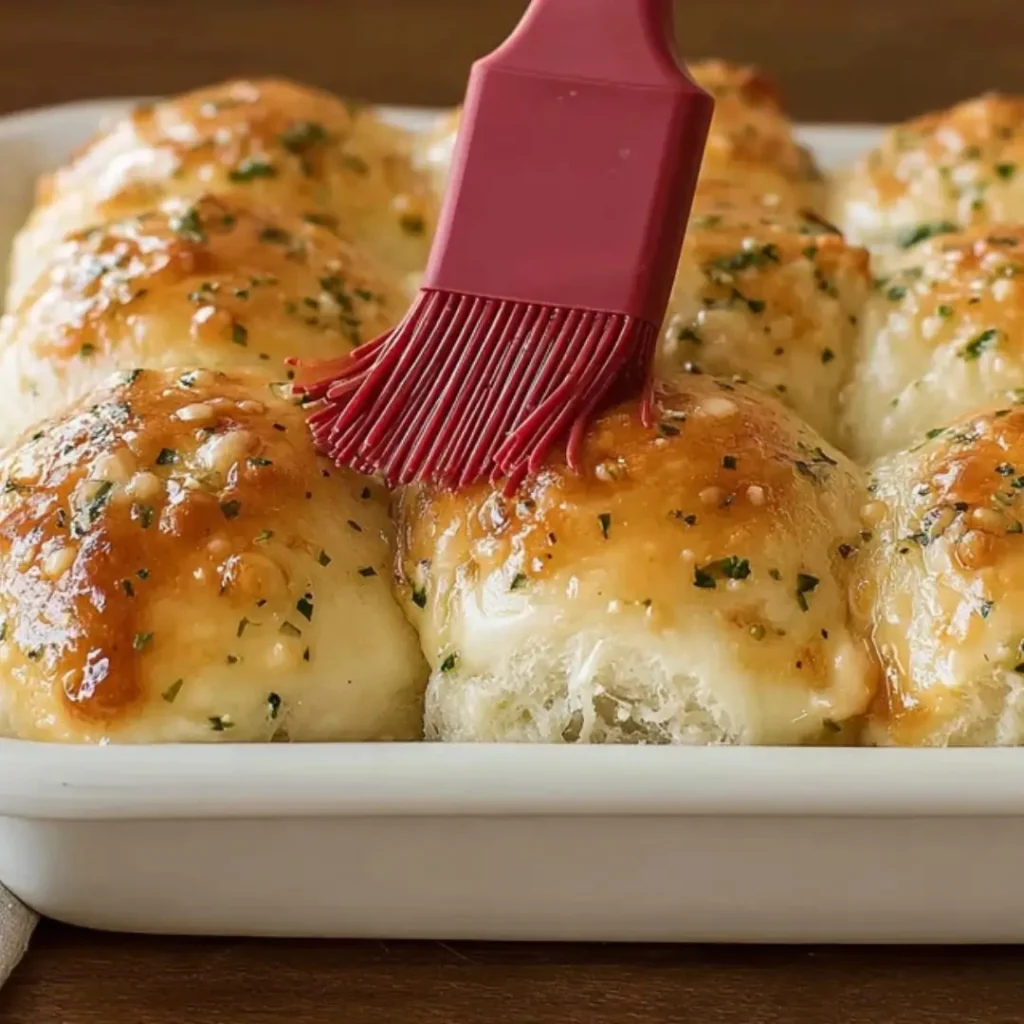
Step 7: Brush with Garlic Butter and Bake
Mix the melted butter, minced garlic, oregano, and salt for the first garlic butter brush. Brush a generous amount over the rolls. Pop them into the preheated oven for 18 to 22 minutes, or until they are beautifully golden brown and look perfectly puffed up.
Step 8: Finishing Touches
As soon as they come out, brush the rolls again with any remaining garlic butter! This is where that intense aroma really blooms. Sprinkle them generously with fresh parsley and serve immediately while the cheese is still molten. Enjoy every savory, cheesy bite!
Pro Tips for Making the Recipe

- Check the Milk Temperature: Make sure your milk is warm, not hot! It should be between $105^{\circ}\text{F}$ and $115^{\circ}\text{F}$ ($40^{\circ}\text{C}$ to $46^{\circ}\text{C}$). If it’s too hot, it will kill the yeast, and your dough won’t rise.
- Don’t Skimp on Kneading: That 8-10 minutes of kneading is crucial. It activates the gluten, which is what gives the rolls their structure and keeps them soft instead of dense.
- Seal the Cheese Tight: When stuffing the rolls, make sure you pinch the dough together completely to seal the mozzarella. This prevents the cheese from melting out onto the baking dish—we want that cheese right where it belongs!
- Double Brush is Key: Brushing the rolls before baking helps create a beautiful crust, and brushing after baking infuses them with intense fresh garlic flavor and moisture.
How to Serve
These cheesy, garlicky beauties are incredibly versatile and make everything feel like a feast!
- Soup & Stew Side: Pair them with a hearty bowl of chili, creamy tomato soup, or a slow-cooked beef stew. They’re perfect for dipping!
- Italian Feast: Serve them alongside your favorite pasta dishes, like lasagna or spaghetti and meatballs. They are the ultimate accompaniment to anything saucy.
- Simple Snack: Honestly, they’re so flavorful you can just pull one apart and enjoy it as a satisfying, savory snack.
- With Salad: Add them to a light, fresh salad to make it a more substantial meal.
Make Ahead and Storage

Planning a party or just hoping for delicious leftovers? Here’s how to manage your perfect rolls!
Storing Leftovers
Place any leftover rolls in an airtight container or zip-top bag and store them at room temperature for up to 2-3 days.
Freezing
You can freeze the baked and cooled rolls! Wrap them tightly in plastic wrap, then place them in a freezer-safe bag. They will keep well for up to 2 months. Thaw them overnight in the refrigerator.
Reheating
The best way to bring them back to life is a quick trip to the oven! Wrap the rolls loosely in foil and bake at $350^{\circ}\text{F}$ ($175^{\circ}\text{C}$) for about 8-10 minutes, or until warmed through and soft again. You can also zap them quickly in the microwave if you’re in a rush.
FAQs
1. Can I prepare the dough the night before?
Absolutely! This is a great trick for fresh morning rolls. After the initial kneading (Step 3), place the dough in a greased bowl, cover it tightly, and refrigerate it overnight. The next day, let it sit out at room temperature for about 30-45 minutes to warm up slightly before proceeding with dividing, stuffing, and the second rise (Step 5).
2. What if I don’t have instant yeast?
If you only have active dry yeast, you can still make these! You will need the same amount ($2\, 1/4 \text{ teaspoons}$). First, you must “proof” it: dissolve it in the warm milk with a pinch of sugar for about 5-10 minutes until it looks foamy. Once foamy, you can add this mixture to the rest of the ingredients in Step 2.
3. Can I use a different type of cheese for the filling?
Yes, definitely! While mozzarella gives you the best classic pull, you can certainly experiment. Provolone, Monterey Jack, or even a blend of cheddar and mozzarella would all melt beautifully and provide a fantastic cheesy center. You could also add a sprinkle of Parmesan into the filling for an extra sharp, salty kick.
4. Why didn’t my dough rise properly?
The most common culprit is usually the temperature of the milk. If it was too hot (above $120^{\circ}\text{F}$ or $49^{\circ}\text{C}$), it may have killed the yeast. Alternatively, the kitchen may have been too cold for the rise. Try placing the covered bowl in a warm spot, like a slightly warmed (but turned off) oven, or near a sunny window for the best results!

Cheesy Garlic Dinner Rolls
Ingredients
Equipment
Method
- In a large bowl, combine flour, sugar, salt, and instant yeast.
- Add warm milk, melted butter, and egg. Mix until a soft dough forms.
- Knead dough on a floured surface for 8–10 minutes until smooth and elastic.
- Place dough in a greased bowl, cover, and let rise for 1 hour or until doubled.
- Punch down dough and divide into 12 equal pieces.
- Flatten each piece, add mozzarella to the center, and shape into balls.
- Arrange rolls in a greased baking dish, cover, and let rise for 20 minutes.
- Preheat oven to 375°F (190°C).
- Mix garlic butter ingredients and brush generously over the rolls.
- Bake for 18–22 minutes until golden brown. Brush with remaining garlic butter, sprinkle with parsley, and serve warm.