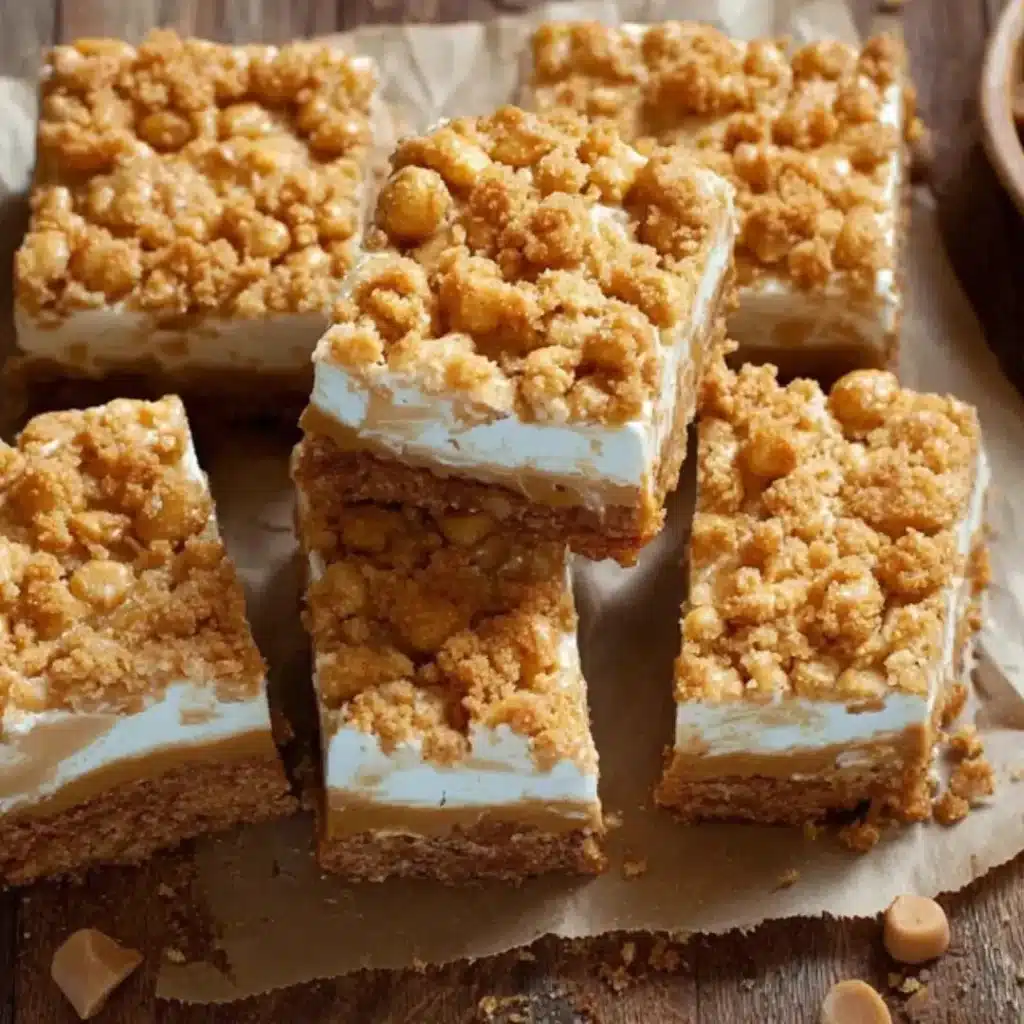
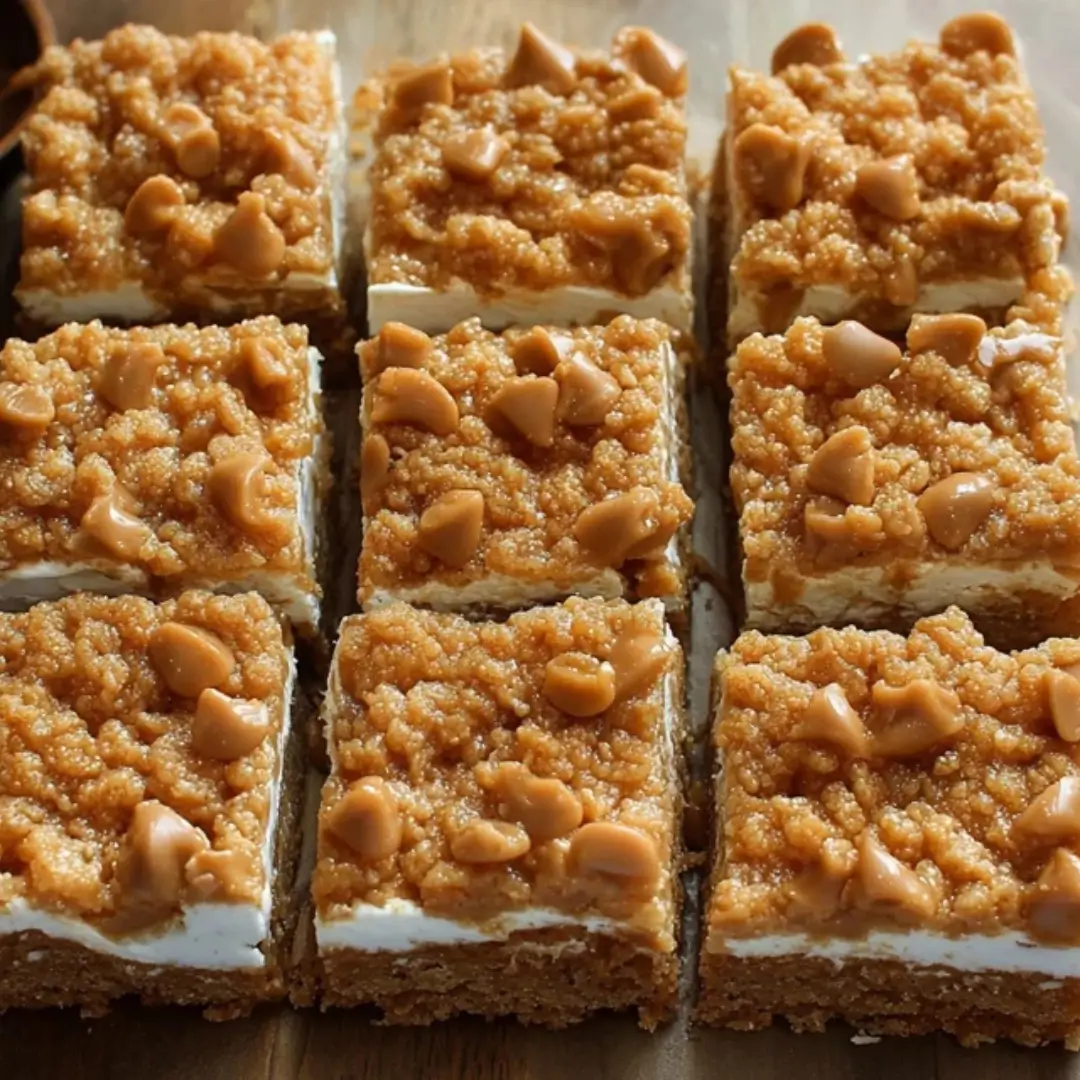
There are few things as comforting as a sweet, chewy bar straight from the oven, and today I’m bringing you a true classic: Butterscotch Bars! These are seriously soft, super buttery, and absolutely loaded with those warm, toffee-like butterscotch chips that just melt in your mouth. This is an incredibly easy recipe that requires just one bowl and about 15 minutes of prep time, making it the perfect quick fix when you’re craving a rich, homemade dessert. Trust me, these bars are a cozy, chewy game-changer that will disappear faster than you can say “butterscotch”!
Why You’ll Love This Recipe
- Ultimate Comfort Food: The flavor profile is pure nostalgia—deep brown sugar notes combined with the irresistible taste of butterscotch.
- One-Bowl Wonder: Cleanup is a breeze! This recipe comes together quickly in a single bowl, perfect for stress-free baking.
- Chewy, Fudgy Texture: We’re keeping that center nice and soft so every bite is wonderfully chewy and rich, not dry or cakey.
- A Crowd-Pleaser: These bars are easy to transport, serve, and everyone from kids to adults absolutely loves them!
Ingredients
All you need for this delicious Butterscotch Bars Recipe is a little prep time, a big bowl, and a whole lot of enthusiasm! But first, gather up these essential ingredients:
- Unsalted Butter: We melt the butter here to give the bars an incredibly rich flavor and contribute to that perfect fudgy, chewy texture.
- Brown Sugar (Packed): This is the secret ingredient that gives butterscotch its distinct, deep molasses and caramel flavor, making the bars incredibly moist.1
- Large Eggs: They act as the essential binder, keeping the bars together and adding structure, while also making them rich.2
- Vanilla Extract: A splash of pure vanilla is a must—it deepens the flavors of the butter and brown sugar, making the final taste more complex and warm.
- All-Purpose Flour: The necessary foundation for our bar structure. Make sure you don’t over-measure it!
- Baking Powder: Our lift! This helps the bars rise just enough to be tender without becoming too cake-like.
- Salt: Don’t skip this! A tiny bit of salt is crucial for balancing the sweetness and making all those butterscotch flavors really pop.
- Butterscotch Chips: The star of the show! These little pockets of sweet, buttery flavor melt beautifully throughout the bars for pure indulgence.
Note: The exact measurements for all of these ingredients, along with the detailed instructions, will be available right under this article in the recipe card!
How to Make the Butterscotch Bars
Seriously, making these is as easy as mixing a few ingredients and letting your oven work its magic. Here’s how you get that perfect, chewy bar every time!
Step 1: Prep the Oven and Pan
Preheat your oven to the sweet spot of $350^\circ\text{F}$ ($175^\circ\text{C}$). The key here is to line your $9\times13$-inch baking pan with parchment paper. Trust me, you want that overhang—it makes lifting and slicing those beautiful bars totally mess-free!
Step 2: Combine Wet Ingredients
In a large mixing bowl (remember that one-bowl wonder status!), whisk together your melted butter and the brown sugar until the mixture is smooth and gorgeously glossy. This is where the magic starts! Add the eggs one at a time, mixing well after each one, and then stir in the vanilla extract.
Step 3: Whisk the Dry Ingredients
In a separate small bowl, give the flour, baking powder, and salt a quick whisk to make sure they are evenly distributed. This prevents any pockets of leavening agents in your final batter.
Step 4: Combine and Fold in Chips
Gradually add the dry mixture to your wet mixture. Mix just until everything is combined—stop as soon as you don’t see any streaks of flour! Now, gently fold in those irresistible butterscotch chips until they are evenly spread throughout the batter.
Step 5: Bake to Perfection
Spread the glorious batter evenly into your prepared pan. Bake for about 25–30 minutes, or until the edges are nicely set and look golden, but the center still looks just slightly soft. That slight under-baking is what guarantees the bars stay wonderfully chewy!
Step 6: Cool Completely Before Slicing
This is the hardest but most essential step! Remove the pan and let those bars cool completely before you even think about slicing them. Cooling sets the structure, preventing them from crumbling when you cut them into perfect squares. Enjoy your reward!
Pro Tips for Making the Recipe
- Do NOT Overbake: The secret to that ultra-chewy texture is pulling them out when the center is still a little soft. They will continue to set up as they cool. Overbaking leads to dry, cakey bars!
- Use the Parchment Paper Sling: Lining the pan with parchment paper that hangs over the sides (a “sling”) is essential! Once cooled, you can lift the entire batch out of the pan for clean, easy slicing.
- Don’t Overmix the Batter: Once the flour is added, mix only until the ingredients are just combined. Overmixing develops the gluten too much, which can make your bars tough instead of tender.
- Brown Sugar Quality Matters: Make sure your brown sugar is fresh and packed firmly into the measuring cup for the best flavor and moisture.
How to Serve

These Butterscotch Bars are absolutely incredible on their own, but if you want to take them to the next level (and why wouldn’t you?), here are a few ideas:
- A La Mode: Serve them slightly warm with a scoop of vanilla bean ice cream that slowly melts over the top. A drizzle of extra butterscotch sauce is highly encouraged!
- Coffee Break Perfection: Pair a square with a hot cup of coffee, a creamy latte, or a cold glass of milk. It’s the ideal afternoon pick-me-up.
- Salty Finish: Sprinkle a tiny pinch of flaky sea salt (like Maldon) over the top of the bars immediately after they come out of the oven. The salt brilliantly cuts the sweetness.
Make Ahead and Storage
Storing Leftovers
Keep any leftover bars in an airtight container at room temperature for up to 3–4 days. They actually get chewier and fudgier the next day!
Freezing
For long-term storage, cool the bars completely, slice them, and place them in a single layer in a freezer-safe container, separated by sheets of parchment paper. They can be frozen for up to 3 months. Thaw them overnight on the counter or in the fridge.
Reheating
While they are wonderful at room temperature, you can gently warm individual squares in the microwave for about 10–15 seconds for that fresh-out-of-the-oven, gooey chip experience.
FAQs
Can I use granulated white sugar instead of brown sugar?
While you technically can substitute white sugar, I strongly advise against it if you want that classic butterscotch flavor. Brown sugar is absolutely essential here because its molasses content is what gives the bars their deep caramel-like flavor, incredible moisture, and wonderfully chewy texture. Using white sugar will result in a much drier, less flavorful, and more cake-like bar. Stick to the brown sugar for the best result!
Why did my butterscotch chips sink to the bottom of the bars?
If your butterscotch chips sank, it’s usually because the batter was either too thin or you added the chips before the dry ingredients were fully incorporated. To prevent sinking, try coating the chips lightly in 1 teaspoon of flour before folding them into the batter. This helps them ‘grab’ onto the surrounding mixture and stay suspended while baking.
What is the best way to get clean, neat slices?
The trick to super clean slices is patience and temperature! First, you must let the bars cool completely—ideally for at least 2 hours. Once cool, lift the bars out of the pan using the parchment paper sling, and use a large, sharp knife. For the absolute cleanest cuts, chill the bars in the refrigerator for 30 minutes before slicing.
Can I substitute other mix-ins for the butterscotch chips?
Absolutely! This base recipe is incredibly versatile. You could swap the butterscotch chips for chocolate chips (semisweet or milk chocolate for a classic blondie!), white chocolate chips, chopped nuts like pecans or walnuts, or even a combination of these. Just keep the total amount of mix-ins the same (around $1\frac{1}{2}$ cups) to maintain the perfect batter ratio.
Butterscotch Bars
Ingredients
Equipment
Method
- Preheat oven to 350°F (175°C) and line a 9×13-inch baking pan with parchment paper.
- Whisk together melted butter and brown sugar in a large bowl until smooth and glossy.
- Add eggs one at a time, mixing well after each addition. Stir in vanilla extract.
- In a separate bowl, whisk together flour, baking powder, and salt.
- Gradually add dry ingredients to the wet mixture, stirring just until combined.
- Fold in the butterscotch chips until evenly distributed.
- Spread batter evenly into the prepared pan and bake for 25–30 minutes, until edges are set and center is slightly soft.
- Allow bars to cool completely before slicing into squares and serving.