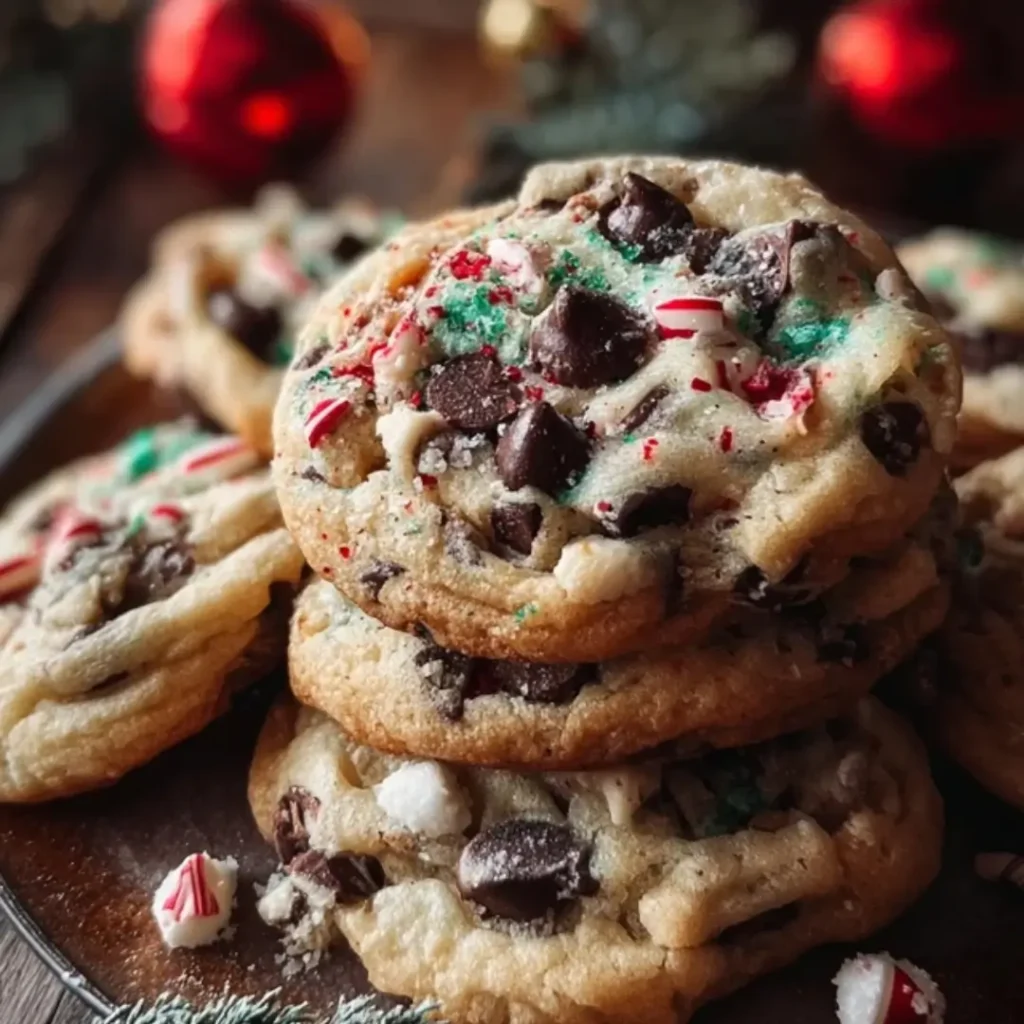
Today I’m bringing you a truly spectacular cookie that is an absolute must for your holiday baking list. Trust me, these aren’t just any chocolate chip cookies—they’re the ultimate, festive rendition, packed with cozy spices and colorful candy pieces that scream “Merry Christmas!” They come out perfectly soft in the center with those irresistible golden edges we all crave. This recipe is super simple, ready in under 30 minutes, and guaranteed to make your kitchen smell like the North Pole. Get ready, because this one’s a game-changer!
Why You’ll Love This Recipe
- Festive Flavor Twist: We’re elevating the classic cookie with a gentle sprinkle of cinnamon and nutmeg that makes every bite feel like a warm hug.
- Perfectly Soft Centers: We’ve nailed the texture! They bake up soft, chewy, and tender, exactly how a perfect Christmas cookie should be.
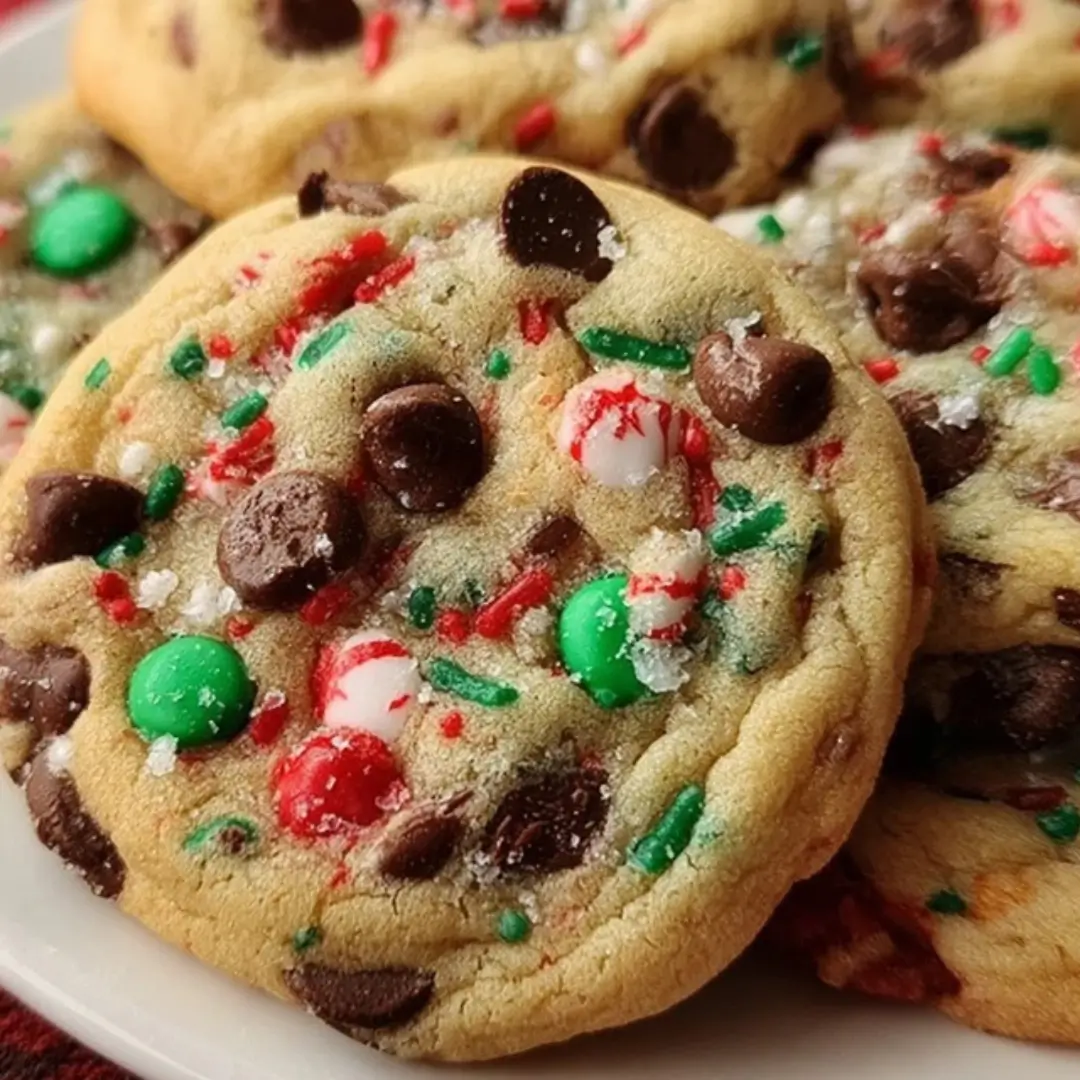
- A Pop of Holiday Cheer: The red and green candy-coated chocolates add a beautiful splash of color, making them the prettiest cookies on your holiday platter.
- So Easy to Whip Up: You’ll be prepped and ready to bake in just 15 minutes. It’s the ideal stress-free recipe for busy holiday schedules!
Ingredients
All you need for this spectacular Christmas Chocolate Chip Cookies Recipe is a little butter, a little sugar, and about 30 minutes! Yes, it’s that easy. But first, gather up these essential ingredients:
- All-Purpose Flour: This is the base structure for our perfect cookie; don’t pack it into the cup, just lightly spoon and level!
- Baking Soda and Baking Powder: The dynamic duo that gives our cookies that beautiful rise and chewy texture.
- Salt: Essential for balancing the sweetness and waking up all the wonderful flavors in the dough.
- Unsalted Butter: Make sure it’s softened! This is key for creaming with the sugars to create a light and fluffy base.
- Brown Sugar and Granulated Sugar: The combination of both gives us the best of both worlds—granulated for spread and crisp edges, and brown for that wonderful chewiness and depth of flavor.
- Eggs: Our binding agent that adds richness and moisture.1 Add them one at a time to ensure they emulsify perfectly!
- Vanilla Extract: That comforting, classic flavor that no chocolate chip cookie can live without.
- Chocolate Chips and White Chocolate Chips: Using a mix of both adds complexity and makes every bite exciting.
- Red and Green Candy-Coated Chocolate Pieces: For that instant dose of Christmas color and a fun, textural crunch!
- Ground Cinnamon and Nutmeg: These are our holiday secret weapons! They add a cozy, warm spice note that makes these cookies taste like Christmas morning.
P.S. The full list of ingredients with specific measurements, weights, and detailed instructions will be right under the article in the recipe card!
How to Make the Christmas Chocolate Chip Cookies
Ready to bake some holiday magic? Trust me, this process is just as fun as decorating a tree!
Step 1: Prep Your Kitchen & Dry Ingredients
Go ahead and preheat your oven to the magical temperature of $350^\circ \text{F}$ ($175^\circ \text{C}$). Line a baking sheet with parchment paper—this is the trick for preventing sticking and ensuring easy cleanup! In a medium bowl, whisk together the flour, baking soda, baking powder, salt, cinnamon, and nutmeg. Giving these a good whisk ensures the leavening agents are perfectly distributed.
Step 2: Cream the Butter and Sugars
In your largest mixing bowl, use a hand mixer or stand mixer to cream the softened butter with the brown and granulated sugars. You want to beat this mixture until it looks visibly lighter in color and fluffy—this process incorporates air, which helps your cookies stay light and tender.
Step 3: Add Eggs and Vanilla
Now, add your eggs! Do this one at a time, making sure to fully mix the first one in before adding the second. This prevents your batter from splitting. Finish by stirring in that comforting vanilla extract.
Step 4: Combine Wet and Dry
Gradually add the bowl of dry ingredients to the wet mixture. Mix until everything is just combined. Stop mixing the second you see no more streaks of flour! Overmixing can make your cookies tough, and we want tender, delicious goodness.
Step 5: Fold in the Festive Mix-Ins
This is the fun part! Gently fold in your chocolate chips, white chocolate chips, and those adorable red-green candy pieces. Use a spatula for this so you don’t crush the candy!
Step 6: Scoop and Bake
Scoop tablespoon-sized portions of the dough onto your prepared baking sheet. Remember to leave a few inches of space between them for spreading—we don’t want any cookie collisions! Bake for 10–12 minutes. You’re looking for the edges to be lightly golden, but the centers should still look soft and slightly undone.
Step 7: Cool and Enjoy
Remove them from the oven and here’s a crucial tip: let the cookies rest right on the baking sheet for 2 minutes. This helps them finish setting up without over-baking. Then, transfer them to a wire rack to cool completely (or until they’re cool enough to sneak a bite!).
Pro Tips for Making the Recipe
- Don’t Over-Bake! The single most important rule! Pull them out when the edges are set and the centers look slightly underdone. They will continue cooking on the hot sheet pan, guaranteeing a perfectly soft interior.
- Use Room Temperature Ingredients: Seriously, make sure your butter is soft! Cold butter won’t cream properly and will result in denser cookies.
- Spoon and Level the Flour: Never scoop the flour directly from the bag with your measuring cup—you’ll end up with too much flour, leading to dry, cakey cookies. Gently spoon the flour into the cup and then sweep the top level with a knife.
- Chill the Dough (If Needed): If your kitchen is warm or the dough feels too soft after mixing, pop the tray of scooped dough balls into the fridge for 15-30 minutes. This prevents excess spreading.
How to Serve
These cookies are absolutely perfect all on their own, but if you want to elevate the experience, here are a few fun pairings:
- The Classic Dip: Serve warm alongside a frosty glass of milk or a homemade eggnog latte for a cozy evening treat.
- Dessert Platter Star: Arrange them on a festive holiday platter with other treats like peppermint bark and candied pecans.
- Ice Cream Sandwich: Once completely cool, sandwich a scoop of vanilla bean ice cream or peppermint ice cream between two cookies for an extra decadent dessert!
Make Ahead and Storage
Planning ahead is the best way to enjoy the holidays!
Storing Leftovers
Store fully cooled cookies in an airtight container at room temperature for up to 5 days. You can toss half a slice of bread into the container to help absorb excess moisture and keep the cookies extra soft!
Freezing
You can freeze the baked cookies in a freezer-safe bag or container for up to 3 months. Even better, scoop the raw dough balls onto a tray, freeze until solid, and then transfer them to a freezer bag. You can bake them straight from frozen, adding a couple of minutes to the bake time!
Reheating
If you want that fresh-baked warmth, pop a cooled cookie into the microwave for 10-15 seconds, or put them in a $300^\circ \text{F}$ ($150^\circ \text{C}$) oven for about 3-5 minutes.
FAQs
1. Can I use cold butter if I don’t have time to soften it?
While it is highly recommended to use softened butter for the best texture, if you are in a pinch, you can dice the cold butter into small cubes and beat it with the sugar for a little longer, about 3-4 minutes, until the mixture starts to look pale and fluffy. Another trick is to pound the cold butter with a rolling pin until it softens slightly. However, softened butter that is pliable and yielding will always give you the best, lightest cookie structure.
2. Why did my cookies spread too much and turn out flat?
Excessive spreading is often due to the butter being too soft (or melted!), which means it was too warm when mixed. Make sure your butter is softened but still cool, not greasy or shiny. Using too much flour (if you didn’t spoon and level it) can also cause flat cookies. If your dough is very warm before baking, pop the scooped balls into the freezer for 10 minutes before placing them in the oven.
3. What if I want to make these cookies even more spiced?
If you want a bolder, more intense holiday flavor, you can definitely increase the spices! Try adding an extra $1/4$ teaspoon of both the cinnamon and nutmeg, and consider including a small pinch of ground cloves or allspice. Just be careful not to overwhelm the lovely balance of the chocolate and vanilla.
4. Can I substitute the red and green candies with something else?
Absolutely! These are your cookies, so feel free to customize them. If you can’t find the specific candies, you could substitute them with chopped walnuts or pecans for crunch, or simply increase the amount of the chocolate chips. You could also use holiday-themed sprinkles (nonpareils) for a colorful top finish right before baking.
Christmas Chocolate Chip Cookies
Ingredients
Equipment
Method
- Preheat oven to 350°F (175°C) and line a baking sheet with parchment paper.
- Whisk together flour, baking soda, baking powder, salt, cinnamon, and nutmeg.
- Cream softened butter with brown sugar and granulated sugar until light and fluffy.
- Add eggs one at a time, mixing well after each. Stir in vanilla extract.
- Gradually add dry ingredients to the wet mixture and stir until combined.
- Fold in chocolate chips, white chocolate chips, and red-green candy pieces.
- Scoop tablespoon-sized dough portions onto the baking sheet with spacing for spreading.
- Bake for 10–12 minutes until edges are lightly golden and centers remain soft.
- Let cookies rest on the baking sheet for 2 minutes, then cool completely on a wire rack.