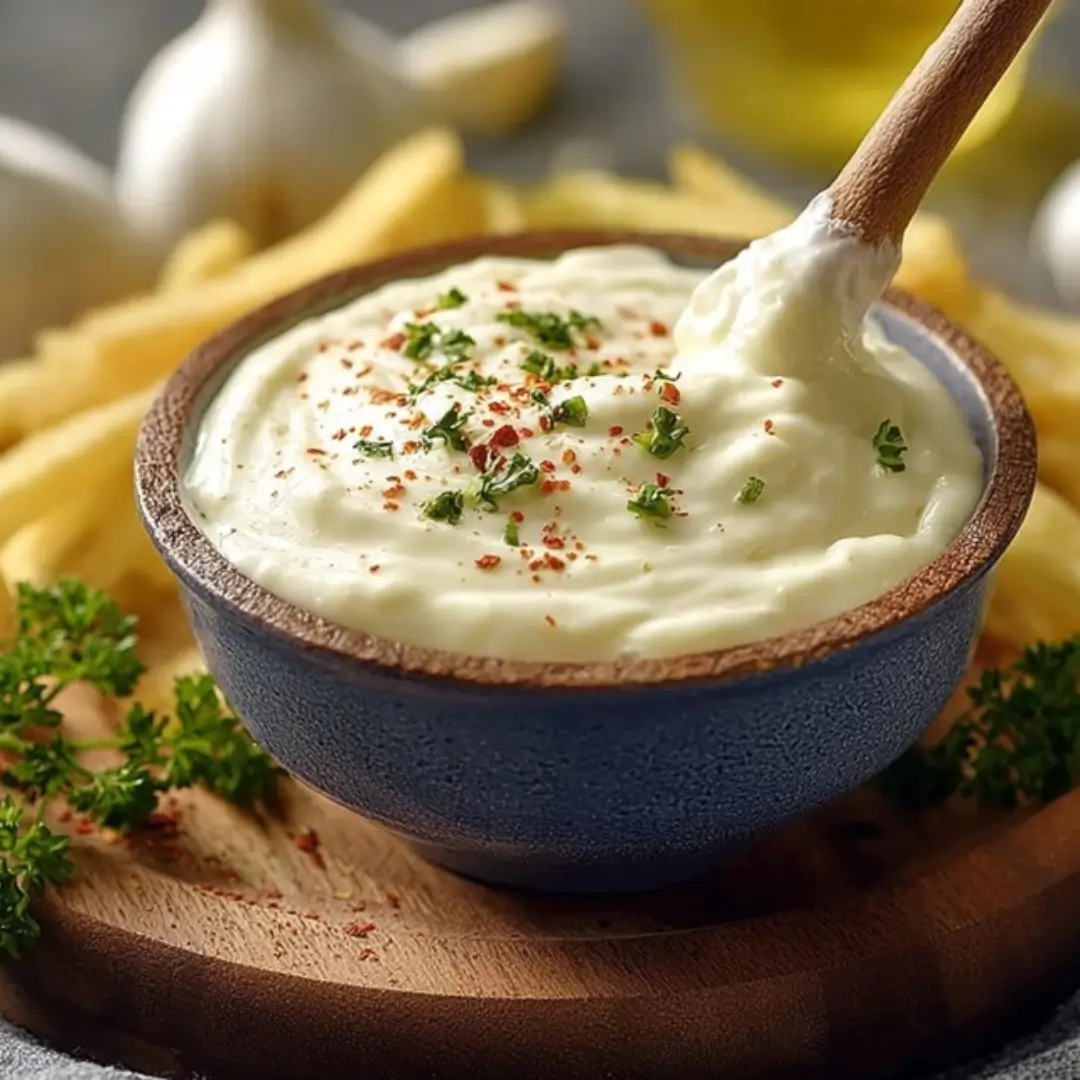
Oh my goodness, stop what you’re doing because today I’m bringing you a true game-changer: a homemade Garlic Aioli Sauce that is so luscious, creamy, and packed with flavor, it will instantly elevate everything you put it on. Trust me, once you realize how unbelievably simple it is to whip up this creamy, garlicky magic at home, you’ll never buy the store-bought stuff again! This recipe is a simple mix of rich, savory, and bright flavors that transforms humble mayo into a velvety, restaurant-quality spread. Get ready to dip, slather, and savor!
Why You’ll Love This Recipe
- Ultimate Flavor Upgrade: It takes basic mayonnaise and infuses it with bold, fresh garlic and bright lemon zest for a truly addicting sauce.
- Ready in 10 Minutes: Seriously, the prep work is minimal—just a few stirs, and you’re done! The hardest part is waiting the 30 minutes for the flavors to fully blend.
- Versatile Kitchen Staple: This isn’t just a sauce; it’s a condiment superhero! Use it for dipping fries, spreading on burgers, or drizzling over grilled everything.
- Customizable: Want a little heat? Add a pinch of spice! You are the master of your aioli destiny.
Ingredients
All you need for this incredible Garlic Aioli Sauce is a handful of pantry staples and a quick 10 minutes! Yes, it’s that easy. But first, gather up these essential ingredients:
- Mayonnaise: This is the rich, creamy base of our aioli. It provides the essential texture and fat for a luxurious mouthfeel.
- Garlic: Use freshly minced garlic for that sharp, aromatic punch. The more potent the garlic, the deeper the final flavor will be!
- Fresh Lemon Juice: This is your secret weapon! The acid cuts through the richness of the mayo and brightens up the entire sauce. Always use fresh juice for the best taste.
- Dijon Mustard: A little bit of this adds a wonderful, subtle tang and helps emulsify the sauce, making it even smoother.
- Olive Oil: A drizzle of high-quality oil helps thin the aioli slightly and adds a lovely depth of flavor.
- Salt and Freshly Ground Black Pepper: Essential for seasoning! Start with a little, taste, and then adjust to get it perfectly balanced.
- Smoked Paprika or Cayenne (Optional): If you like a little warming spice or a kick of heat, a tiny pinch of either of these is a fantastic addition!
Note: The ingredients with precise measurements are located in the recipe card directly underneath this article.
How to Make the Garlic Aioli Sauce
This recipe is practically effortless. Seriously, you’re just a few simple steps away from the best sauce you’ve ever made!
Step 1: Combine the Base Ingredients
Grab a small bowl and add the mayonnaise, your beautifully minced garlic, the fresh lemon juice, and the Dijon mustard. Give it a good stir with a whisk or a fork to start bringing those flavors together.
Step 2: Drizzle in the Olive Oil
While continuously whisking, slowly drizzle in the olive oil. This step helps create that smooth, cohesive, and perfectly creamy texture we’re aiming for. Whisk until it’s completely incorporated and the sauce looks velvety.
Step 3: Season and Taste
Now for the fun part: seasoning! Add a pinch of salt and a few turns of your pepper grinder. Stir, and then taste it. Adjust the seasoning, adding more salt, pepper, or lemon juice until it hits that perfect sweet spot for your palate.
Step 4: Add Your Spice (If Desired)
If you’re feeling a bit adventurous and want a little depth or heat, stir in a pinch of smoked paprika or cayenne pepper now. A tiny bit goes a long way!
Step 5: Chill for Flavor Blending
Cover the bowl and pop it in the refrigerator for at least 30 minutes. This rest period is crucial! It allows the raw garlic to mellow slightly and all the ingredients to truly blend, resulting in a much deeper, more cohesive flavor.
Step 6: Serve and Enjoy!
Once chilled, give it a final stir and serve this gorgeous aioli alongside your favorite meals!
Pro Tips for Making the Recipe
- Go Fresh with the Garlic: This isn’t the time for jarred garlic! Freshly minced garlic is the absolute key to this recipe’s amazing flavor. It gives you a much brighter, sharper taste.
- Don’t Skip the Chill Time: That 30-minute rest in the fridge isn’t just a suggestion; it’s essential! It dramatically improves the flavor by letting the garlic infuse and the acid mellow.
- Adjust for Consistency: If you prefer a thinner aioli (perfect for drizzling!), add a tiny splash more of olive oil or lemon juice until you reach your desired consistency.
- Get Your Whisk On: Whisking is better than stirring with a spoon, especially when adding the olive oil, as it ensures a perfectly smooth and uniform texture.
How to Serve
This Garlic Aioli is the ultimate versatile condiment, and honestly, you might just want to eat it with a spoon! Here are a few ways to put it to good use:
- The Ultimate Dip: Pair it with Crispy French Fries, sweet potato fries, onion rings, or crunchy air-fried pickles. It’s also fantastic with crudités.
- Sandwich and Burger Spread: Slather it on your favorite grilled chicken sandwich, juicy beef burger, or even a simple turkey wrap instead of plain old mayo.
- Seafood and Vegetable Partner: Use it as a dipping sauce for grilled shrimp, air-fried fish, or drizzled over roasted asparagus or grilled zucchini.
- Potato Salad Base: Use this aioli as a flavorful, high-quality base for a vibrant potato or pasta salad.
Make Ahead and Storage
Storing Leftovers
Store your leftover Garlic Aioli in an airtight container in the refrigerator. Because it contains fresh garlic, it’s best enjoyed within 5 to 7 days for optimal flavor and freshness.
Freezing
Unfortunately, I don’t recommend freezing this aioli. The mayonnaise base tends to separate and change texture when thawed, resulting in a less smooth and desirable consistency. This recipe is so quick to make, it’s always better to mix up a fresh batch!
Reheating
This is a sauce that is meant to be served chilled or at room temperature. Do not attempt to heat or reheat the aioli, as this will cause the mayonnaise to break and separate. Just pull it out of the fridge about 10 minutes before serving for the best texture!
FAQs
Can I make this aioli with an immersion blender or food processor?
Absolutely! While this particular recipe is designed to be super simple and made by hand, you can certainly use an immersion blender or a mini food processor. This method works especially well if you prefer to mince the garlic right into the sauce. Simply combine all ingredients in the cup or bowl and pulse or blend until everything is smooth and creamy. Just be careful not to over-process, as you want to maintain that beautiful, thick aioli texture!
How can I make this aioli even more garlicky without being too sharp?
The trick to boosting the garlic flavor without making it overly sharp or “raw-tasting” is to roast the garlic first! Instead of using minced raw garlic, roast a whole head of garlic until the cloves are soft and golden brown. Squeeze the soft roasted garlic into the mayonnaise mixture, and you’ll get a deeper, sweeter, and more complex garlic flavor that is absolutely heavenly.
Can I use dried herbs instead of fresh ones in this recipe?
Yes, you can certainly add dried herbs, though fresh is usually best for a vibrant flavor. If you choose to use dried herbs like dried dill, parsley, or chives, make sure to use less than you would fresh (about one-third to half the amount) and give the aioli an extra-long chill time in the fridge (several hours or even overnight). This allows the dried herbs enough time to fully rehydrate and release their flavor into the sauce.
Is this a true, traditional aioli?
While traditional, classic French aioli is typically made from just olive oil and garlic emulsified into a thick sauce (with no egg or with an egg yolk as the base), this recipe uses mayonnaise as a shortcut. This method allows you to get that incredibly rich, creamy, and distinct garlic-forward flavor of a quality aioli in a fraction of the time and with guaranteed perfect consistency every time! It’s a fantastic modern hack that gets you maximum flavor with minimal effort.
Garlic Aioli Sauce
Ingredients
Equipment
Method
- In a small bowl, whisk together the egg yolk and lemon juice until well combined.
- Add minced garlic and a pinch of salt to the mixture.
- Slowly drizzle in the olive oil while whisking constantly to emulsify the sauce.
- Continue whisking until the mixture thickens into a creamy aioli.
- Season with additional salt, pepper, or lemon juice to taste. Serve immediately or refrigerate until use.