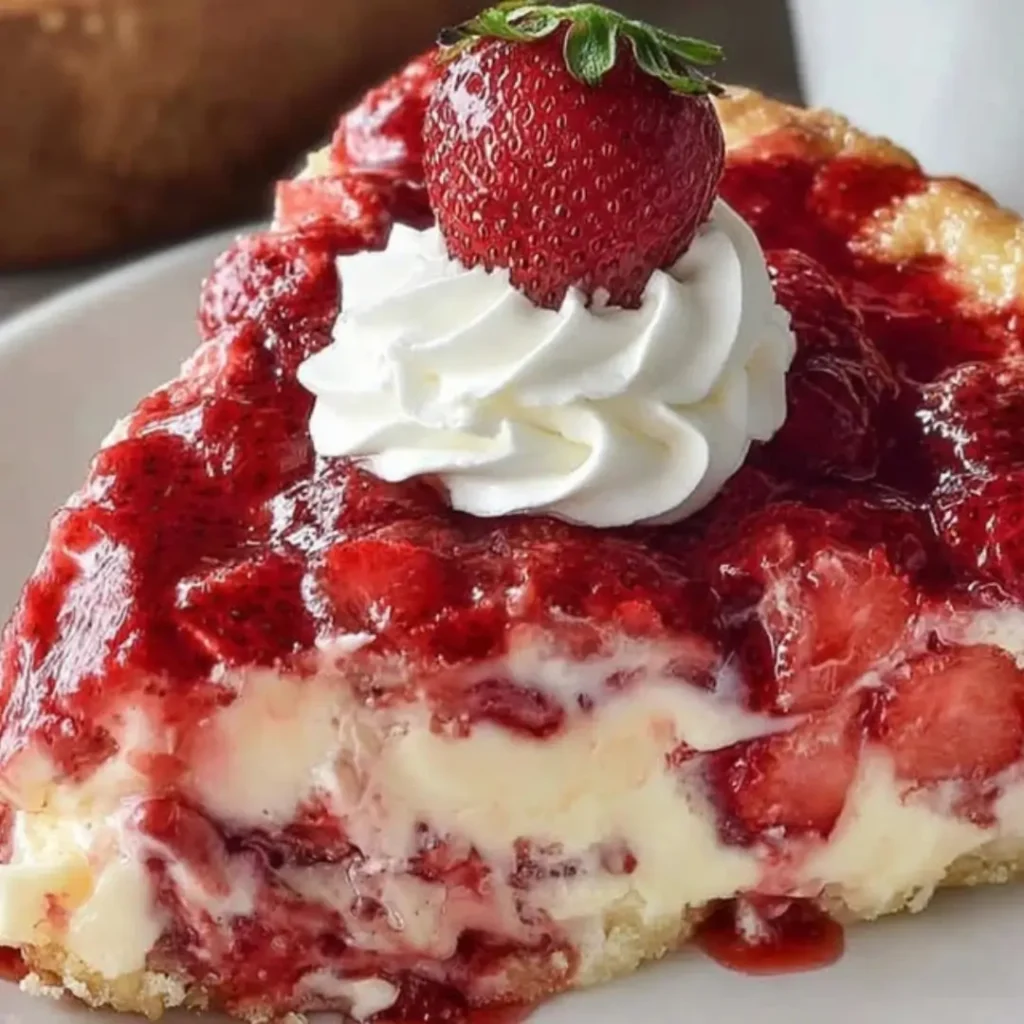
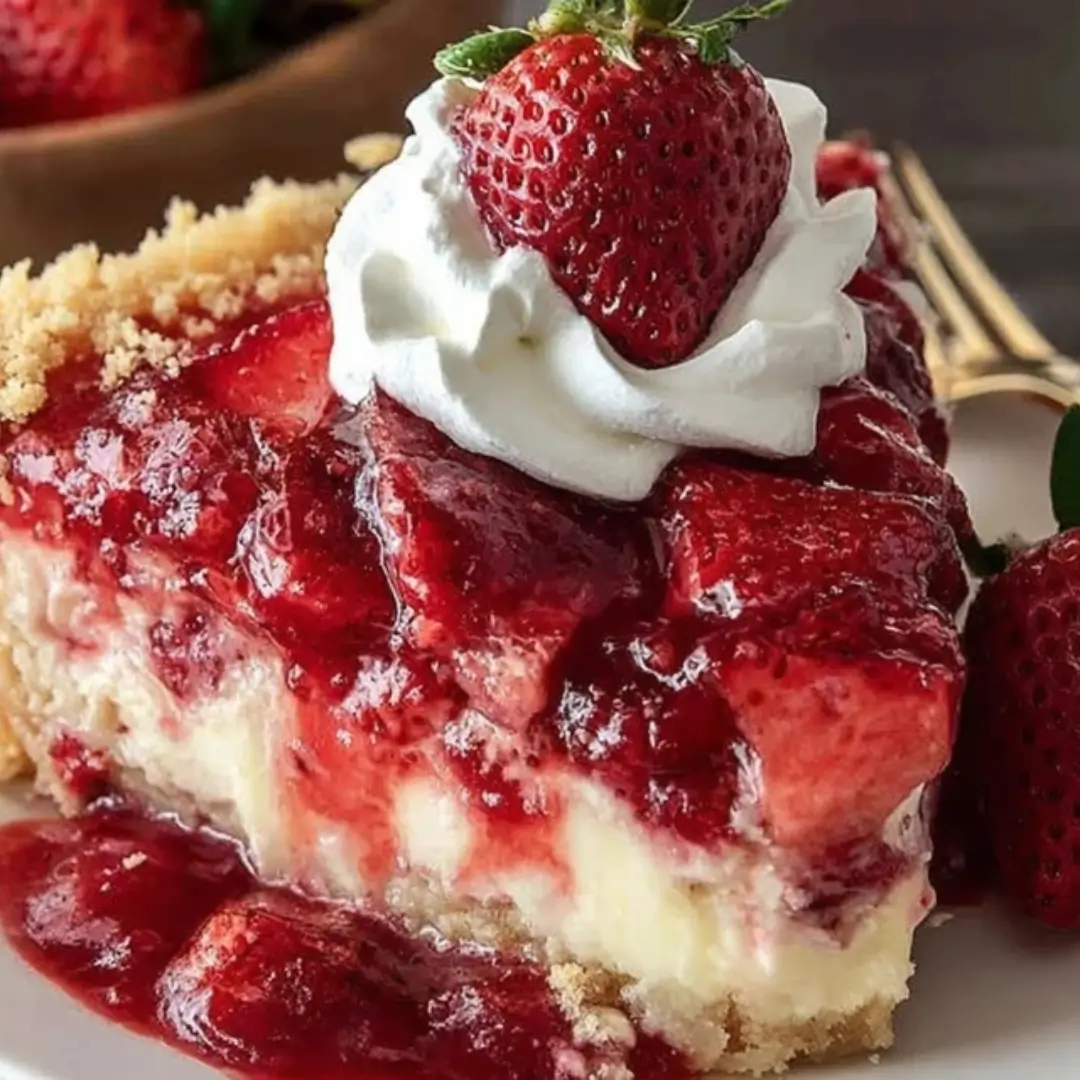
This Strawberry Cheesecake Dump Cake Recipe is truly a dessert game-changer. It’s the ultimate combination of creamy, tangy cheesecake swirled with sweet, jammy strawberries, all topped with a buttery, crisp cake topping. Trust me, if you need a decadent, crowd-pleasing dessert that takes literally minutes to throw together, this beauty is your new best friend. It’s the perfect comfort food for any occasion, ready to warm your soul and satisfy that sweet tooth!
Why You’ll Love This Recipe
- Effortless Magic: It’s called a “dump cake” for a reason! You simply layer (or dump) the ingredients into a dish—no mixers, no complicated steps, and minimal cleanup. This one’s a game-changer for busy nights.
- Cheesecake Meets Cake: We get to combine the sweet, fruity burst of a strawberry dessert with the velvety richness of cheesecake, all baked beneath a golden, buttery crust. It’s a textural dream!
- Crowd-Pleaser Guaranteed: This dish travels well and disappears fast. It’s perfect for potlucks, family gatherings, or just when you need a little slice of joy after dinner.
- Sensory Delight: From the moment it hits the oven, your kitchen will fill with the irresistible scent of warm strawberries and toasted butter—you’ll be counting down the minutes until the first bite!
Ingredients
All you need for this dream dessert are a few simple pantry staples, 10 minutes of prep, and a little bit of magic. But first, gather up these essential ingredients:
- Strawberry Pie Filling: This is your vibrant, sweet, and jammy base layer. It provides intense strawberry flavor and moisture to the cake!
- Cream Cheese: The heart of the “cheesecake” element. Make sure it’s nice and soft so you can beat it until it’s super smooth and creamy.
- Granulated Sugar: Just a touch to sweeten the cream cheese layer and balance the tanginess.
- Vanilla Extract: A secret weapon that enhances the sweetness and adds warmth to the creamy filling. Don’t skip this!
- White Cake Mix: This dry mix creates that crisp, golden, and cake-like crust when combined with butter.1 You can try other flavors too, but white is classic here.
- Unsalted Butter: Must be melted! This is essential for turning the dry cake mix into a decadent, crumble-like topping. The more coverage, the better the crust.
- Crushed Graham Crackers (Optional): If you’re feeling extra, sprinkle these on top to give the crust a genuine cheesecake base texture and flavor.
- Fresh Strawberries and Whipped Cream: These are your finishing touches! They add a beautiful, fresh contrast to the warm, baked dessert.
Note: The exact measurements for these ingredients, along with the full, printable instructions, are located in the recipe card directly under this article.
How to Make the Strawberry Cheesecake Dump Cake
This process is so straightforward, you might wonder why you haven’t made it sooner! Follow these simple steps for a truly luscious dessert:
Step 1: Prep Your Oven and Dish
First things first, preheat your oven to a cozy $350^\circ\text{F}$ ($175^\circ\text{C}$). Lightly grease a $9 \times 13$-inch baking dish. We want to make sure every last bit of this glorious cake comes out easily!
Step 2: Lay the Strawberry Foundation
Grab that can of sweet, gooey strawberry pie filling and spread it evenly across the bottom of your prepared dish. This is your fruity foundation!
Step 3: Create the Creamy Swirl
In a bowl, beat together the softened cream cheese, sugar, and vanilla extract until the mixture is completely smooth and looks like velvety heaven. Now, gently spoon generous dollops of this mixture over the strawberry layer. You don’t need to blend it in—let it be imperfectly perfect!
Step 4: Add the Dry Mix and Butter
Time for the cake part! Sprinkle the dry white cake mix evenly over the entire dish, ensuring the cream cheese and strawberries are mostly covered. Next, drizzle the melted butter evenly over the dry mix. Get as much coverage as you can; this is what creates the irresistible crust!
Step 5: The Optional Crunch
If you’re going for that true cheesecake vibe, sprinkle your crushed graham crackers over the top of the butter and cake mix. It adds a wonderful, satisfying crunch.
Step 6: Bake Until Golden
Pop it into the preheated oven and bake for 40–45 minutes. You’re looking for a gorgeous golden brown top and edges that are bubbling with sweet, fruity goodness.
Step 7: Cool, Garnish, and Savor
Let it cool slightly before serving. The grand finale? A mountain of fresh strawberry slices and a big, fluffy dollop of whipped cream on top. Serve it warm for gooey comfort or chill it for a firmer, creamier texture. Enjoy every last bite!
Pro Tips for Making the Recipe
- Softened Cream Cheese is Key: Don’t rush this step! Truly softened cream cheese (let it sit at room temperature for at least 30 minutes) is essential for a lump-free, silky smooth swirl.
- Butter Coverage Matters: When drizzling the melted butter, try to cover as much of the dry cake mix as possible. Any dry spots might remain powdery after baking, so aim for full saturation!
- Customize the Fruit: While strawberry is divine, you can absolutely switch out the pie filling for cherry, blueberry, or even apple—you’ll get a whole new dump cake experience!
- Check the Crust: If your cake is browning too quickly before the filling is fully set, you can loosely tent it with a piece of aluminum foil for the last 10–15 minutes of baking.
How to Serve
This is one of those desserts that shines all on its own, but here are a few fun ways to enjoy it:
- The Classic Way: Serve warm with a generous dollop of homemade whipped cream or a scoop of high-quality vanilla bean ice cream that melts right into the warm cake.
- The Brunch Pairing: Believe it or not, a slice of this cake makes a spectacular (and decadent) addition to a weekend brunch spread, especially with a strong cup of coffee.
- Add Extra Sauce: Drizzle a little chocolate syrup or a splash of balsamic glaze (trust me on this!) over the top of the individual servings for an extra layer of complexity.
Make Ahead and Storage
Storing Leftovers
If there are any leftovers (a big if!), cover the dish tightly with plastic wrap or aluminum foil and store it in the refrigerator for up to 3–4 days.
Freezing
You can freeze the baked dump cake! Once completely cooled, cut it into individual servings, wrap them tightly in plastic wrap, and then place them in a freezer-safe container. It will keep well for up to 3 months. Thaw overnight in the refrigerator before reheating.
Reheating
To reheat, simply microwave individual slices for 30–60 seconds, or cover the dish with foil and warm it in a $300^\circ\text{F}$ oven for about 10–15 minutes until it’s heated through and gooey again.
FAQs
1. Can I use a different flavor of cake mix or pie filling for this recipe?
Absolutely! The beauty of a dump cake is its versatility. You can easily swap the white cake mix for a yellow or even a chocolate mix for a different flavor profile. The pie filling is also highly customizable—cherry, peach, or apple filling works wonderfully with the cream cheese layer, so feel free to experiment with your favorite fruit combinations!
2. Why is my cake mix still powdery after baking?
If you find dry spots on your crust, it almost always means the melted butter didn’t fully saturate that area of the dry cake mix. Next time, make sure to drizzle the butter as evenly as possible over the entire surface. If it happens again, you can try slicing the butter into thin pats and laying them across the top instead of drizzling.
3. Do I have to soften the cream cheese, or can I use it straight from the fridge?
Please, please soften that cream cheese! If it’s cold, it will be lumpy and hard to mix with the sugar, resulting in a chunky layer instead of that desired smooth, creamy swirl. Let it sit on the counter for about 30 minutes, or you can carefully microwave it for 10-15 seconds to help it along.
4. Can I make this a day ahead of time for a party?
Yes, you can! This cake is actually delicious served cold, straight from the refrigerator, where the cream cheese layer becomes firmer and more like a true cheesecake. If you bake it the day before, just make sure to keep it covered and chilled. You can add the fresh toppings (strawberries and whipped cream) right before serving to keep them looking their best.
Strawberry Cheesecake Dump Cake
Ingredients
Equipment
Method
- Preheat oven to 350°F (175°C). Grease a 9×13-inch baking dish.
- Spread strawberry pie filling evenly over the bottom of the prepared dish.
- In a medium bowl, beat softened cream cheese with sugar and vanilla extract until smooth and creamy.
- Dollop the cream cheese mixture over the strawberry layer and gently swirl with a knife.
- Evenly sprinkle the dry cake mix over the top — do not stir.
- Drizzle melted butter evenly over the cake mix, ensuring most of it is moistened.
- Bake uncovered for 40–45 minutes, or until golden brown and bubbly around the edges.
- Let cool slightly before serving. Top with fresh strawberries and whipped cream if desired.