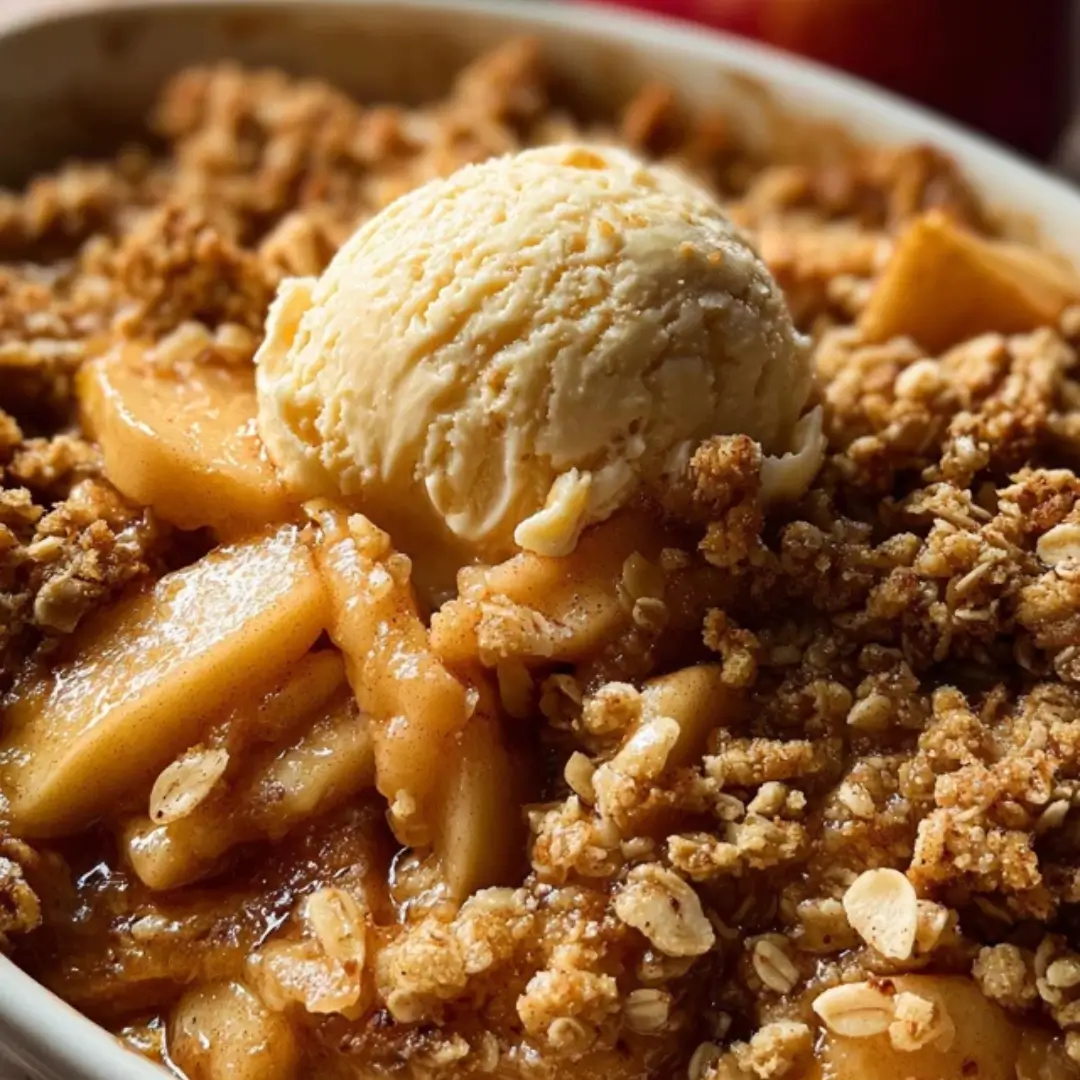
Today I’m bringing you a truly luscious, soul-warming classic: the perfect Apple Crisp! This dessert is a total game-changer, especially as the weather cools down. Forget complicated pies—this crisp delivers all the cozy flavor with minimal fuss. It features a tender, perfectly spiced apple filling gently bubbling beneath a golden, buttery, and unbelievably crunchy oat crumble. The scent alone will make your entire home smell like a bakery! Trust me, the combination of those soft, sweet apples and that crunchy topping, especially when paired with a scoop of vanilla ice cream, is pure comfort food heaven.
Why You’ll Love This Recipe
- Ultimate Comfort Food: It’s a nostalgic, warm dessert that instantly makes any day feel cozy and special.
- Simple & Straightforward: This recipe uses common pantry staples and comes together in just 15 minutes of prep time. It’s perfect for beginner bakers!
- The Texture Dream: You get the perfect contrast between the soft, syrupy baked apples and the deeply crunchy, buttery oat topping.
- The Smell is Incredible: Seriously, your kitchen will smell like the best parts of autumn as this bakes—it’s worth making for the aroma alone!
Classic Apple Crisp
Ingredients
Equipment
Method
- Preheat oven to 350°F (175°C). Grease a baking dish lightly.
- In a large bowl, toss sliced apples with sugar, cinnamon, and lemon juice. Spread evenly in the baking dish.
- In another bowl, combine oats, flour, and brown sugar. Cut in the butter until the mixture resembles coarse crumbs.
- Sprinkle the topping evenly over the apple mixture.
- Bake for 40–45 minutes, until the topping is golden brown and the apples are tender.
Notes
Ingredients
All you need for this incredible Apple Crisp is a little love and 60 minutes of your time! Yes, it’s that easy. But first, let’s gather up these key players:
- Apples: The main event! Using a mix of tart (like Granny Smith) and sweet (like Honeycrisp or Gala) gives the best, most balanced flavor. Peeling them is a must!
- Lemon Juice: This brightens the flavor of the filling and keeps your apples from turning brown while you prep the topping.
- Granulated Sugar (Filling): Provides the perfect level of sweetness for those tender apples.
- Ground Cinnamon & Ground Nutmeg: The essential cozy spice combo that makes this dessert taste like a hug.
- All-Purpose Flour (Filling): This is a small but mighty ingredient—it helps thicken those natural apple juices into a lovely, syrupy sauce.
- Rolled Oats (Topping): The key to that satisfying chewiness in your crisp! Make sure to use old-fashioned or rolled oats, not quick-cooking.
- All-Purpose Flour (Topping): Helps bind the topping ingredients together into a beautiful crumble.
- Brown Sugar (Packed): Adds a deeper, molasses-y sweetness and contributes to a richer, chewier crust texture than white sugar alone.
- Salt: Don’t skip this! Just a quarter teaspoon helps wake up and balance all the sweet and spiced flavors.
- Unsalted Butter (Chilled and Cubed): The secret to a crisp, crumbly topping. Using it cold is crucial so it doesn’t melt before baking.
Note: The full, precise ingredient measurements for this recipe will be provided in the convenient recipe card located directly beneath this article!
How to Make the Apple Crisp
Getting this apple crisp into the oven is shockingly easy! Just follow these steps, and you’ll be on your way to dessert heaven.
Step 1: Prep and Toss the Apples
Preheat your oven to 350°F (175°C). Lightly grease a 9×13-inch baking dish. In a large bowl, toss your peeled, cored, and sliced apples with the lemon juice, sugar, cinnamon, nutmeg, and flour until every slice is evenly coated and glistening. Spread this mixture into your prepared baking dish.
Step 2: Prepare the Crisp Topping
In a separate, medium-sized bowl, whisk together the oats, flour, brown sugar, cinnamon, and salt for the topping. Now for the fun part: take your chilled, cubed butter and use a pastry cutter or your clean fingertips to cut the butter into the dry ingredients. Work quickly until the mixture resembles coarse, pea-sized crumbs.
Step 3: Top and Bake
Sprinkle the topping evenly over the apple mixture, making sure to cover all of those delicious apples completely. Pop it into the preheated oven and bake for 40–45 minutes, or until the topping is a gorgeous golden brown, and the apples underneath are tender and visibly bubbling with sweet, syrupy juices.
Step 4: Cool and Serve
Let your masterpiece cool slightly—this helps the filling set up just a touch and prevents you from burning your tongue! Serve it warm. This one’s a game-changer when served with a cool, creamy element!
Pro Tips for Making the Recipe
- Go Cold with the Butter: I cannot stress this enough! Use very cold, cubed butter for the topping. This creates steam while baking, which results in that perfect, crisp, and separate crumble texture. If your butter is too warm, the topping will be dense.
- The Apple Mix Matters: For the most complex flavor, use a 50/50 blend of sweet and tart apples. Granny Smith (tart) and Honeycrisp (sweet) is a winning combination!
- Don’t Overwork the Topping: Mix the topping just until it forms those lovely coarse crumbs. Over-mixing can make the gluten tough and result in a less crumbly texture.
- Look for the Bubbles: You know the crisp is truly done when you see the apple filling bubbling up through the sides and middle of the topping. This ensures the flour has properly thickened the juices.
How to Serve
This Apple Crisp is fantastic on its own, but to really elevate the experience, here are a few serving and pairing ideas:
- Classic Comfort: Serve it warm with a generous scoop of vanilla ice cream. The hot/cold contrast is truly divine.
- Creamy Delight: A big dollop of freshly whipped cream or a drizzle of heavy cream is all you need for a lighter, dairy finish.
- Caramel Time: Drizzle warm caramel sauce over the top right before serving for an extra layer of decadence.
- Perfect Pairings: Serve a smaller portion alongside a warm cup of coffee, a spiced cider, or a milky latte.
Make Ahead and Storage
Storing Leftovers
Place any leftovers in an airtight container and store them in the refrigerator for up to 4 days.
Freezing
You can easily freeze this crisp! Once it has cooled completely, cover the baking dish tightly with a double layer of plastic wrap and a layer of aluminum foil. Freeze for up to 3 months. Thaw it overnight in the refrigerator before reheating.
Reheating
The best way to reheat is in the oven to re-crisp the topping. Place the refrigerated or thawed crisp in a 350°F (175°C) oven for about 15–20 minutes, or until warmed through and the topping is crunchy again. You can also microwave individual servings, but the topping will be softer.
FAQs
Can I make the crisp topping ahead of time?
Absolutely! The topping can be prepared up to a week in advance. Simply mix all the dry ingredients and cut in the cold butter, then store the mixture in an airtight container in the refrigerator. When you’re ready to bake, toss the apple filling together and sprinkle the topping right on top before baking. This is a great shortcut for entertaining!
What is the difference between a crisp and a crumble?
While they are very similar, the main difference is the oats! A “crisp” traditionally includes oats in the topping, giving it a characteristic, well, crisp texture. A “crumble” usually has a flour, sugar, and butter topping that resembles streusel but does not include oats. I prefer the crisp for the extra chewiness the oats provide!
I don’t have a 9×13-inch dish. Can I use a smaller one?
Yes, you can! This recipe works great in a slightly smaller dish, like an 8×8-inch square pan, but you will need to increase the baking time. Keep an eye on it—it might need an extra 10–15 minutes, as the filling will be deeper. You’re looking for those filling bubbles and the tender apples!
Can I substitute a different fruit for the apples?
You certainly can! The filling ratio is very forgiving. This crisp structure works beautifully with firm fruits like pears or a mix of berries and stone fruits like peaches or plums. Just make sure to reduce the granulated sugar slightly if you use naturally very sweet fruit. Feel free to experiment—that’s what cooking with personality is all about!