If there’s one recipe I absolutely swear by for effortless entertaining, it’s a beautiful, overflowing charcuterie board. This isn’t just an appetizer; it’s a stunning edible centerpiece that brings everyone together! This particular board is a game-changer because it’s totally customizable and features a fantastic selection of halal meats, creamy cheeses, and fresh, vibrant produce. It requires zero cooking (hello, 15-minute prep!), and trust me, you’re going to love how easy it is to assemble and how quickly it impresses your friends. Get ready to build your masterpiece!
Why You’ll Love This Recipe
- Effortless Entertaining: It’s the ultimate zero-cook party trick! You can pull this whole thing together in 15 minutes, which means more time chatting and less time stuck in the kitchen.
- A Feast for the Eyes: We’re using a variety of textures and colors—from the deep red of the tomatoes to the bright green of the grapes—making this board a stunning focal point for any gathering.
- Halal-Friendly Focus: We’ve specifically selected delicious halal turkey salami, beef pastrami, and grilled chicken strips, ensuring everyone can dig in and enjoy the savory goodness.
- Endlessly Customizable: Once you have the basic structure down, you can swap in your favorite dips, seasonal fruits, or specialty cheeses to make it uniquely yours every single time.
Ingredients
All you need for this gorgeous charcuterie board are a few delicious items and 15 minutes! Yes, it really is that easy. But first, let’s gather up these components:
- Halal Turkey Salami: Provides a wonderful savory, spiced note and adds beautiful color when rolled or folded onto the board.
- Halal Beef Pastrami: Offers a richer, smoky flavor that pairs beautifully with the creamy cheeses.
- Grilled Chicken Strips: A lovely, lean protein option that adds a hearty element to the spread.
- Brie Cheese: A must-have! Its buttery, gooey texture is perfect for spreading on crackers.
- Cheddar Cheese (cubed): This firm classic offers a sharp, familiar taste and great structural integrity on the board.
- Goat Cheese (log): Brings a tangy, bright counterpoint to the richer meats and sweet fruits.
- Mixed Olives: Adds a salty, briny pop of flavor—we love putting these in a small bowl!
- Cherry Tomatoes & Cucumber Slices: These fresh veggies add crispness, hydration, and vibrant color contrast.
- Grapes & Dried Apricots: The sweetness from the fruit is essential for balancing the salty meats and cheeses.
- Nuts (Almonds or Pistachios): Scatter these throughout to add a welcome crunch and textural interest.
- Hummus or Labneh: A creamy, dippable base that anchors the board and is perfect for pairing with veggies and crackers.
- Assorted Crackers or Toasted Bread: These are the vehicles for all the goodness! Aim for a mix of shapes and textures.
- Fresh Herbs (optional): A sprig of rosemary or thyme elevates the aroma and makes the board look incredibly professional.
Note: The specific measurements for these ingredients, along with nutritional information, will be located right under this article in the recipe card.
How to Make the Perfect Charcuterie Board
Building a beautiful board is all about layering and filling space. Here’s how we transform simple ingredients into an amazing spread:
Step 1: Anchor the Board with Cheese
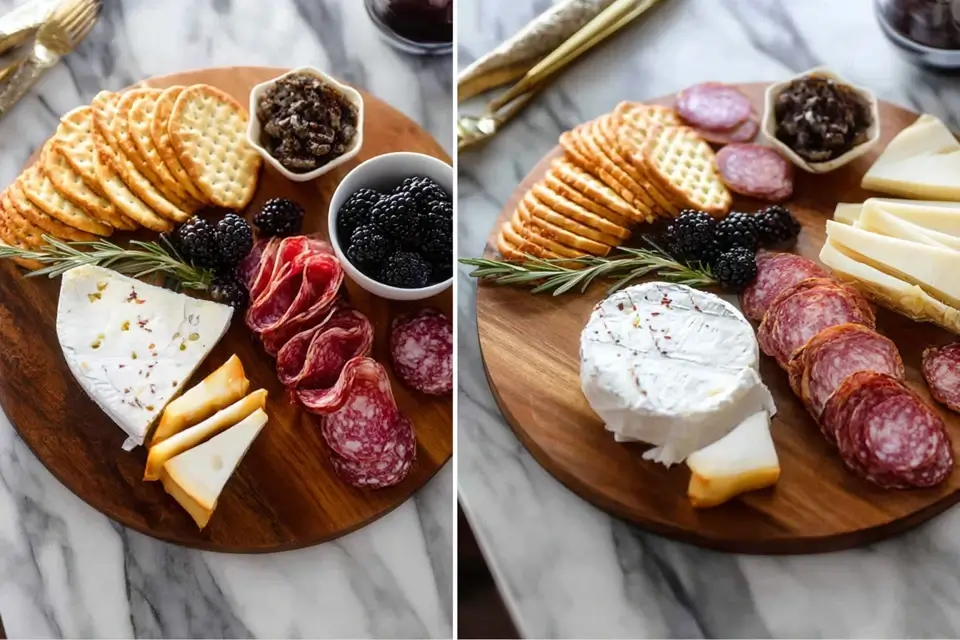
Choose a large platter or board as your canvas. Start by placing your three cheeses first—the brie wedge, the cheddar cubes, and the goat cheese log—making sure to space them out across the board. These are the main “anchors” of your design.
Step 2: Arrange the Savory Meats
Now, let’s add the protein. Artfully arrange the halal turkey salami, beef pastrami, and grilled chicken strips near the cheese sections. Don’t just lay them flat! Folding the salami into quarters or rolling the pastrami adds volume and makes the presentation much more inviting.
Step 3: Place the Dips and Bowls
Tuck any small bowls you’re using (for olives, hummus, or labneh) into the remaining empty spaces. Placing these now helps establish your final layout before the “filler” items go in.
Step 4: Add the Fresh Produce
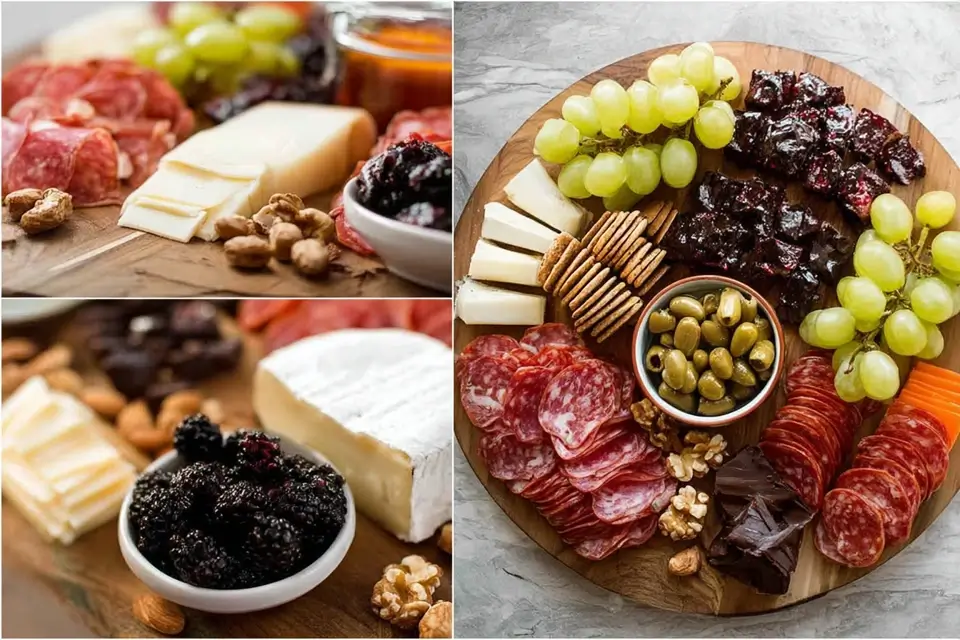
Start filling the larger gaps around the meat and cheese with the fresh produce. Strategically place groups of cherry tomatoes, cucumber slices, and grapes to bring those bright colors to life and separate the heavier items.
Step 5: Scatter the Dried Fruit and Nuts
This is where you fill in the tiny corners! Distribute the dried apricots and sprinkle the nuts (almonds or pistachios) into any remaining little open spaces. This adds fantastic texture and color diversity.
Step 6: Tuck in the Crackers
Place the crackers or toasted bread. You can make a stack along one side of the board, or you can tuck small piles throughout the spread so everything is within easy reach.
Step 7: Garnish and Serve!
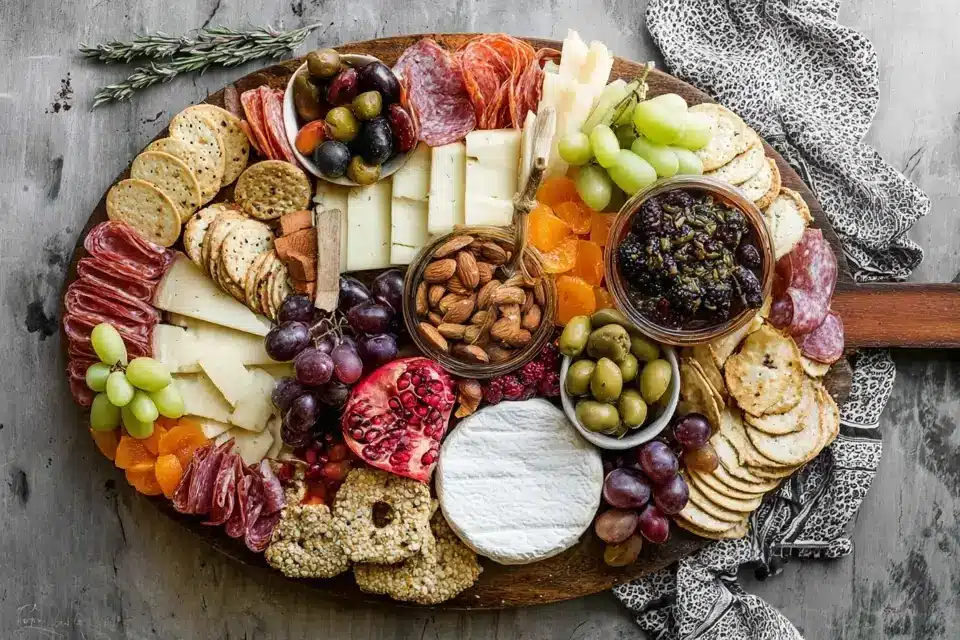
As a final, gorgeous touch, scatter a few sprigs of fresh herbs (like rosemary) over the finished board. It elevates the aroma and makes it look truly special. Serve immediately and watch the compliments roll in!
Pro Tips for Making the Recipe
- Prep the Cheese: Always let your cheeses sit out at room temperature for about 30 minutes before serving. This truly unlocks their best flavor and texture!
- Fold Your Meats: For a professional look, try folding round meats like salami into quarters and layering them to create volume, rather than just fanning them out flat.
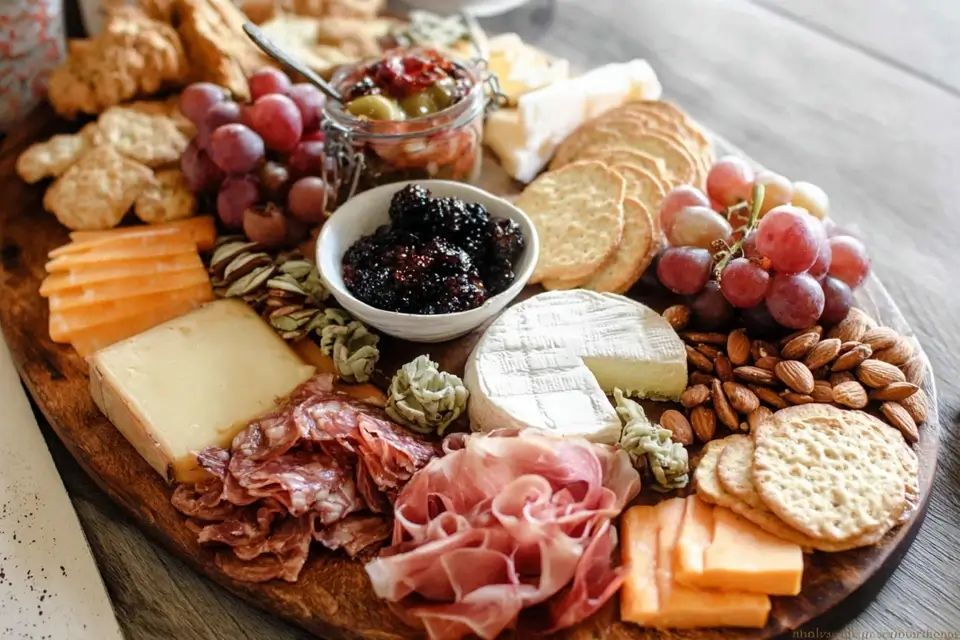
- Mix up Textures: The key to a great board is variety. Make sure you have something creamy (brie, dip), something crunchy (nuts, crackers), something soft (fruit, goat cheese), and something savory (meat).
- Don’t Be Afraid of Clutter: A successful charcuterie board looks full and abundant! Fill every possible gap—the abundance is part of the appeal.
How to Serve
A charcuterie board is designed to be the main appetizer or a light, casual dinner on its own.
- Pairing: Serve alongside a crisp, cold drink like sparkling cider, lemonade, or your favorite non-alcoholic spritzer.
- Setting: Place a few small serving knives for the soft cheese, a spoon for the dips, and some toothpicks nearby for easy picking.
- Bread Swap: Instead of crackers, slice a fresh baguette and lightly toast the pieces with a drizzle of olive oil for an even richer pairing.
Make Ahead and Storage
Storing Leftovers
Any leftover meats, cheeses, and dips should be placed in separate, airtight containers and refrigerated for up to 3 days. Crackers and nuts should be stored at room temperature to maintain crispness.
Freezing
Due to the fresh produce and variety of dairy, this recipe is not recommended for freezing. The texture of the cheese and the moisture in the vegetables will be negatively impacted upon thawing.
Reheating
No reheating required! If you have leftover components, just bring them back out of the fridge and reassemble them onto a smaller platter for a quick snack the next day.
FAQs
1. Can I prepare this board completely ahead of time? You can do some prep a few hours in advance! Arrange all the non-perishable items (crackers, nuts, dried fruit) and place the meats and cheeses in the fridge. For the best flavor, I recommend holding off on adding the crackers, dips, and especially the fresh, cut produce (like tomatoes and cucumbers) until about 30 minutes before serving to ensure everything stays fresh and vibrant.
2. How much cheese and meat should I plan for per person? A general rule of thumb for an appetizer is to plan for about 1 to 2 ounces of total cheese and 1 to 2 ounces of total meat per person. For this recipe, which serves 6 people, we have well over the recommended amount, ensuring everyone gets a satisfying taste of everything! When in doubt, it’s always better to have a little too much than run out.
3. What is the best way to make the meat look attractive on the board? The secret is texture! Instead of laying the slices flat, try folding them. You can simply fold round slices in half, then fold them in half again to create a triangular ‘flower’ shape. For strips like the grilled chicken, just layer them slightly overlapping. This adds height and makes the board look professionally styled.
4. Can I substitute the cheeses if I don’t like Brie or Goat Cheese? Absolutely! The beauty of a charcuterie board is that it’s flexible. If you want to swap out the Brie, try a creamy Havarti or a soft Feta. For the Goat Cheese, a rich Boursin or another herbed cream cheese log would be a delicious substitution, providing that essential tangy flavor contrast. Always aim for a mix of soft, medium, and hard cheeses!
The Perfect Charcuterie Board
Ingredients
Equipment
Method
- Place cheeses on the board first, spacing them evenly apart.
- Add meats next, folding or rolling them for texture and visual appeal.
- Arrange fruits, nuts, and olives around the cheeses and meats to fill gaps.
- Add crackers just before serving to keep them crisp.
- Place honey and jam in small bowls with spoons, then serve and enjoy.